This scout covers how to find all 12 trinkets in The cast of Frank Stone .
There are 12 bauble to be institute in The molding of Frank Stone . This scout breaks down how to find all fallal from each of the fourteen chapter in the game .
Table of contents
How to find all trinkets in The Casting of Frank Stone
Trinkets arecollectiblesin The Casting of Frank Stone that are generallyoff the beaten path and well hidden . I urge taking your time and reading through this guide as you discharge each chapter , so you do n’t accidentally drop one . Without further hustle , here ’s how to find all trinkets in The cast of Frank Stone .
Chapter 1 trinket locations
Players can findtwo trinketsin Chapter 1 of The cast of Frank Stone . Luckily , they ’re not very well obscure . Here ’s how to get hold both .
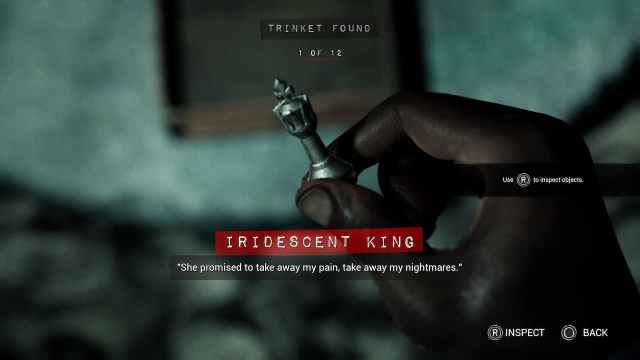
The first trinket can be found at the start of the biz , right when you first earn restraint of the policeman . Head forward past the truck , and make your way towards the red barrels . On the left , you will observe agap in the wallthat you’re able to squeeze through .
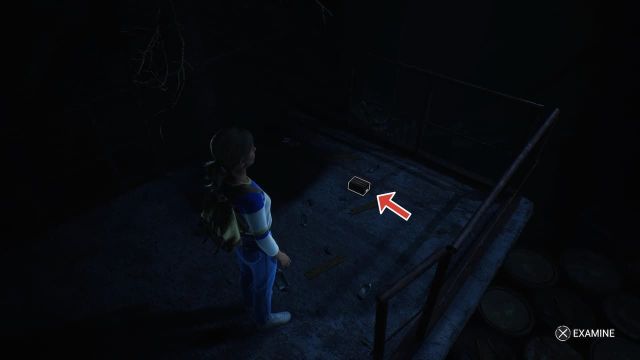
In the corner of the elbow room , you will discover a low container . start the container to snag the trinket .

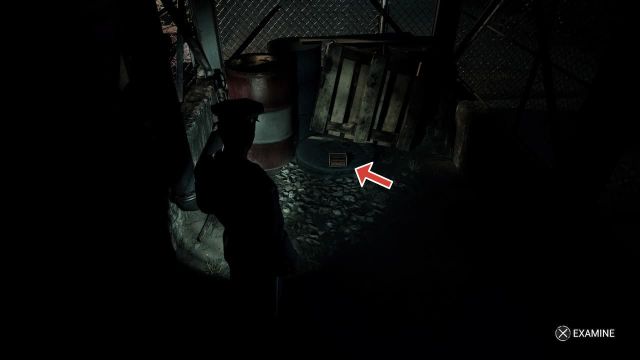
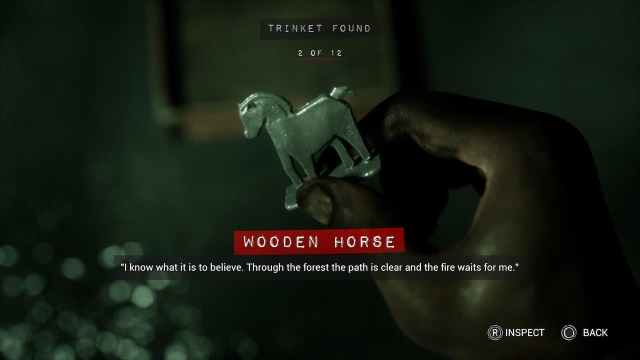
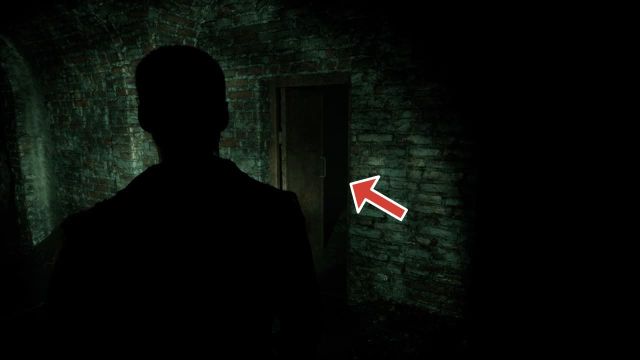
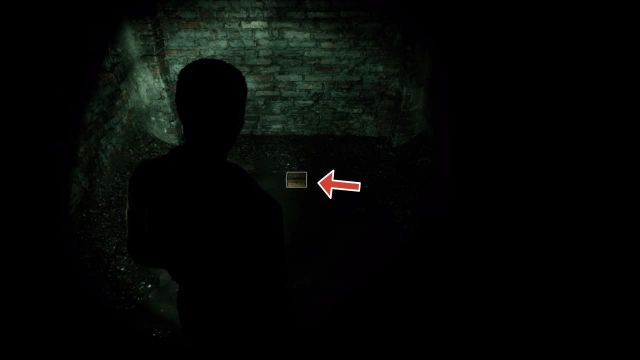
The 2nd trinket in Chapter 1can be found immediately upon dropping into the grate and strive the cloaca . Once you enter the sewers , plough around and go direct down the hallway . Take the first leftfield , where you ’ll find oneself anopen brown door on the right - hand side .
Go through this door to find acontainer at the end of the hallway . afford the container to grab the trinket .
Chapter 2 trinket locations
There areno trinkets in Chapter 2of The cast of Frank Stone . In other words , no penury to do in much time explore every nook and cranny .
Chapter 3 trinket locations
There is one fallal to be establish in Chapter 3 , when everyone goes into townsfolk to get the camera fixed .
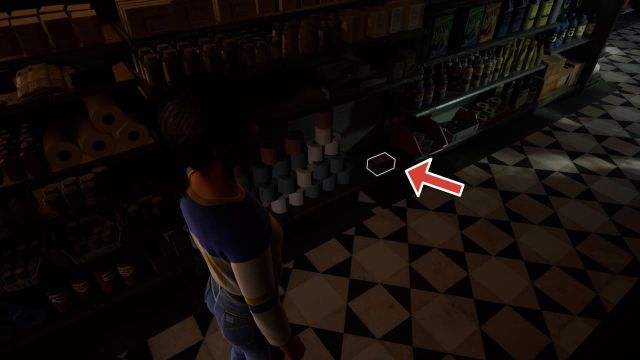
The only bauble in Chapter 3 can be found upon enteringthe Drugstore . From the door , head over to thelast aisle on the rightto find a container on the bottom shelf about halfway down the gangway next to a stack of toilette newspaper . Inside the container , you ’ll find a trinket .
Chapter 4 trinket locations
There areno gaud in Chapter 4of The Casting of Frank Stone .
Chapter 5 trinket locations
Five trinketscan be found in Chapter 5 of The Casting of Frank Stone . They become available once everyone leaves the garage and parking lot at the Mill . Unfortunately , two trinkets have to be acquired in different playthroughs as each necessitate a different alternative / action at law .
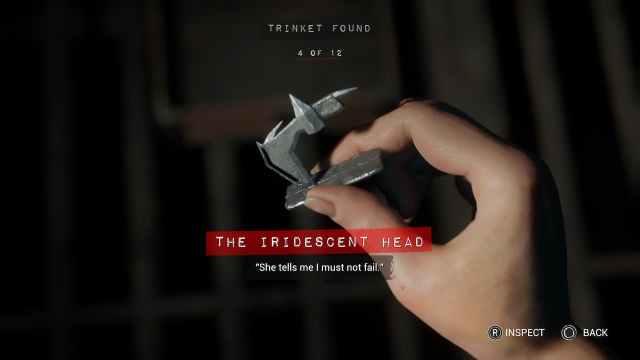
The quaternary trinket , The Iridescent Head , takes a while to get . There ’s a step you demand to take early in Chapter 5 in decree in reality to develop the trinket later on in the same Chapter . First , you need toget the Casting Shed Key , which can be obtain in the sewers on the way to the Mill when playing as Chris .
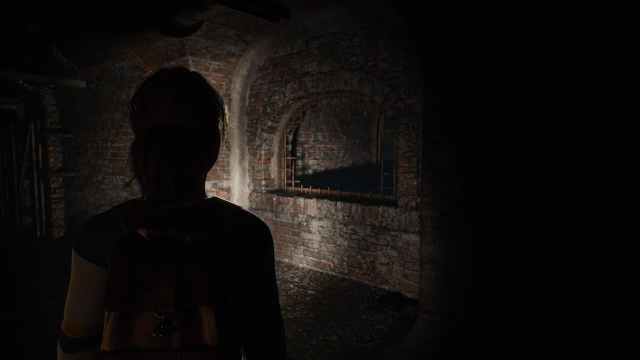
When first entering the cloaca , remain forward until you discover asmall opening in the wallthat you’re able to climb up over .
Screenshot: PC Invasion
Continue straight and go through the door to reach a large open room . In the niche of the room , you will find a box with a key inside . This is the Casting Shed Key .
The next step in acquiring the Iridescent gaud occurs after play as Linda for the first time in the Mill .
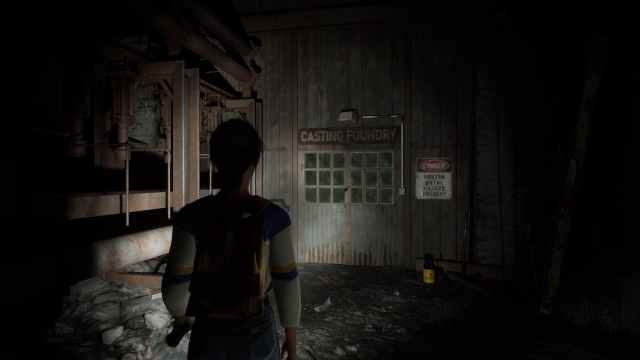
Right when you gain control of Chris again , you ’ll see a gravid brown door with the words“Casting Shed”above it . Use the cast Shed Key you establish in the beginning to enter .

Screenshot: PC Invasion
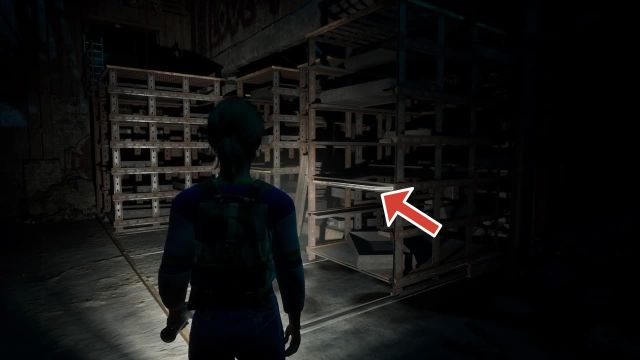
manoeuver to the boundary of this elbow room to findlarge shelf that you’re able to interact with and move .
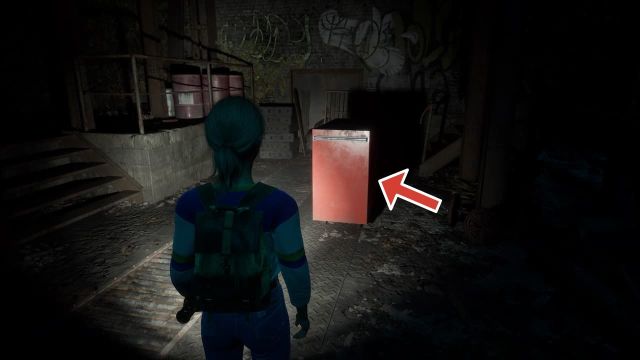
Move these shelf outward until they interlock in place . check that to move both of them . Now head to the mall of the elbow room to regain ared dresserthat you could interact with .
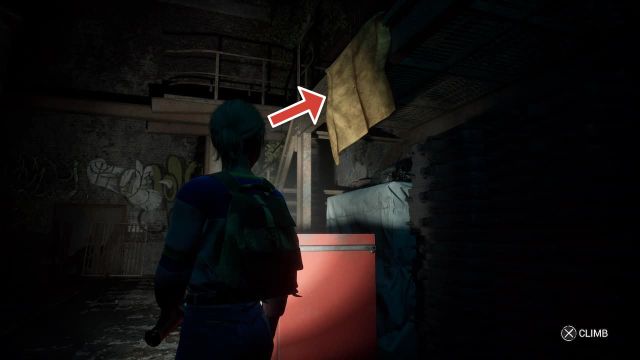
Move this red dresserand position it under the yellow towel that ’s hanging down from the upper floor .
Screenshot: PC Invasion
Nowclimb on top of the red-faced dresser and go up to the top story . Continue straight , loop around and going through the crevice , until you achieve the prominent shelves you move earlier . leap out over the tumid shelvesto find the fourth trinket in a container lie on the ground .
After parking at the Mill and observe the short cutscene of the radical of protagonist making it to the creek , Robert will ask which style they should go to touch their location . check that youpick “ Cross”to get the next gewgaw .
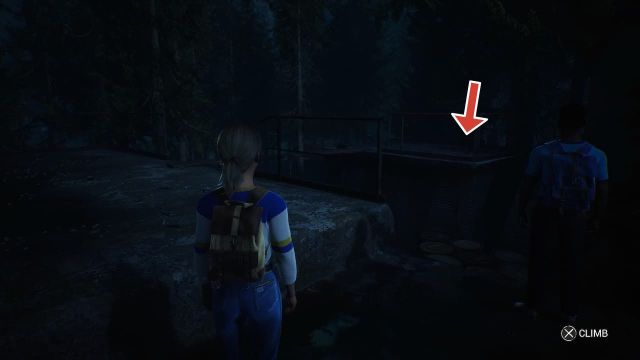
After traverse the brook , continue fore on the main itinerary until you reach the first construction and cross over the plank . You ’ll find astone program to your left wing , which has another plank lead to a standalone platform . The scarlet arrow below shows the location of the bangle .
Screenshot: PC Invasion
Cross the 2nd board to reach the trinket . check that not to fall when crossing the board .
Another bangle can be found bychoosing the choice “ Climb”when Robert asks which way everyone should go from the brook . forthwith after climbing the fence , you could observe the trinketunder a tarp on the left - bridge player side . To hand it , go through a crevice in the rocks .
The next gaud can be found when you first earn control of Linda in Chapter 5.It is site in a locked shed , where you ’ll need to utilize a crowbar in parliamentary law to open . To find the crowbar question to the southeastern corner , where you ’ll find a grating next to the building of a bulwark . Next to the grate is the wrecking bar .
Screenshot: PC Invasion
After picking up the wrecking bar , head to the northwestern department of the area to find a shed . The epitome below show which shed you should be look for ( the door is undetermined since I already used the crowbar on it ) .
Use the crowbar on the shed and you ’ll find a container with a bauble in the back .
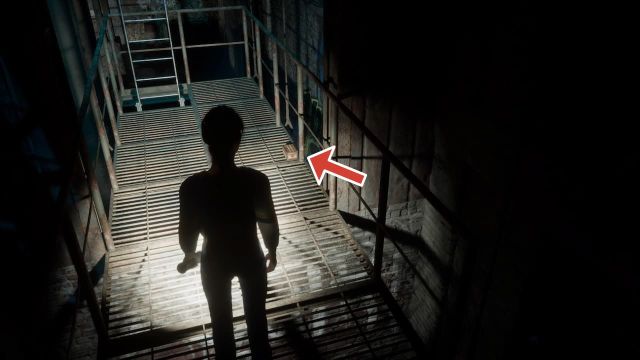
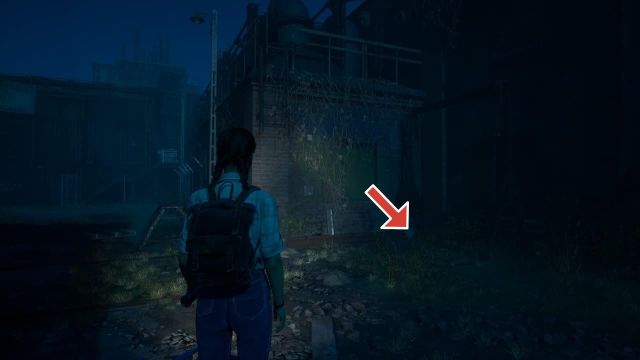
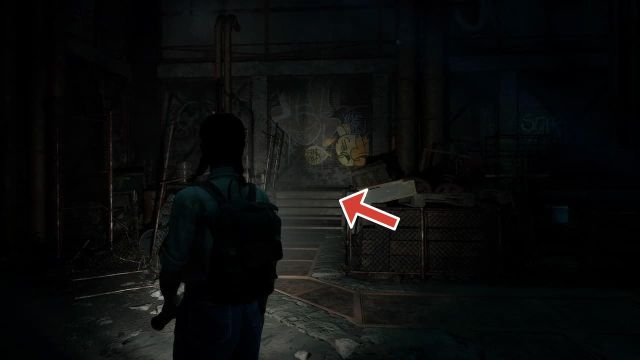
fallal # 8 can befound once the participant enters the Mill for the first fourth dimension as Linda . After entering , follow your friends over the steel tract until you reach the ground floor . To your right , you will find asmall stairway .
Screenshot: PC Invasion
go up these steps to find a crevice you’re able to squeeze through . On the other side of the creviceyou will find a handlethat you ’ll need in a minute .
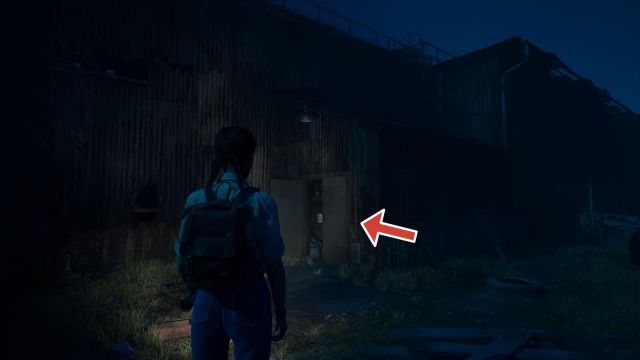
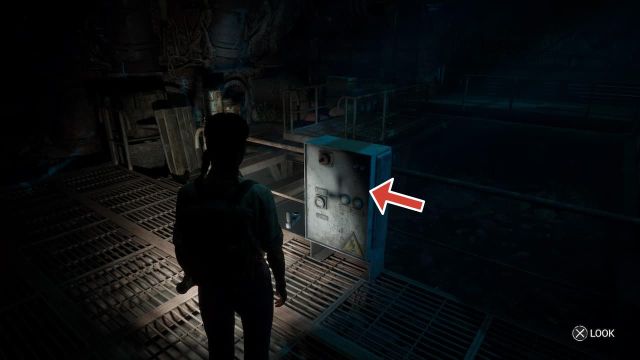
Backtrack to where you came from ( where you entered the mill ) to find acontraption you may interact with and attach the handgrip you just found .
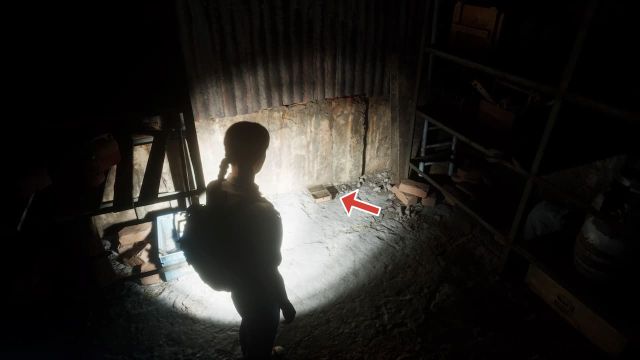
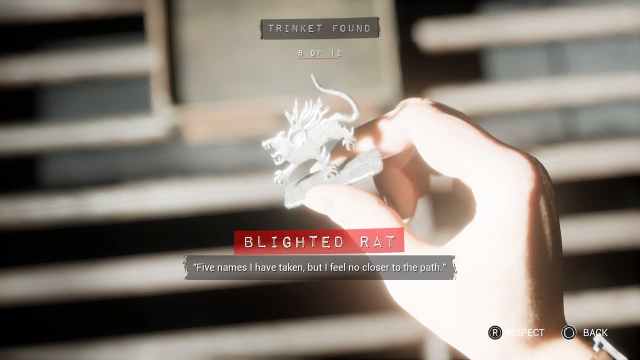
spread out the handgrip to add a platform nigher to you . On the platform is a container containing the Blighted Rat trinket .
Screenshot: PC Invasion
Chapter 6 trinket locations
There is only one trinket available in Chapter 6 of The cast of Frank Stone . The good news is that it ’s pretty hard to miss .
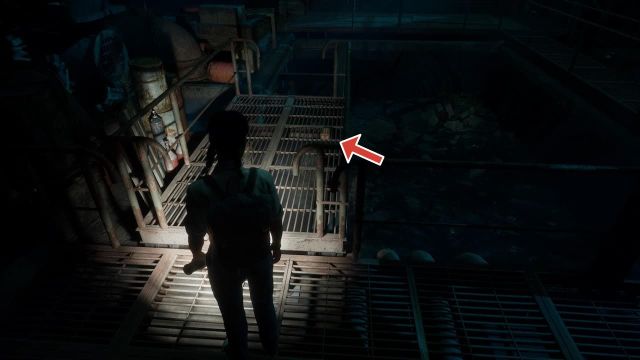
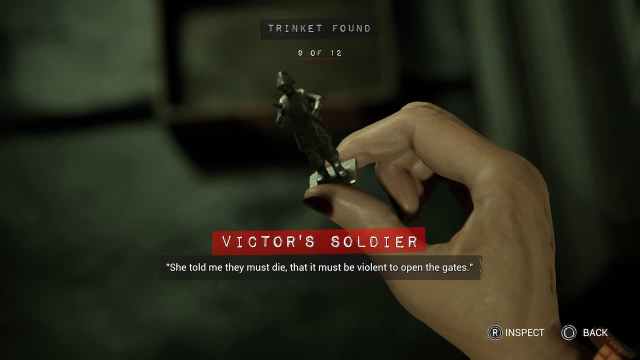
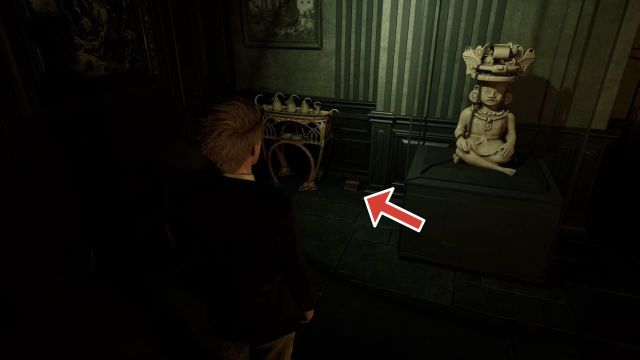
The ninth trinket , Victor ’s Soldier , can be chance once the player unlocks the metal doorway and reaches Augustine ’s reliquary . After the unretentive cutscene , head towards the ardor pit and pass it to find a novelty container lie on the priming next to a statue .
Chapter 7 trinket locations
There is one trinket in Chapter 7 of The Casting of Frank Stone . It becomes available when you gain command of Linda .
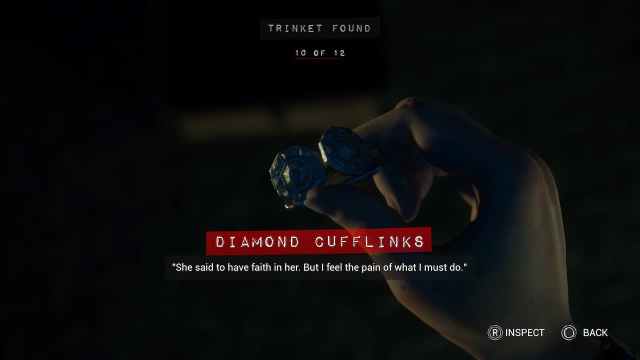
The Diamond Cufflinks gaud can befound after completing the battle sequence with Frank Stone and using the forklift . The forklift is on the principal track and is impossible to miss .
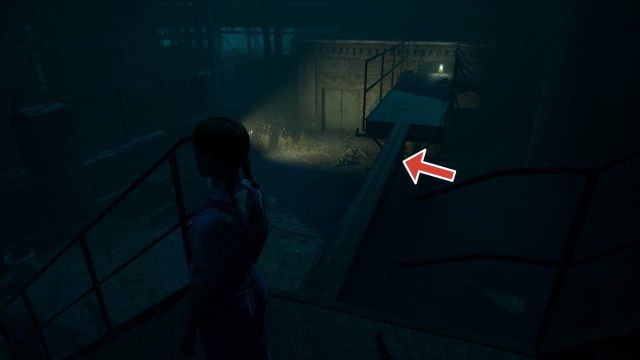
After rid the forklift to the top , proceed out of the service department andwalk across the sword narrow walkway to your right field .
Screenshot: PC Invasion
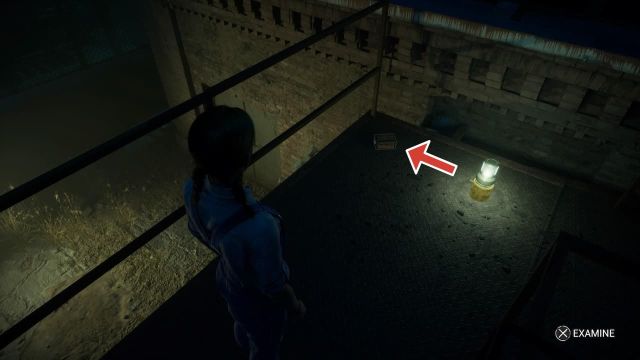
On the other side , you ’ll find theDiamond cufflink next to the low light .
Chapter 8 trinket locations
There areno trinketsavailable in Chapter 8 of The Casting of Frank Stone .
Chapter 9 trinket locations
There areno trinketsavailable in Chapter 9 of The Casting of Frank Stone .
Chapter 10 trinket locations
There areno trinketsavailable in Chapter 10 of The Casting of Frank Stone .
Chapter 11 trinket locations
There areno trinketsavailable in Chapter 11 of The Casting of Frank Stone .
Chapter 12 trinket locations
There is one trinket in Chapter 12 and can be easily found at the starting of the chapter . verify you do n’t go through any elbow room that tell you to sustain the exposed release , or else you ’ll lock yourself out of commence this trinket .
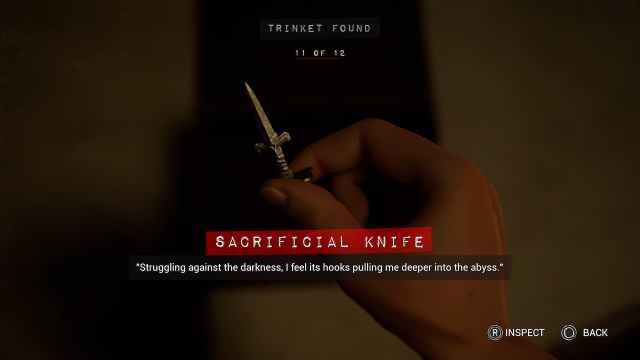
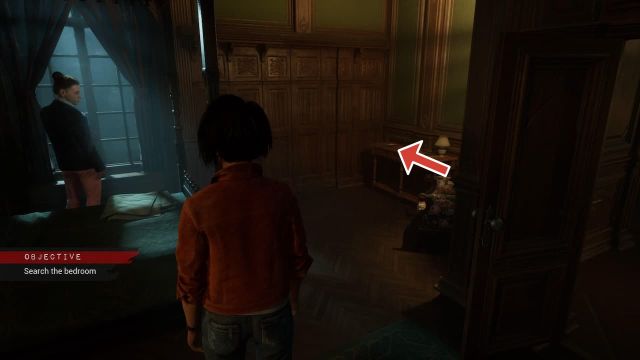
The Sacrificial Knife trinket can be found at the starting time of Chapter 12 when you gain ascendance of Madison . Go through the hallway and enter the door on the left-hand toenter a bedroom . On the table in front of a bed isa book , open it and turn the page to profit a key .
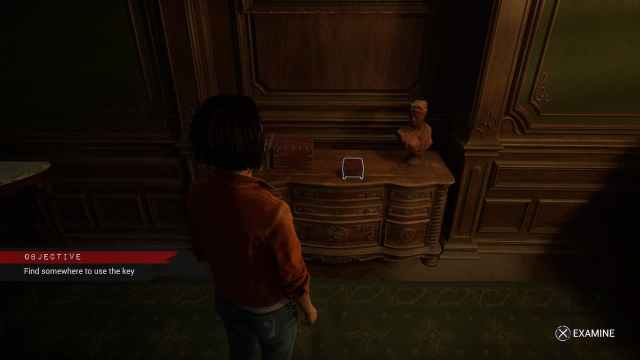
Next , take the air over to the table on the opposite side of the way that has a lowly container on it , locate rightnext to a statue of a header .
Screenshot: PC Invasion
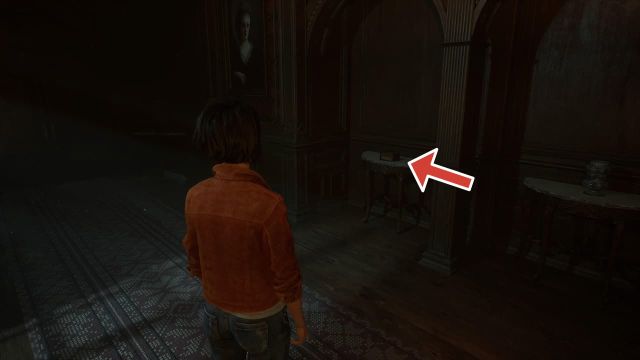
Interact with ituse the key on it and turn the key to open a secret doorway . The secret doorway is right next to where you in the first place detect the key in the book .
Continue through the secret room access and when you reach the bottom take a left . Do not go through the room access on the rightfield or you ’ll lock yourself out of this section .
Chapter 13 trinket locations
There areno trinketsavailable in Chapter 13 of The Casting of Frank Stone .
Chapter 14 trinket locations
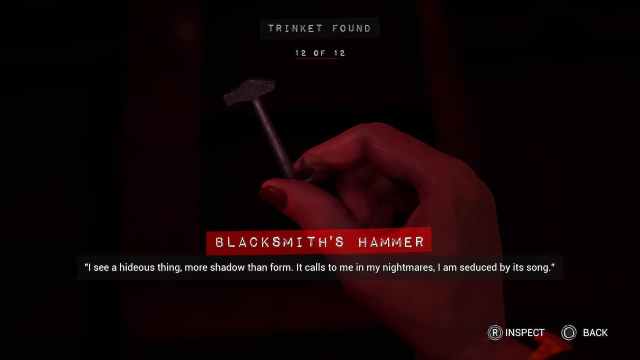
There is one trinket in the final chapter of The Casting of Frank Stone . It ’s easy found at the start of the chapter .
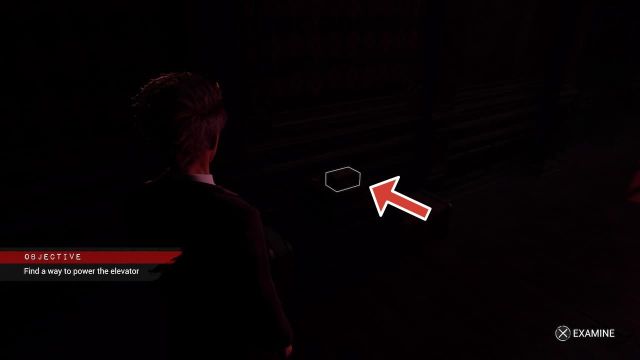
The final trinket , Blacksmith ’s Hammer , can be foundright when you realize dominance of Linda in Chapter 14and after Frank Stone come out of the projector . After the cutscene , go down the hall and take the first tour to find the container for theBlacksmith ’s Hammer trinket on the humble board . It ’s a really coloured room , so it may be hard to see .
We hope this usher has helped you notice all 12 trinkets in The Casting of Frank Stone . Next , take the sentence to interpret ourCasting of Frank Stone multiplayer scout .
Screenshot: PC Invasion

Screenshot: PC Invasion
Screenshot: PC Invasion
Screenshot: PC Invasion
Screenshot: PC Invasion
Screenshot: PC Invasion
Screenshot: PC Invasion
Screenshot: PC Invasion
Screenshot: PC Invasion
Screenshot: PC Invasion
Screenshot: PC Invasion
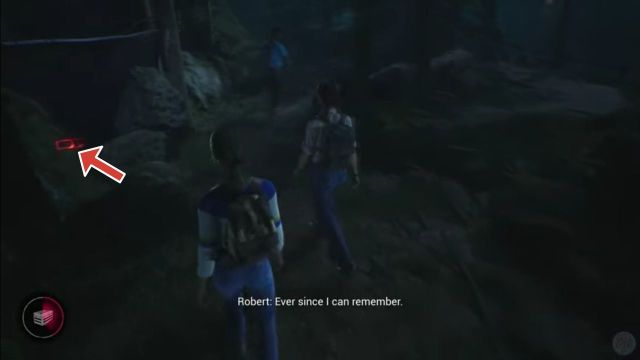
Image: Youtube / PerfectParadox
Screenshot: PC Invasion
Screenshot: PC Invasion
Screenshot: PC Invasion
Screenshot: PC Invasion
Screenshot: PC Invasion
Screenshot: PC Invasion

Screenshot: PC Invasion
Screenshot: PC Invasion
Screenshot: PC Invasion
Screenshot: PC Invasion
Screenshot: PC Invasion
Screenshot: PC Invasion
Screenshot: PC Invasion
Screenshot: PC Invasion
Screenshot: PC Invasion
Screenshot: PC Invasion
Screenshot: PC Invasion
Screenshot: PC Invasion
Screenshot: PC Invasion
Screenshot: PC Invasion
