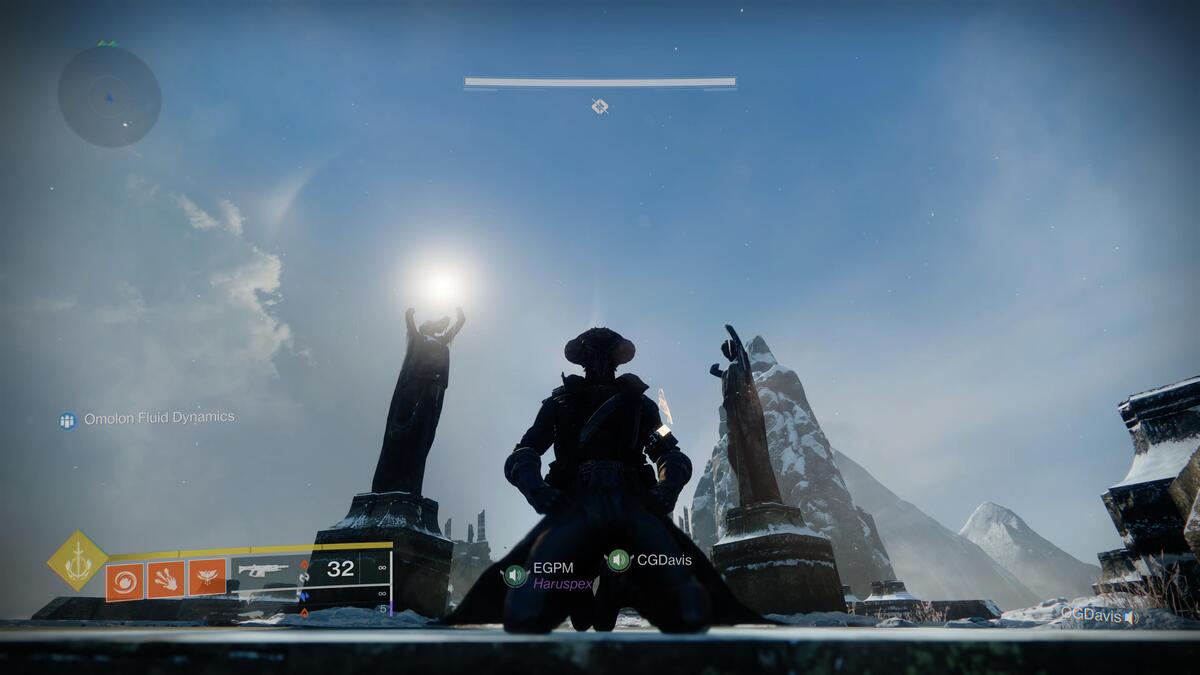
Learn the localisation of all the off-white in Destiny 2 Warlord ’s Ruin .
As you work your elbow room through the In the Shadow of the Mountain quest in Destiny 2 , you ’ll need to encounter 10 bones in Warlord ’s Ruin . I ’ve find all 10 myself , so I can help you get all Hefnd ’s Bones in Destiny 2 Warlord ’s Ruin .
How to find all bones in Destiny 2 Warlord’s Ruin
To get all the Hefnd ’s Bones in Destiny 2 Warlord ’s Ruin , you want to get on the In the Shadow of the Mountain seeking bycollecting the first bone which sit to the left of the final Bos bureau . I ’ve catch you covered if you need helpclearing the final foreman .
How to Dispel Taken Corruption (level one, two, and three) in Destiny 2 Warlord’s Ruin
All the Ahamkarah Bones are hidden behind Taken Corruption doors with stratum one , two , and three locks on them . To get past them , you take tomake progress through the In the Shadow of the Mountain seeking .
After collecting the tenth off-white at the final foreman chest , you could nowunlock level one Taken degeneracy door . Once you collect three more bones , youget accession to dismantle two , and three more finger cymbals getyou admission to level three Taken Corruption Doors .
So , bones two , three , and fourare behind level one Taken Corruption doorway , off-white four , five , and sixare behind stratum two Taken Corruption doors , andbones seven , eight , and nineare behind level three Taken Corruption threshold . They are n’t located in chronological order as you progress through Warlord ’s Ruin , so you ’ll take to act as through it a few times to Dispel all the Taken Corruption door and get all the bones .
Related : How to get Buried Bloodline Exotic Sidearm in Destiny 2
Destiny 2 Warlord’s Ruin Hefnd’s Bone #1
The first Hefnd Bone is n’t hard to find . After cross the bridgeat the very start and slip through the gate into the castle , continue go straightto witness your first Taken Corruption door . The bones are in the room beyond .
Destiny 2 Warlord’s Ruin Hefnd’s Bone #2
After breaking out of jailand jump up through the cap cakehole in the blue way , the second Hefnd Bones are past the door on the rightfulness which isdirectly past the first curing of spikesthat you need to skip over .
Destiny 2 Warlord’s Ruin Hefnd’s Bone #3
For the third bone , you require tobeat the second boss . Right before the big take room with the enceinte black orb , extend climbing higher . You ’ll see a door on the left hugging the mountain that hasorange covers . Go inside to observe the third osseous tissue .
Destiny 2 Warlord’s Ruin Hefnd’s Bone #4
The fourth Hefnd Bone is after the first boss but before the 2d . In the second gem maze with spike traps , the quaternary off-white isdirectly straight when following the master path — you ca n’t miss it .
Destiny 2 Warlord’s Ruin Hefnd’s Bone #5
Once you get to the bridge section with tons of adds and the last chief , or else of proceed forwards by entering the sewer on the left side of the castle , you ’ll want Togolese Republic to the right side and accede the sewerage there . This is where the 5th osseous tissue is .
Destiny 2 Warlord’s Ruin Hefnd’s Bone #6
The sixth bone was the last one I witness ; it gave me a lot of bother . flat after the take room with the large dim globe in the midpoint , you ’ll defeat a bunch of Scorn and face a drop-off . Instead of pressing on , about midway through that chamber on the left wall , you ’ll notice a cakehole . leap out into it and you ’ll find the door concealing the 6th Hefnd Bone .
Destiny 2 Warlord’s Ruin Hefnd’s Bone #7
Near the last role of the last stone maze section , rather of leap out down the hole to progress forrad , jump over it and run toward the cylindrical window . To the rightfield of it is the seventh bone and your first level three door .
Related : How to get Wish - Keeper Strand Exotic Bow in Destiny 2
Destiny 2 Warlord’s Ruin Hefnd’s Bone #8
My Fireteam had a mess of fun bewilder the 8th Hefnd Bone because we kept dying to pitiful platforming skills and take flight meteors . This osseous tissue isfound in the Taken elbow room with the big black orb . alternatively of going up and out at the end of the cave , go directly downby hopping on the float sway . Near the bottom , you ’ll seea glowing yellow lightand a cutout in the mountain that houses the door and way for the 8th os .
Destiny 2 Warlord’s Ruin Hefnd’s Bone #9
Right when you get to the section withthree mountainous spires with stone room access and a Taken sinister orb in the eye , go into the door that isdirectly in the eye ; the one directly ahead behind the Taken black orb . get to the level three door and you ’ll get the ninth off-white .
Destiny 2 Warlord’s Ruin Hefnd’s Bone #10
This should technically be the first door you open , but if you do n’t have it yet , the 10th osseous tissue isdirectly left of the final knob dresser .
Other Destiny 2 articles
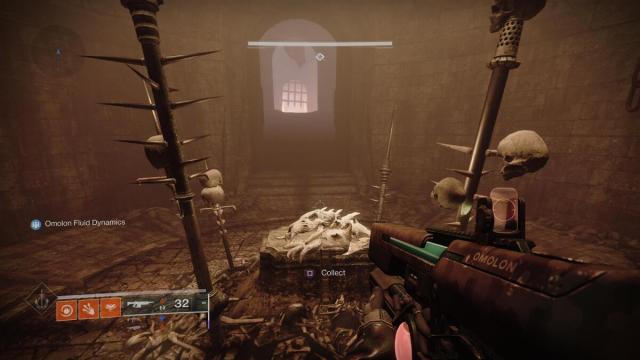
Image: PC Invasion
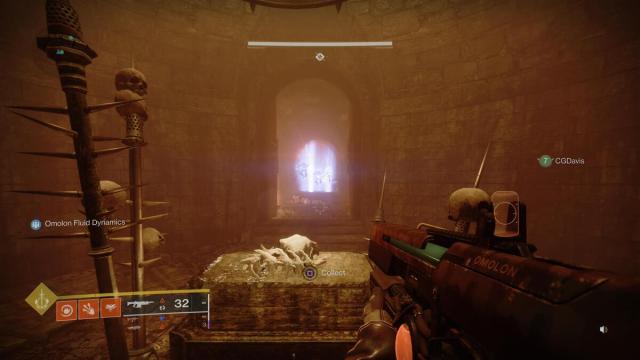
Image: PC Invasion
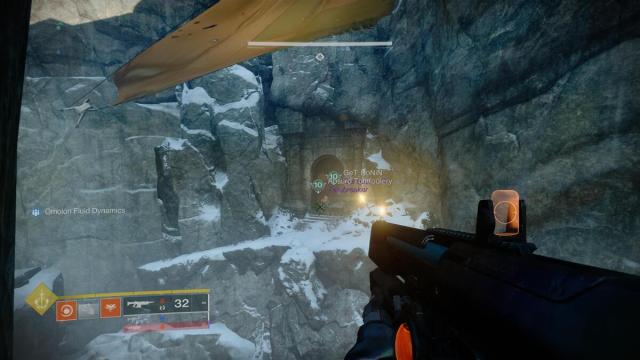
Image: PC Invasion
Image: PC Invasion

Image: PC Invasion

Image: PC Invasion
Image: PC Invasion

Image: PC Invasion

Image: PC Invasion

Image: PC Invasion

Image: PC Invasion
