Lunch box , thinker control dolls , and cervid head galore !
Each chapter in Alan Wake 2 proffer a vast amount of collectibles to find . Here ’s how to find all the collectibles in Return 2 : The Heart in Alan Wake 2 .
Alan Wake 2: All Collectibles and Where to Find Them in Return 2: The Heart
There are over one hundred different collectable in Alan Wake 2 , which can net you trophy or even benefit to Saga and Alan .
devolve 2 : The Heart has the undermentioned collectible :
That ’s a marvelous total of fifteen collectable ! I ’ll be doing this in chronological order so you may follow this guide as you play through the chapter .
Collectible 1: Inventory Upgrade (1/2)
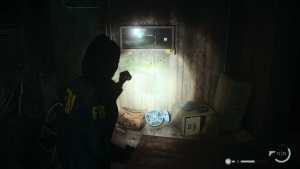
Our first collectible is in the General Store . After you ’ve gotten the Page and finished setting up the Witch ’s Hut as a safe haven , return to the General Store . You ’ll fight a Taken . Once the Taken is dead , record the new area and turn right . On the toppled - over filing cabinet is a military - like pouch . Interact with it to get your first inventory rise .
Collectible 2: Sawed-Off Shotgun (1/1)
This weapon is located on the bulwark to the right of the room access that the Taken bursts out of in the General Store .
Examine it to get a cue that order you to go to the front return . Do so , and you ’ll witness the former combination for the whorl on a notepad . What we ’re concerned in , however , is the lotto card .
Examine it . The only number leave to choose from are “ 739 ” . Put this code into the lock , and you ’ll get your first unlockable triggerman !
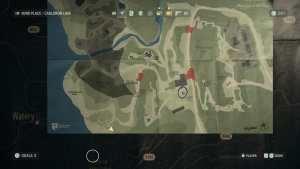
Screenshots by Prima Games
Intermission: Fight Nightingale
So , before we go any further , you need to defeat Nightingale . This will technically terminate this chapter , but by get the better of Nightingale the water will fall back . This will allow us to gather the remaining collectible in the area .
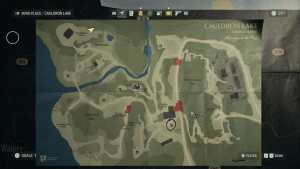
Collectibles 3 and 4: Cauldron Lake Cult Stash (1/3) and Inventory Upgrade (2/2)
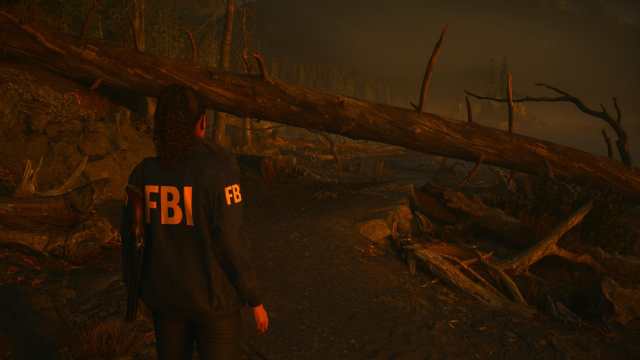
instantly after completing the boss encounter with Nightingale , you ’ll appear on the beach with Alan and Casey . Speak to them , then turn left . You ’ll see a fallen logarithm . Crouch beneath it , then follow the beach in .
You ’ll pass beneath a fall log . Keep justly , and you ’ll see a cluster of fallen trees on the beach . You wo n’t get an interact waiting line , but if you approach the Sir Herbert Beerbohm Tree blocking your fashion to the beach , you may crouch right beneath it .
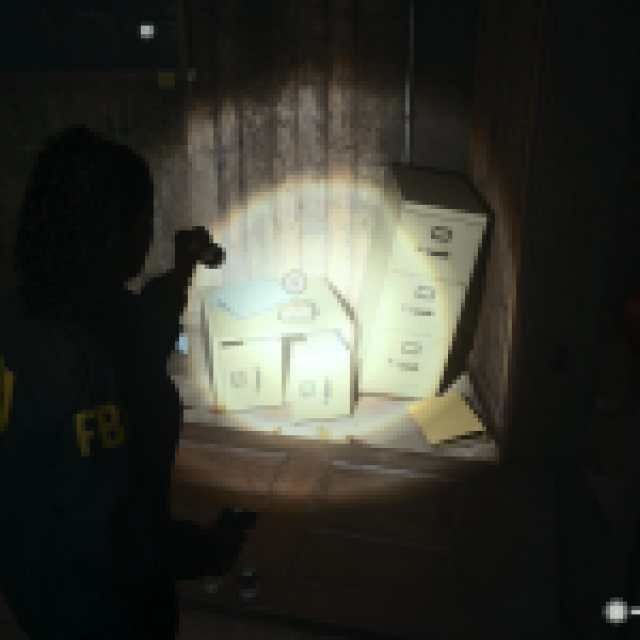
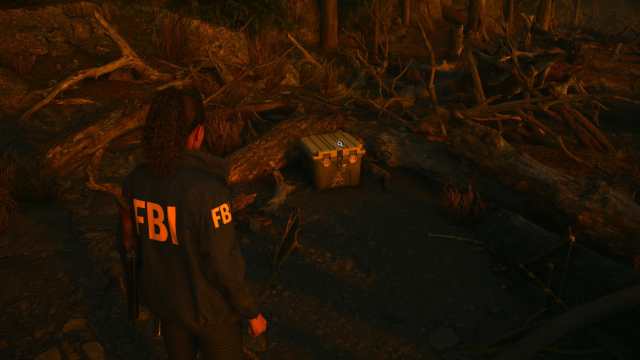
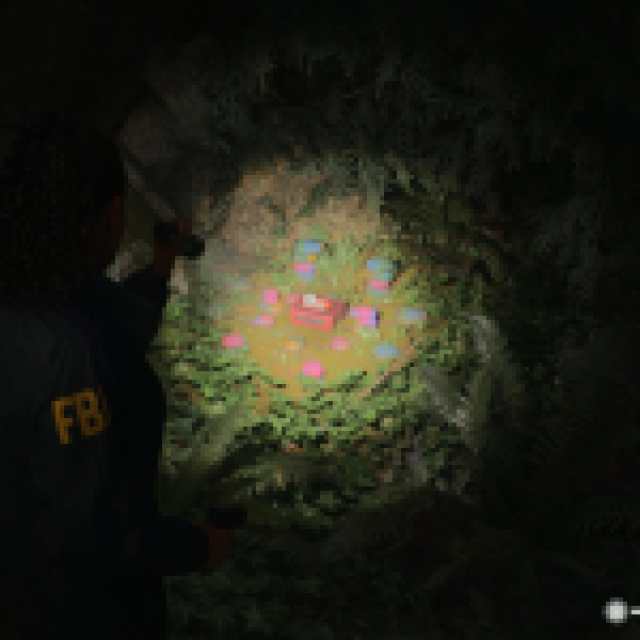
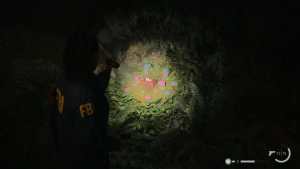
The Cult Stash is to the left wing in the tank . To unfold it , watch the colouration on the lock flash . Then input the same code in the same order . This will reveal a flare pass , some aesculapian supplies , and Inventory Upgrade 2 .
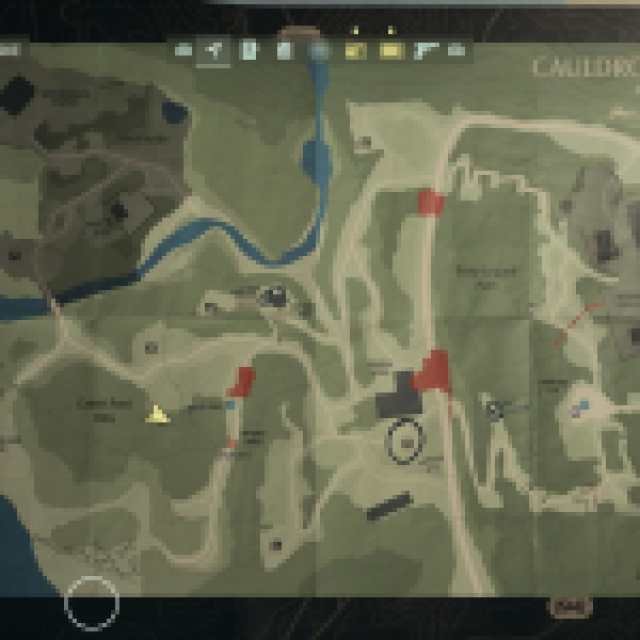
Screenshots by Prima Games
Be certain to interact with the short letter to get another piece of evidence for your case instrument panel .
Collectible 5: Streamside Cult Stash (2/3)
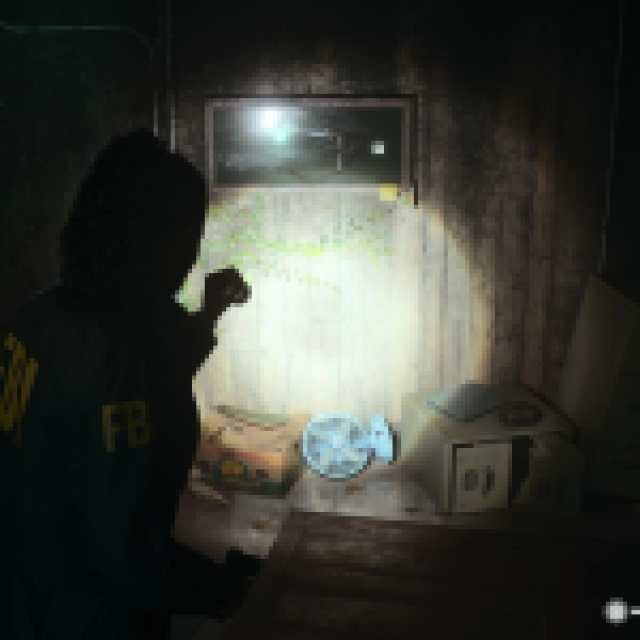
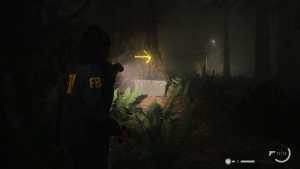
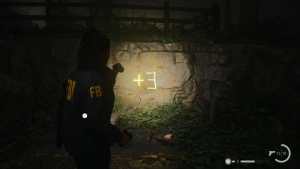
Return to the Witch ’s Sign , where you stick in the pith . But this time , take the trail exit . You ’ll meet a Taken wolf . Kill it , then keep your flashlight on . You ’ll see glowing yellow arrow that respond to that light .
Head back towards the streetlamp and go towards the camp to find the Cult Stash . It ’s to the left of the picnic board beneath the tree with the hang Cult of Tree symbols .
Collectible 6: Nursery Rhyme Doll (Crow) (1/3)
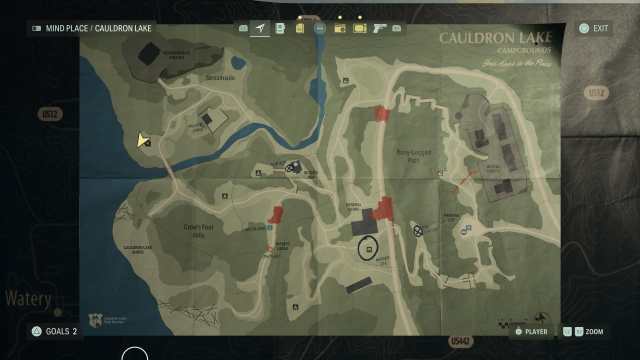
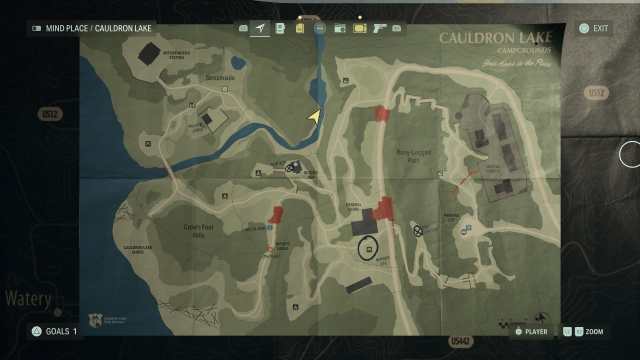
From the Streamside Cult Stash , continue western United States and take the first path Frederick North . This will result to a bridge which will take you to a new camp .
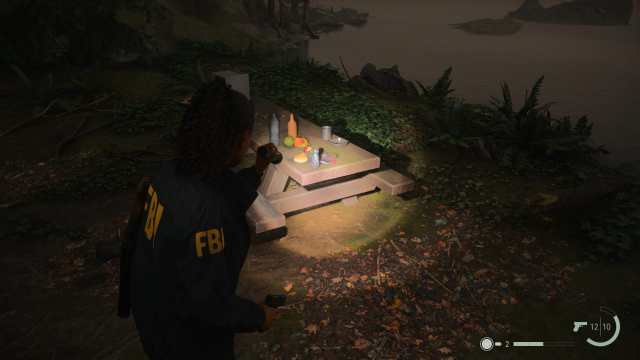
you’re able to find the Crow Doll on the picnic table .
Collectible 7: Hammer Charm (1/3)
Once you have the Crow Doll , border on the chalk drawing in the same refugee camp . Examine it , and you ’ll see there ’s a baby’s room rhyme . It ’s quite prospicient , but only the first line matters : one razzing for light .
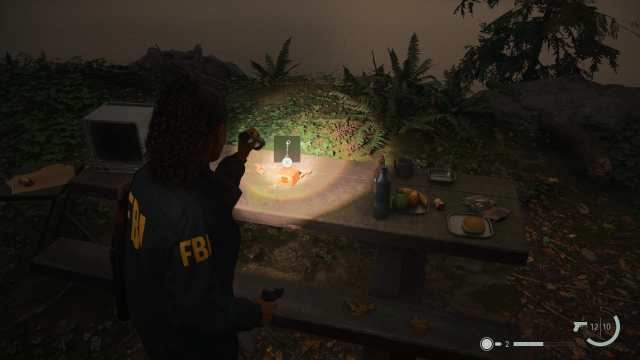
Interact with the Sunday and place the Crow Doll on it . A brag will then seem and leave something on the picnic table where you found the Crow Doll . break up it up to get the Hammer Charm .
The Hammer Charm – Attacks stagger enemies more often .
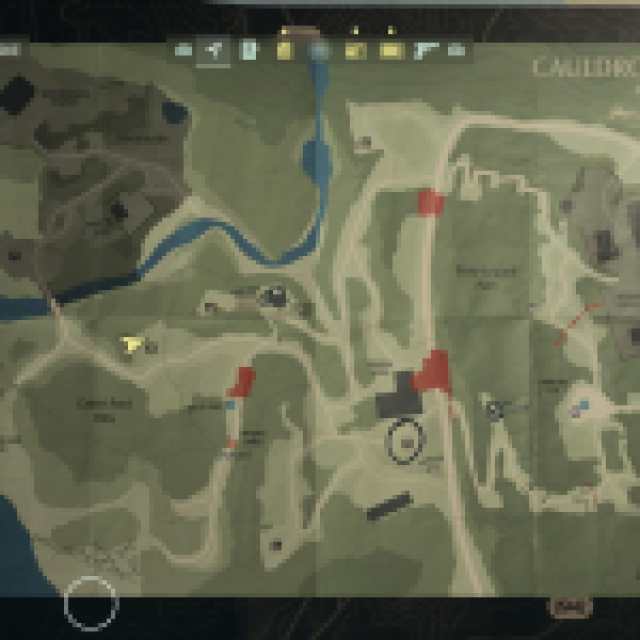
Screenshots by Prima Games
Pick up the Crow Doll before you go !
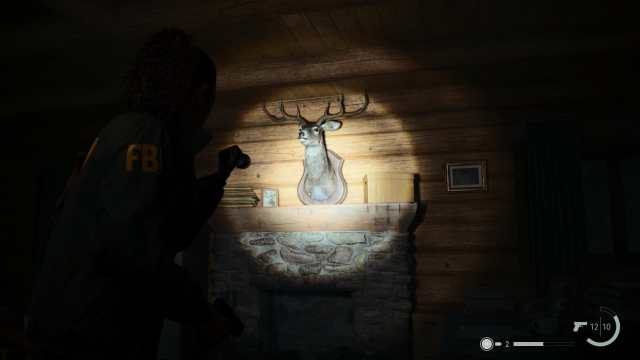
Collectible 8: Witchfinder’s Station Deer Head (1/1)
After claim the Hammer Charm , you ’ll want to take the North track . At the top of this pitcher’s mound are some steps and the Witchfinder ’s Station .
There ’s a deer inside once you enter , to the right , above the hearth . Pet it .
There ’s also a information processing system here with some interesting information and evidence .
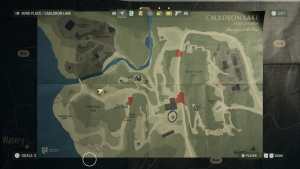
Screenshots by Prima Games
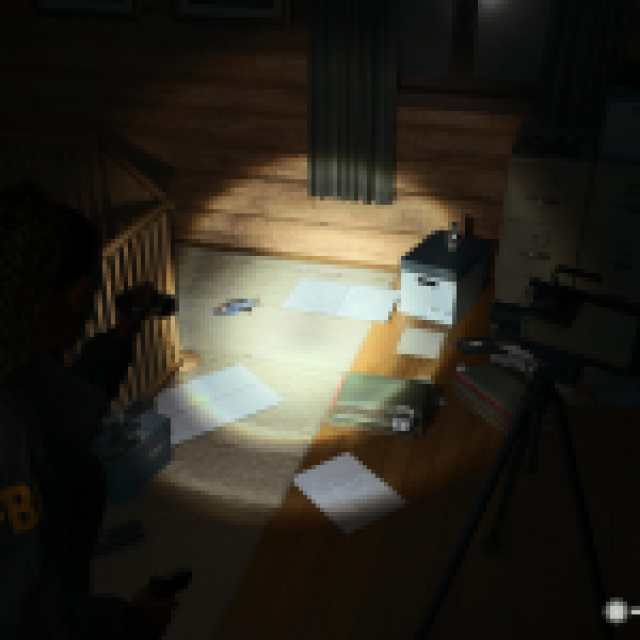
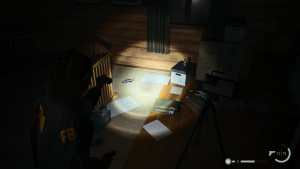
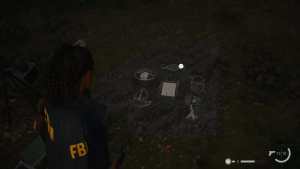
Collectible 9 and 10: Hero Nursery Rhyme Doll and Wolf Nursery Rhyme Doll (2-3/3)
Once inside the Witch ’s Station , head on a higher floor and turn immediately correct ; you ’ll see a playpen and a television camera on a tripod . Beyond the tripod is the Hero Nursery Rhyme chick on the reason and the wildcat doll on a filing box . garner both .
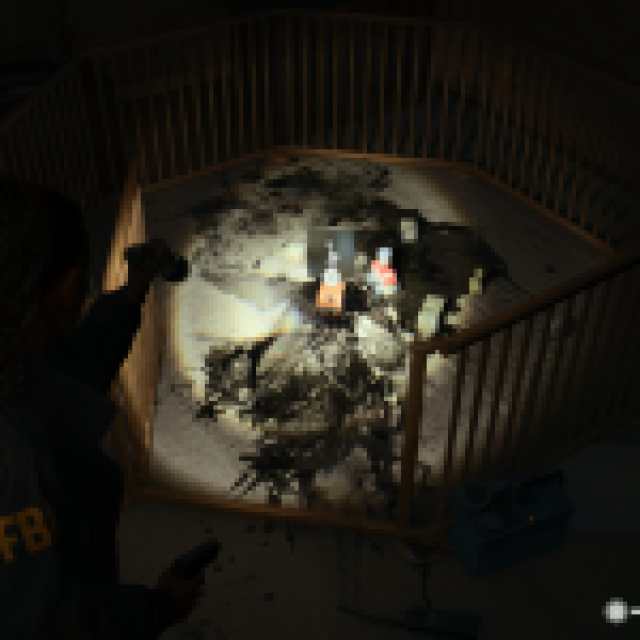
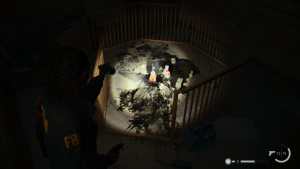
Collectible 11: The Coffee Mug Charm (2/3)
Leave the Witchfinder ’s Station , and you ’ll feel a ice draw in front of the house . The poem report the journeys of both the hero sandwich and the wolf .
To solve the Hero and Wolf Nursery Rhyme riddle , put the Hero on the boatand theWolf Doll on the tree . This indicates where the Hero went and where the Wolf come from .
come near the stairs , and you ’ll see wolf prints . Head back inside the Witchfinder ’s Station and upstairs to where you find oneself the Hero and Wolf doll . In the enclosure will now be a Coffee Mug spell .
Screenshots by Prima Games
The Coffee Mug Charm – save you from death , but shatters in the cognitive process .
Collectible 12: Witchfinder’s Station Lunch Box (1/2)
The next token on our list is a Lunch Box . Leave the Witchfinder ’s Station and go behind it , following the track east .
Keep press to the northmost rock and roll wall , and you ’ll stumble across the Witchfinder ’s Station Lunch Box .
You ’ll get nine Manuscript Fragments from this lunch box seat .
Screenshots by Prima Games
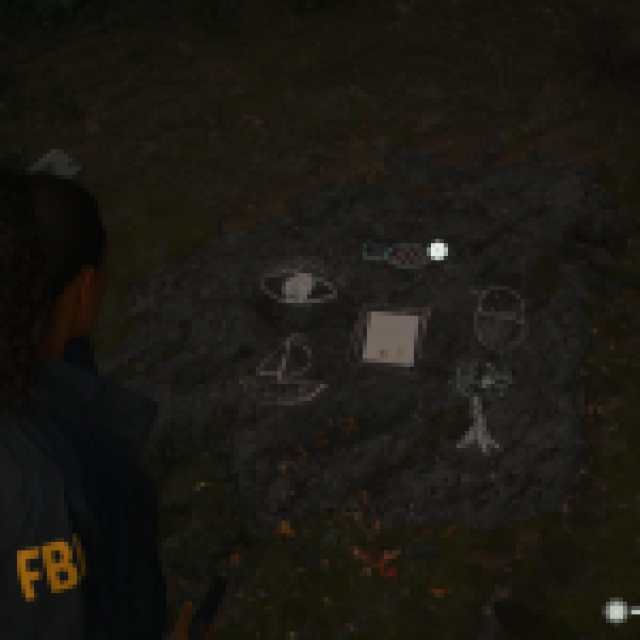
Collectible 13: The Kalevala Knights Charm (3/3)
You ’ll involve to crouch beneath the fallen tree to access it .
To the right of the entrance is another chalk drawing . We ’ll need all three Nursery Rhyme Dolls ( the Crow , the Wolf , and the Hero ) to solve it .
This one is pretty straightforward . Put theCrow Doll on the Hatchling , the Hero on the Heart , and theWolf on the House .
Screenshots by Prima Games
What might trigger citizenry up is the positioning of the wolf . But remember the last poem , the Wolf was in the house . And the Hero must be between the Crow and the Wolf , so it all create sense . You ’ll then hear some crowing in the distance .
Kalevala Knights Charm – Increases Hand Flare ’s duration and area of effect .
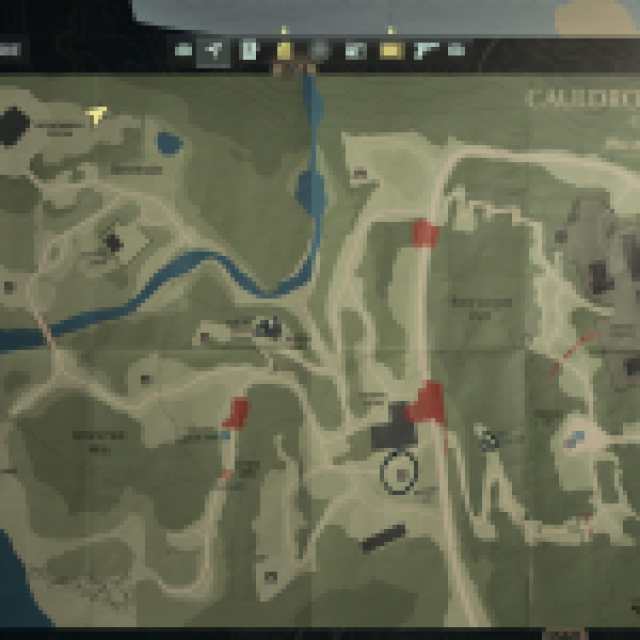
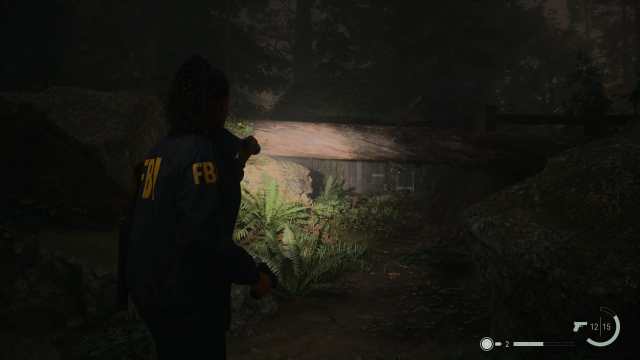
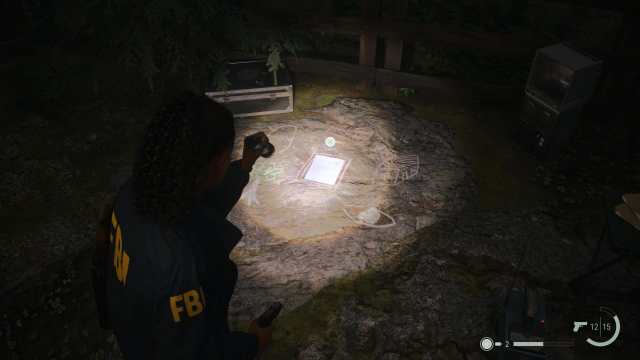
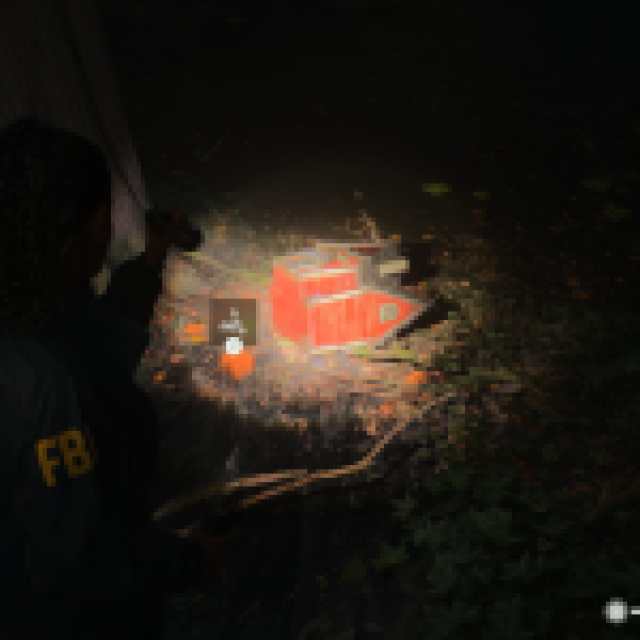
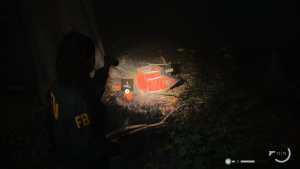
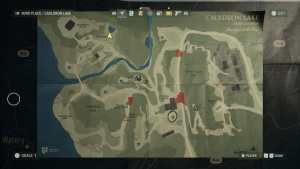
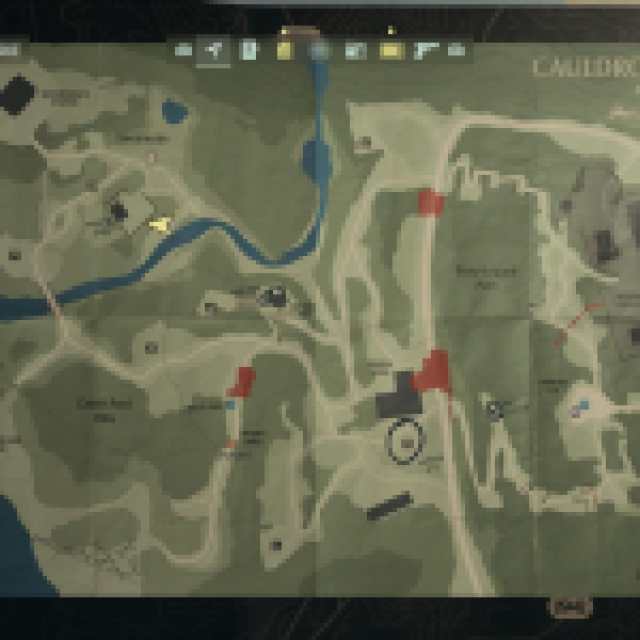
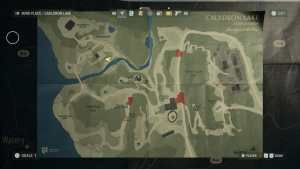
Collectible 14: The Private Cabin Cult Stash (3/3)
This Cult Stash is just to the Confederate States of the Private Cabin .
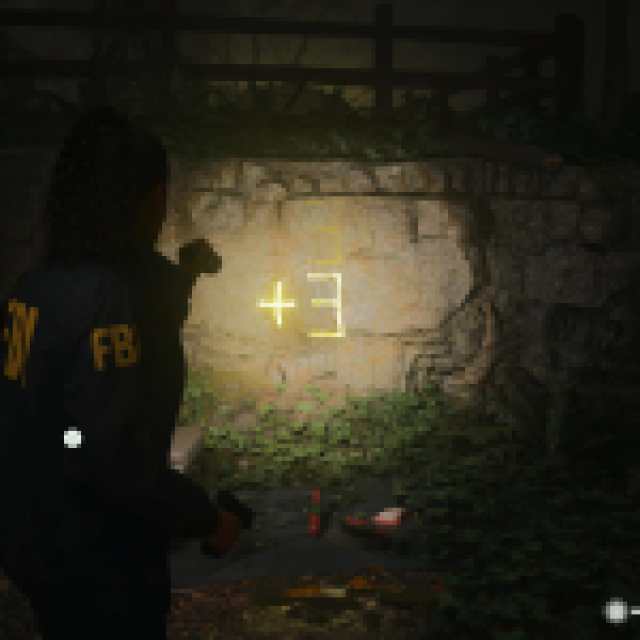
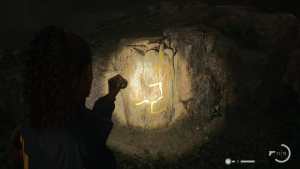
It ’s clues state you that you need to calculate at the two stone then Sir Herbert Beerbohm Tree to determine the codification . If you have your flashlight on , you ’ll be able to see that there ’s some simple arithmetic scrawled there .
Through the power of elementary increase , we learn that the computer code for the Private Cabin Cult Stash is658 .
Screenshots by Prima Games
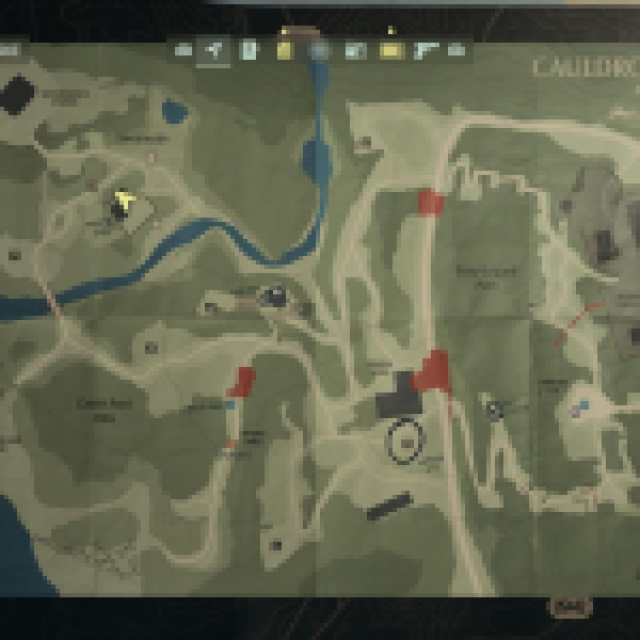
Collectible 15: River Lunch Box (2/2)
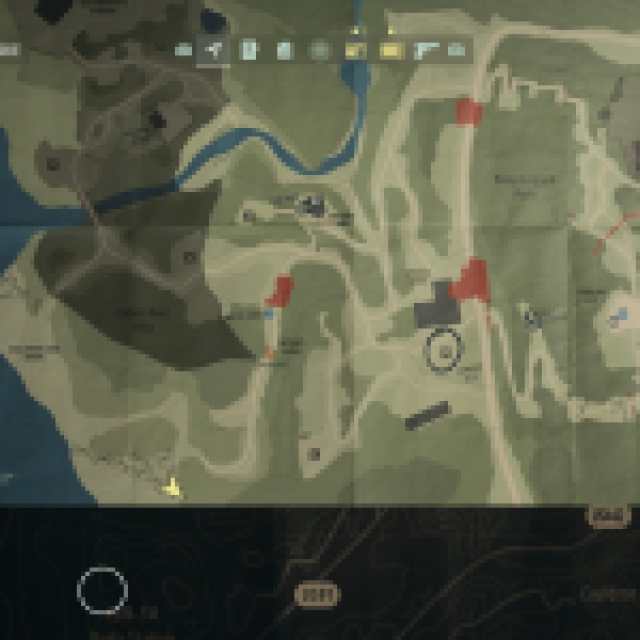
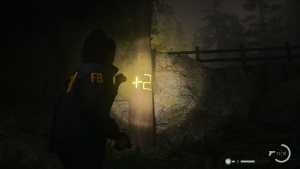
I never call up we ’d get here . The final collectible is a lunch boxwood , which can be found in the river that tend to the south and then north of the Private Cabin .
Screenshots by Prima Games

Screenshots by Prima Games
![]()
Screenshots by Prima Games
Screenshots by Prima Games
Screenshots by Prima Games
Screenshots by Prima Games
Screenshots by Prima Games
Screenshots by Prima Games

Screenshots by Prima Games
Screenshots by Prima Games

Screenshots by Prima Games
Screenshots by Prima Games
Screenshots by Prima Games
Screenshots by Prima Games
Screenshots by Prima Games
Screenshots by Prima Games
Screenshots by Prima Games
Screenshots by Prima Games
Screenshots by Prima Games
Screenshots by Prima Games
Screenshots by Prima Games
Screenshots by Prima Games
Screenshots by Prima Games

Screenshots by Prima Games
Screenshots by Prima Games
Screenshots by Prima Games
Screenshots by Prima Games
Screenshots by Prima Games
Screenshots by Prima Games
Screenshots by Prima Games
Screenshots by Prima Games
Screenshots by Prima Games
Screenshots by Prima Games
Screenshots by Prima Games
Screenshots by Prima Games
Screenshots by Prima Games

Screenshots by Prima Games
