This pursuit has multiple steps and attraction zapping , and we take the air you through it .
There ’s a honest moment of both fighting and puzzle - work inAtomic Heart , and the ‘ A Glass , Darkly ’ quest showcases much of the latter ahead of time on in the plot . This required commission will take P-3 down into the basement of the nearby VDNH exhibition where a maze of magnetic platforms expect . The puzzles might seem daunting at first , but they ’re actually pretty easy if you take the time to suck up the surroundings . Either way , here ’s how to solve the teaser of the A Glass Darkly pursuance inAtomic Heart .
Steps to solve all A Glass Darkly puzzle solutions inAtomic Heart
1. Open the basement door
On the entrance , calculate to the left hand and drag the Plutonium statue all the path back . This will open up the floor hatch that leads to the basement where the rest of the mystifier will take place .
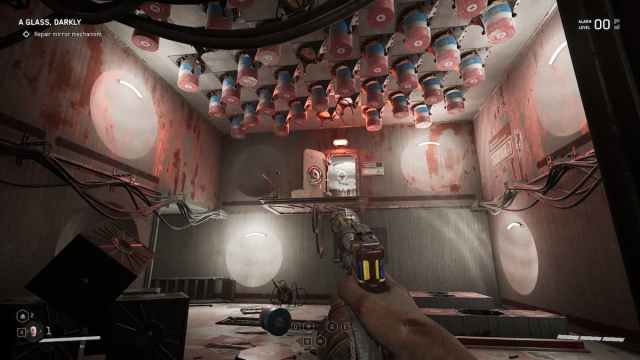
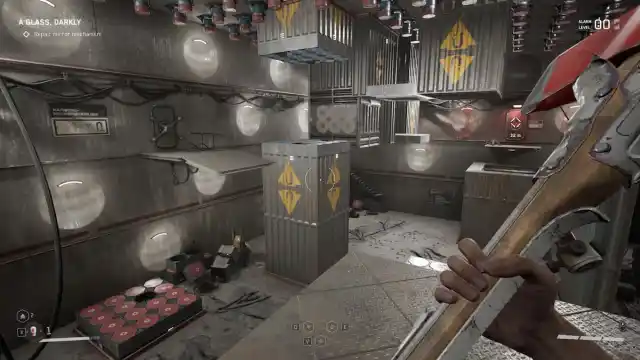
2. Room 1
Nothing extra here . tolerate on the magnets on the ground , zap the 1 on the ceiling , then jump to the open room access . Do n’t forget to loot the container in the hallway on the ground floor .
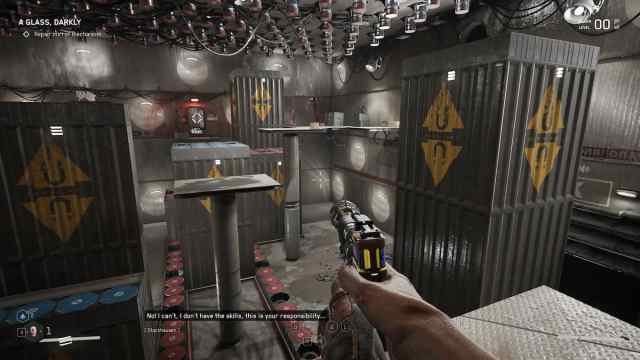
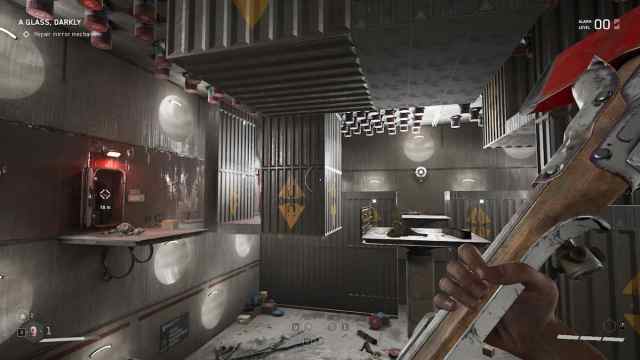
3. Room 2
strike thesave station , put down down to the left strip show of red story magnets , then SHOK the cap . apply the now - elevated floor as a bridge circuit to get to the room access on the other side . There are a couple of container to the left field of the way as well as a dead eubstance you could sing to . They do n’t offer much , so feel free to skip them .
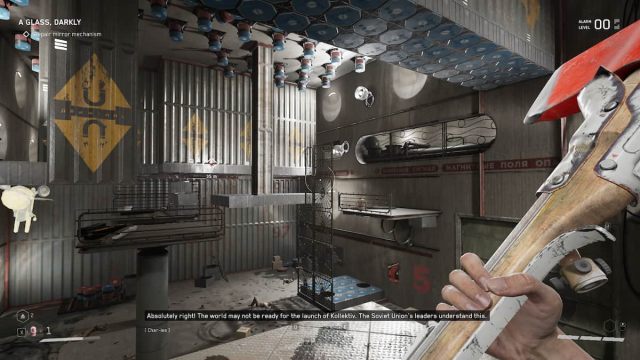
4. Room 3
The next place to go in your Richard Morris Hunt for puzzles to solve in the A Glass Darkly pursuit ofAtomic Heartis Room 3 . Whack the bot withyour weaponsand loot all of the containers first . Then , guide to the shopping mall of the room and wait at the storey to find alaser puzzlethat unlocks the agency forward . The gyration order is bottom - middle , bottom - left , then top - unexpended .
For the attraction room , drop down to the red magnet platformon the left over side of the room , SHOK the roof , then jump to the conterminous blue magnet platform . SHOK the ceiling again to raise the trading floor , and you ’ll come nerve to confront withanother laser puzzle . The rotary motion order for this one is top - right then bottom - right field ; this will give the door at the destruction . After the optical maser puzzle , send packing to the ground story and loot the silver breast by the marvelous , red chopine . Then , zap the cap and make your way to the exit door .
5. Room 4
you could skip all of the magnet roguishness here byjumping and then dashingbetween the platforms . The timing is a small strict , but it ’s totally possible , especially if the double - dash power is unlocked . Otherwise , the teaser is very straightforward — just keep zapping the ceiling and following the track of program that rise up and diminish with every action .
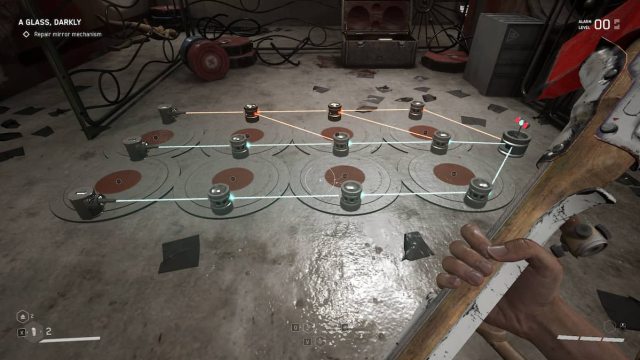
6. Room 5
The next obstacle is another wall - mounted laser puzzle . Since this one has four panels per row , we ’re going to announce each one accord to its situation as per the look-alike above . Then , rotate the panels in the following order : T4,T3,B2 .
The room access will lead to another cock-a-hoop attractive feature elbow room . Zap the ceiling , go to the blue platform on the floor , then hit the ceiling with SHOK again after make a motion to the static chopine with the dormant robot . From here , SHOK the ceiling to bring down a blue hanging platform right across the ledge . Jump - panache to it , then jump to the stable political program on the other side — the one with the stack of crates . Make your way to the stairs on the far side , SHOK the ceiling , then hop onto the chopine that drop . From here , it ’s a unclouded shot to the exit door .
7. Room 6
The optical maser puzzle here is astonishingly simple : just go around the third top panel and the door to the exit should open .
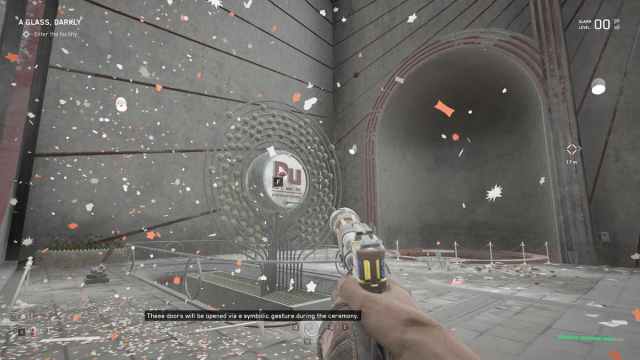
That wrap it up for the A Glass , Darkly puzzles inAtomic Heart . The door to the exposition will be open by the time you get out of the cellar .
Screenshot by PC Invasion
Screenshot by PC Invasion
Screenshot by PC Invasion
Screenshot by PC Invasion
Screenshot by PC Invasion

Screenshot by PC Invasion
Screenshot by PC Invasion
Screenshot by PC Invasion
