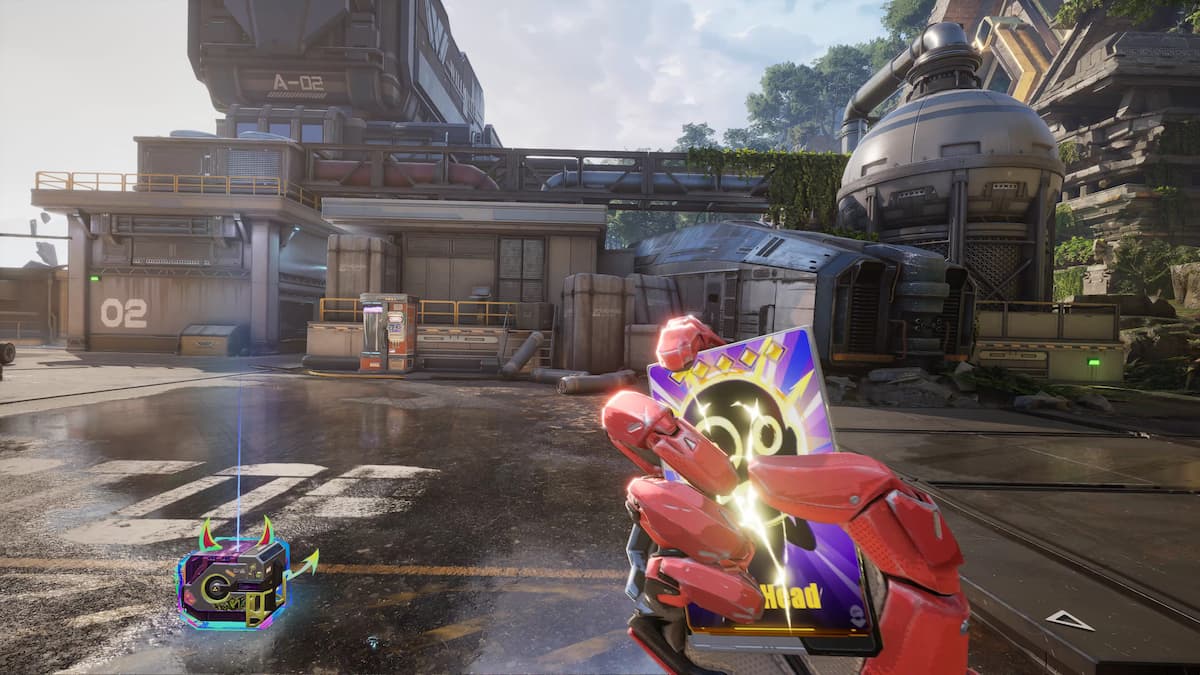
Get every vantage you may !
Shard Cards greatly affect couple in FragPunk . Even if players spark Shard Cards that benefit both teams , there are still ways instrumentalist can take advantage of the effects to win a round .
However , some Shard Cards are just monotone - out game - changers for the squad that gets it . So here are some of the best Shard Cards to score more wins in Standard and Ranked in FragPunk .
Best Shard Cards to Win More in Standard and Ranked in FragPunk
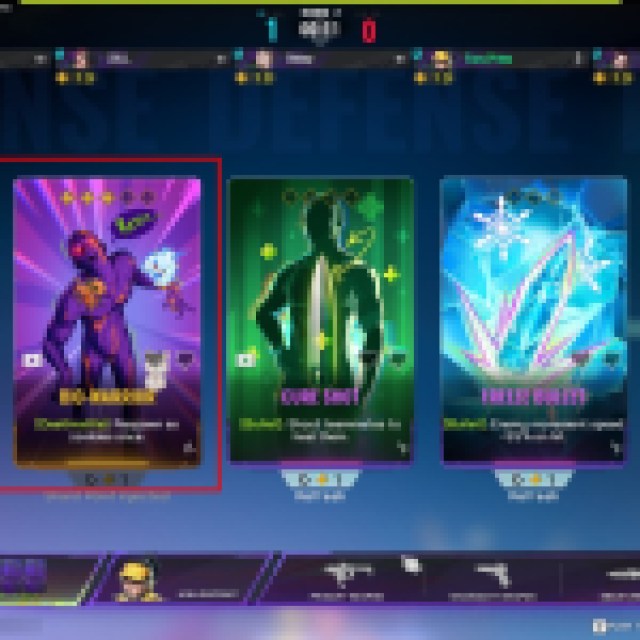
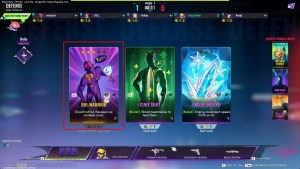
Bio-Warrior
The Bio - Warrior gives everyone a second luck , but only as a 50 HP zombie . While being a automaton does n’t give you a decent chance of score another killing , players can act as scouts or even tank some heater from the opposition . That makes this Shard bill intimately than almost any other card out there , land it at the top of my big money .
Related : All Weapons and Their Stats in FragPunk
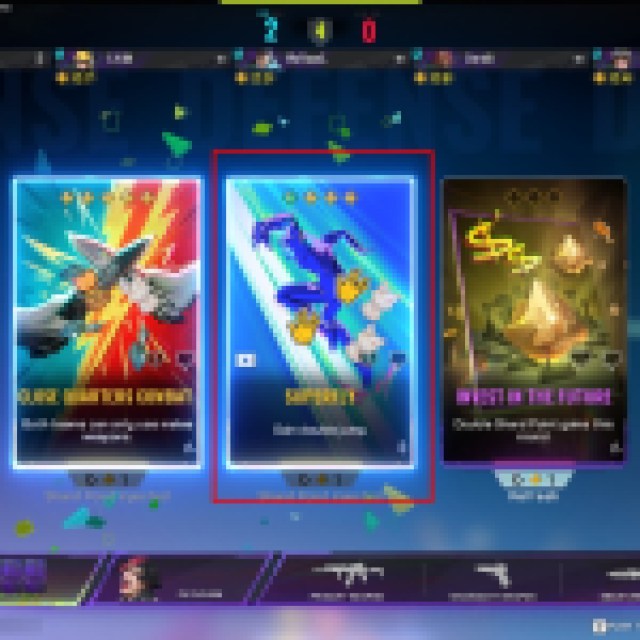
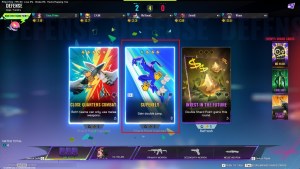
Superfly
Superfly gives players the power to jump double . While there are only a few place where you’re able to get to “ unreachable ” speckle without the treble jump , it is mostly upright for jumping over wall to peek and shoot .
Since jumping and shot are very accurate in the plot , doubled jumping to peek and shoot allows you to take enemies out unexpectedly . Most players do n’t know this , and it sometimes cause it laborious to get instrumentalist to spend their Shard point on Superfly .
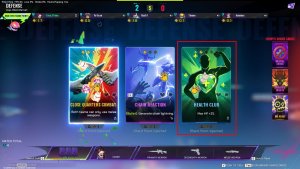
Health Club
The Health Club Shard Card is simple-minded . You get more HP so you may take more hits . This place you out of the “ one - shot ” scope , from all torso sniper dead reckoning and even a Bad Reputation headshot . Overall , it is a good carte du jour if no well Shard Cards are usable .
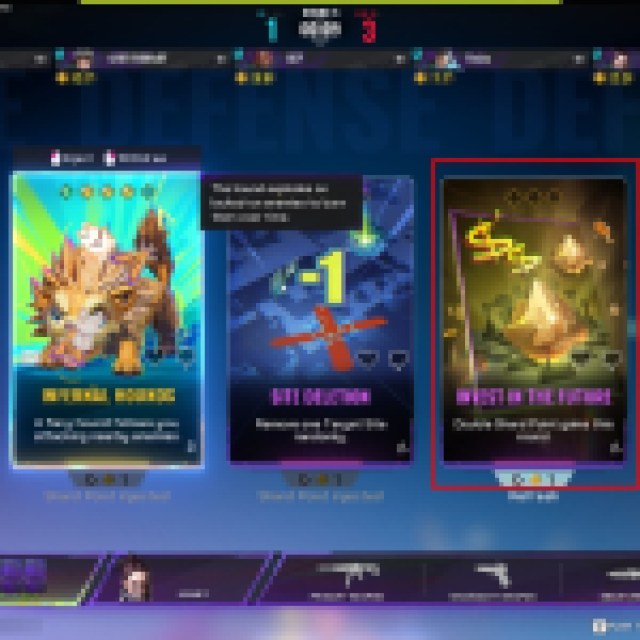
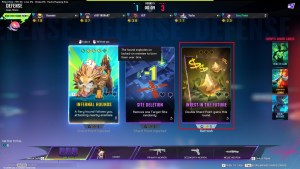
Invest in the Future
induct in the Future redact everyone in a good position next turn to buy multiple Shard Cards or reroll some bill of fare one-armed bandit a few times . For its worth , it ’ll always give you more than you need , which is why it is an awing Shard Card that always return value .
If there are more helpful identity card , you may prioritise them first since Invest in the Future does n’t give you any advantages . But , if you have excess Shard Points , produce the Invest in the hereafter is a no - brainer .
Related : Best Lancers For Standard and Ranked in FragPunk
Screenshot by Prima Games
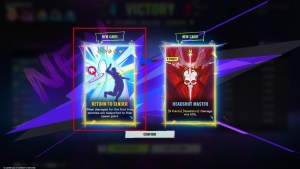
Return to Sender
pass to Sender is a double - edged steel , but it is always slightly better when it take place . It may seem like a justificative card , but it works both ways . Any shot to an enemy charge them back to the spawn percentage point . If an enemy is out of position , doing damage and sending them back might help them more , but that ’s the only downside of the card .
You ’ll get to use it in most situations and it can be helpful for your team . Pushing a site and send back enemies helps you plant the Converter and set up defence in a more advantageous way .
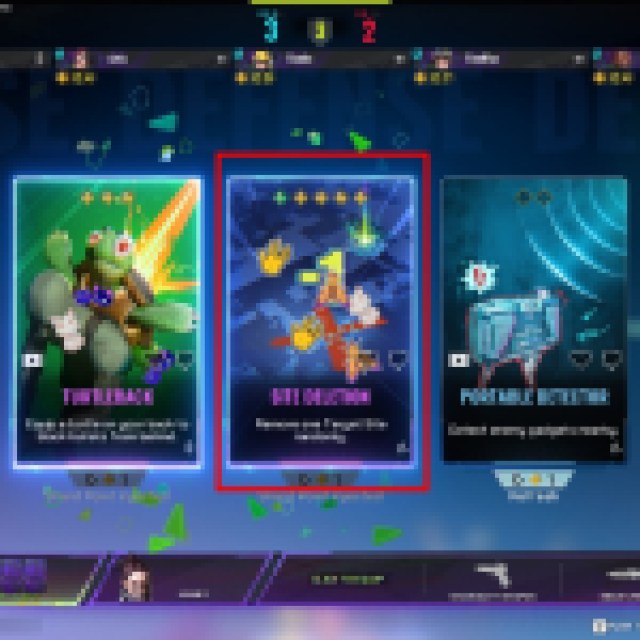
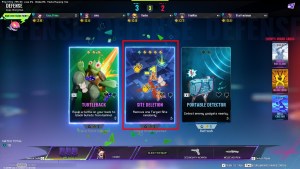
Site Deletion
situation Deletion slay a random website and makes things more exciting , as all players are forced to fight at one website . However , players could also employ the crossed - out or delete site to flank from behind . The situation will always be a five - on - five directly at one website , which makes thing exceedingly disorderly . However , it is also beneficial for defender since a individual site can get stacked .
Related : Best Weapons For Standard and Ranked in FragPunk
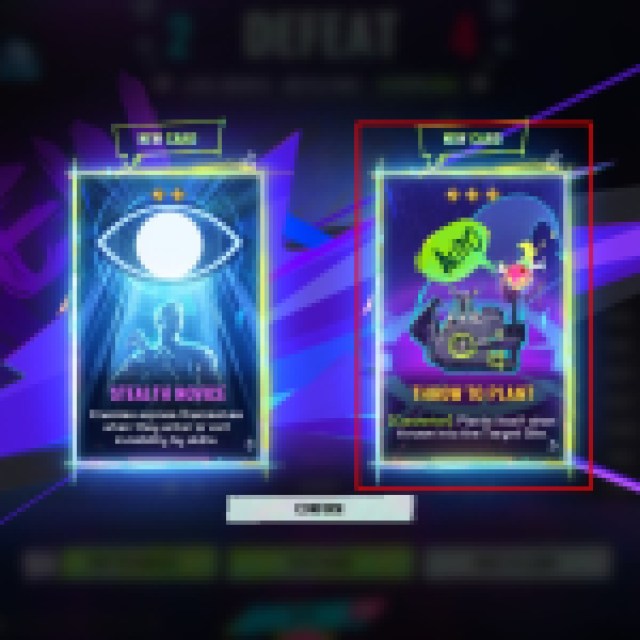
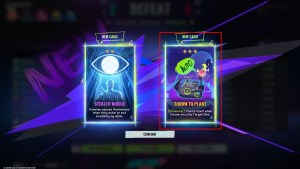
Throw to Plant
give to Plant allows the instrumentalist holding the Converter to have it ego - plant in the site . This allows the attacking side to use the Converter as bait to lure out withstander still lurking on the site . Defenders would also get distracted by the Converter planting , which could top to them take in the direction of the Converter because of the effectual cue . It is a bang-up Shard Card since it also only cost three Shard Points .
Screenshot by Prima Games
Screenshot by Prima Games
Screenshot by Prima Games

Screenshot by Prima Games
Screenshot by Prima Games
Screenshot by Prima Games
Screenshot by Prima Games

Screenshot by Prima Games
Screenshot by Prima Games
Screenshot by Prima Games
Screenshot by Prima Games
Screenshot by Prima Games
Screenshot by Prima Games
