Mount Rokkon is the second Variant Dungeon that come with 6.45 . Here ’s a full template .
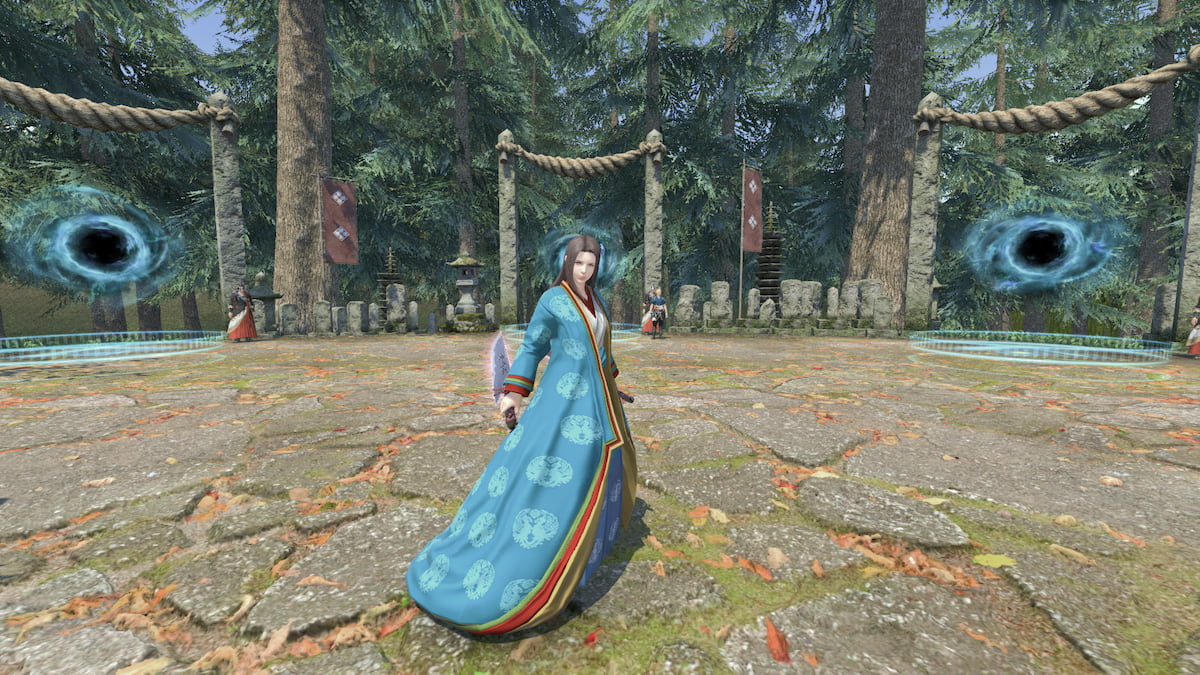
The second Variant Dungeon is out , this one taking us to the remote mountains of Hingashi to deal with all manner of demons and ghosts with everyone ’s favorite NPC , Hancock . Does n’t that vocalize like so much fun ? No ? Perhaps the rewards and gorgeous scene will tempt you instead . Here ’s a thorough Mount Rokkon dungeon templet .
Mount Rokkon full dungeon Guide: Start and unlock
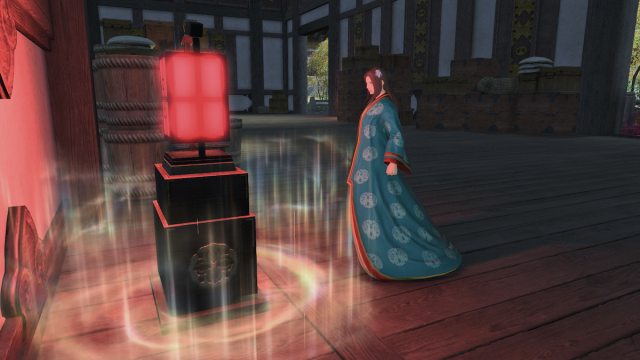
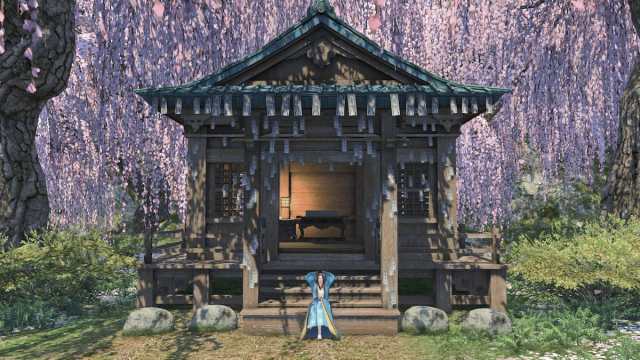
The start up pursuit is ‘ Mononoke Aware ’ , pick up from Shallow Moor in Old Sharlayan ( 12.0 , 13.3 ) . You must have baseEndwalkercomplete , as per last prison term . A few cutscenes later full of expounding , you ’ll be in Kugane with Hancock and with the duty finder for Mount Rokkon unlocked . Now it ’s time to embark out .
Variant Dungeon tips and tricks
Being a variant dungeon over a unconstipated dungeon , you do not want four masses to do Mount Rokkon . The mobs will all surmount HP to the amount of players on each run . However , here are some general rules for climbing the slew .
tankful and Healers should always haveVariant Spirit Dartas their first military action . Spirit Dart is now part of your rotation for optimize DPS . As an OGCD ( Off - orbicular Cooldown ) , Spirit Dart is meant to be weave between your regular attacks . It does far more damage than your normal attacks , so do n’t wait for the pane to run out . Just spam it until the boss is drained .
DPS ’ two actions will vary per composition , but as general rules :
Left Portal: Routes and Pulls Overview
Nothing you do can touch the Left Path until after the first boss . Instead you ’ll simply take the scenic route up the mountain .
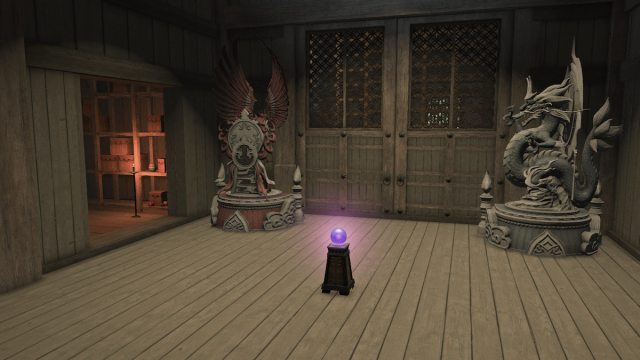
Route One ( Gift of the Onmyoji):When present with the Auspice statues , ignore the puzzle and use the Crystal Ball immediately . You ’ll then find a Katana causa in the next room . Interact with it .
road Two ( The Crimson Sword):Do not interact with the Katana this time and continue into the final boss room .

Screenshot by PC Invasion
If you pick these routes , your remaining pulls are this :
Route Three ( A Tale of Dead Men):Nowwe’re going to do the Auspice statue mystifier . Rotate Suzaku to the north ( facing the doorway ) and Seiryu to the west , then interact with the ball . A new path open up up for you to follow .
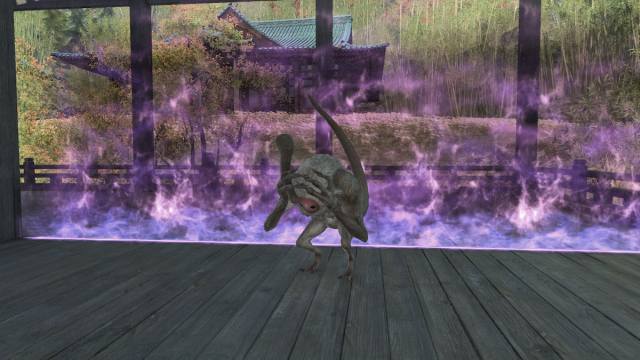
After defeating mobs on the roof , you ’ll go inside to another room . There ’s a mob called Shishu Apa . To get this itinerary , you have to leave alone it alone until it mold Water III to put out the lantern in the elbow room , then go on on .
Screenshot by PC Invasion
Route Four ( form a Legacy):Now the company has to focus down and stun the Apa before it can retch Water III to keep the lanterns lit .
Middle Portal Overview
Taking the middle route puts you on a direct path to Shojo Temple . Like the unexpended course , none of your actions affect the route until after the first hirer , but you’re able to at least shift previous foe receive and the first party boss ’ mechanics .
Route Five ( The Luthier and the Songstress):Proceed onwards with Hancock the whole way . When you come to the White Baboon , accept its offering and part with it .
Route Six ( Lost to Avarice):Tell the Baboon you demand a minute to think about it . It will attack you , but its easily vote out .
Screenshot by PC Invasion
Sixth Pull : Three Koja and two Yamawaro .
Route Seven ( Beyond the Lantern ’s Light):Don’t stick with Hancock through the door . or else , there ’s a improvised stairway made of crate behind you in the same room .
Climb it all the fashion up and pull the roofy to let Hancock join you .
Screenshot by PC Invasion
Route Twelve AKA the Secret Route ( The Osgiseru ’s Fate):Climb the crate and let him join you again . This time , however , when the Chochin appear , you have to pull them down into the previous room . There are several lantern in this room . Each one standing underneath a banner need to be lit by a Chochin . So drag them over to the lantern one by one and defeat them one by one .
They will alight each lantern upon defeat , open up a Lantern of Passage to interact with .
Sixth Pull : Three Chochin .
Screenshot by PC Invasion
Right Portal Routes
If you choose for the right portal , you eschew civilization entirely and take a walk through nature . doomed objects may or may not be included .
This is the only route where the outcome change before the first genus Bos . Hancock is drawn to a Dogu statue just below the staircase to the first boss .
Route Eight : push aside the Dogu and go . However , you ’ll come across four frightened Stones on the itinerary . You demand to interact with each one . The gem are at ( 11.6 , 10.0 ) , ( 10.8 , 8.6 ) ( 10.3 , 8.3 ) , and ( 9.8 , 6.3 ) severally .

Screenshot by PC Invasion
Route Nine : Don’t interact with anything , just go through the path .
Route Ten : Now take the Dogu and fight the knob . You ’ll come to a path with a picket fencing . Ignore the fence and instead focus on the shrine .
practice the Eastern Bow emote in front of it ( /ebow ) and it will open up . Put the Dogu at heart and the ambo turns into another path . When faced with the last choice of route , pluck the Iwakura .
Screenshot by PC Invasion
Route Eleven : We’re doing the same thing , but we ’re pick the Ancient Tree at the ending or else of the Iwakura .
Mount Rokkon Bosses: Yozakura the Fleeting
No matter what itinerary you pick , your first boss will always be this possessed Shinobi cleaning lady . She has a lot of universal mechanics and then others that vary per route .
Universal mechanics :
The rest vary by itinerary .
Screenshot by PC Invasion
Left Path , Windy Weather :
Left Path , Rainy Weather :
Middle Path , Rope Left Alone

Screenshot by PC Invasion
Middle Path , Rope pull :
Right route , Dogu Statue give Behind :
Right Path , Dogu Statue Taken :
Screenshot by PC Invasion
Mount Rokkon Dungeon Guide Left Path Final Boss: Moko the Restless
More appropriately called Moko The Confusing Mechanics , this vengeful spirit and the correct path boss are both a step up in difficultness . You really have to figure out his mechanic or you ’re not going to have fun .
Universal Mechanics :
Image via MS Paint

Screenshot by PC Invasion
Route Mechanics :
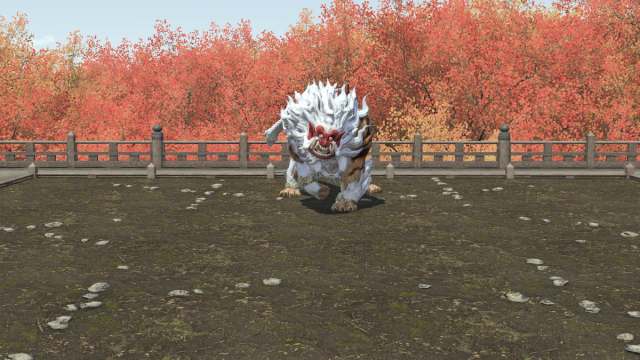
Mount Rokkon Dungeon Guide Middle Path Final Boss: Gorai the Uncaged
The fallen head teacher monk of the temple is the easiest of the bosses by far . None of his pas seul mechanics are particularly painful and his independent rotary motion is accomplishable in the prediction category . Even better , his extra mechanic from path only materialize once . If you ’re Potsherd husbandry , pick his route .
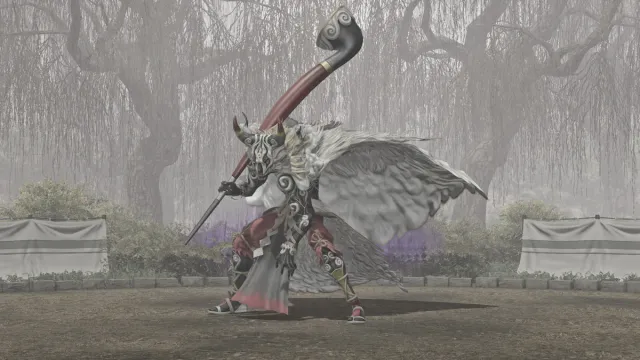
Right Path Boss:Shishio
If you like annoyance and nightmare fuel , you ’ll occur face to typeface with Shishio , a fearsome creature from Hingashi legend . Most of its ecumenical mechanics are arrant suffering and the additional ones range from tolerable to painful . The good news is the route mechanic only happens once , but that ’s scantily a silver lining .
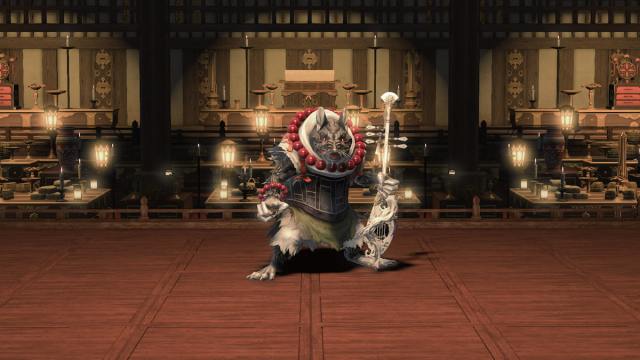
Mount Rokkon dungeon guide Secret Route Boss: Enenra
Despite being the cloak-and-dagger hirer , Enenra is the second easiest of all the bosses , because Moko and Shishio insist on being literal pit to beat in their corner . I venture we ca n’t all be the Sil’dah Subterrane secret boss .
Mount Rokkon Rewards
Related : How to get the Shishioji setting in FFXIV
There are three ways to get advantage from Mount Rokkon . Some are switch from Rokkon Potsherds and Shishu Coins ( found in Another Mount Rokkon ) from Trissant in Old Sharlayan ( 12 , 13.3 ) , while some are a low cliff chance from the Personal Spoils coffers .
Rokkon Potsherds
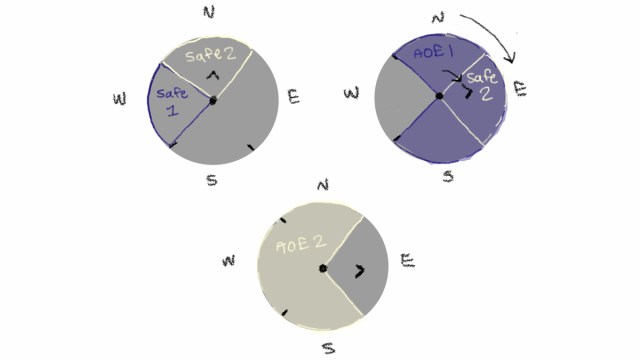
Image via MS Paint
Shishu coin
Personal Spoils
finish all twelve routes gives you the Burabura Chochin Whistle from the achievement menu . And with that , the Mount Rokkon Dungeon Guide has finish . Now the bigger question is , was it all deserving it , and is Hancock an interesting fiber now ?
Screenshot by PC Invasion
Screenshot by PC Invasion
They were tempting fate with this boss concept. Screenshot by PC Invasion
Screenshot by PC Invasion
