Be prepared to use Accio for most of it
Hogwarts Legacy provides short ton of opportunities to screen your puzzle - solving accomplishment during the main story and in side quests . You ’ll even discover chances to do this outside of questing , particularly if you require to get every collection chest . The Depulso Puzzle Rooms are just one deterrent example , yet they are among some of the most complex challenges in the whole game . If you ’d like to con more , continue reading for a comprehensive guide on completing Depulso Puzzle Room 1 in Hogwarts Legacy .
Related : Is the Whomping Willow in Hogwarts Legacy ? – Answered
How to Complete Depulso Puzzle Room 1 in Hogwarts Legacy
The first Depulso teaser way is a keep in the Library Annex that you could access after unlocking the Depulso spell . The quickest way to accession it is from the Potions schoolroom , where you could go down the nearby wind staircase and down the Charles Martin Hall to find a gilded button on the wall . habituate Depulso to open it , reveal the dungeon ’s entering .
Related : Someone Modded GTA ’s CJ into Hogwarts Legacy Because Of Course They Did
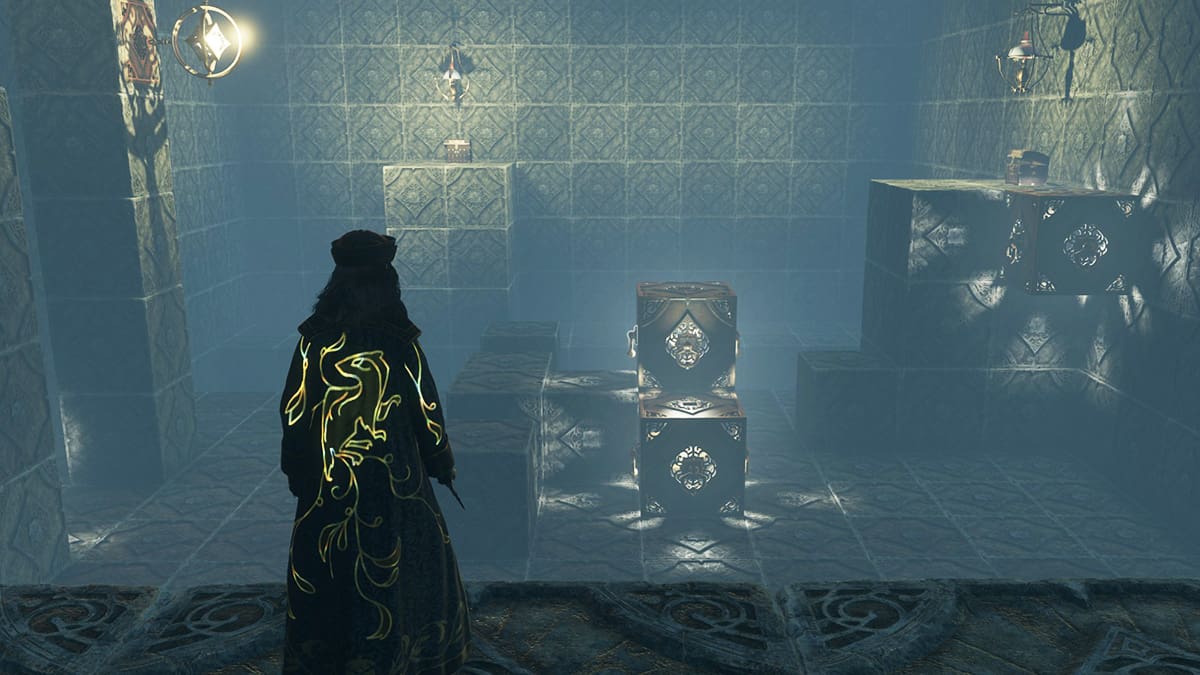
After entering the puzzle room and going down the hallway , you ’ll find a bunch of golden cube and treasure chests . Using Accio and Depulso , you ’ll have to move the golden blocks around to enter the treasure , let you to get more platforms and , in the end , unlock the net collectible chest .
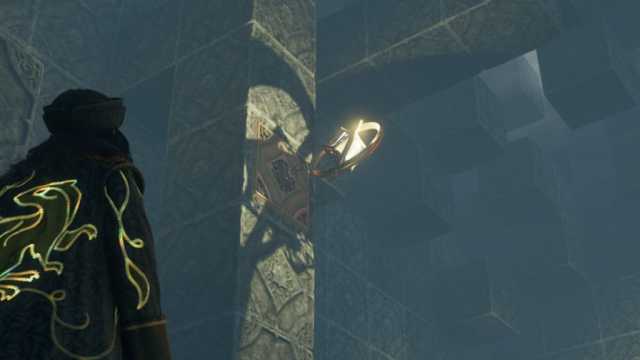
If you ever have to readjust the puzzle way and the cube at any point , utilise a basic attack on this reel gilded square block .
Reaching the Depulso Puzzle Room’s First Chest
With all that say , below are the footprint you ’ll have to take to access each chest :
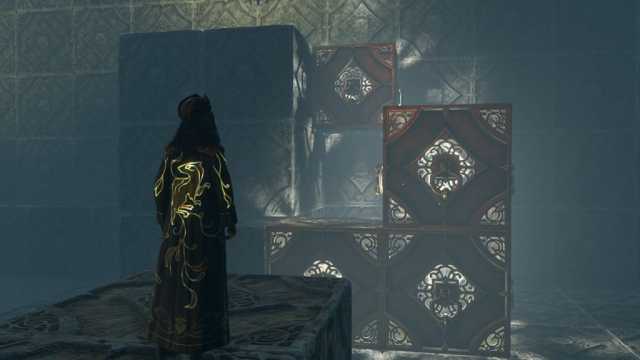
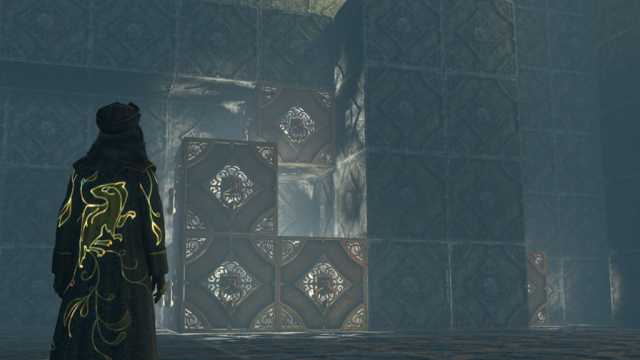
By this point , they ’ll look like this . you’re able to now climb them like stair and spring to the floating block to get to the first chest .
Once you get the first hoarded wealth , strike the Au reset to pop out working on the second !
Getting the Second Treasure
After you reset the puzzle , the two middle blocks should be in the mall of the way . you’re able to now take the follow steps to get the second chest :
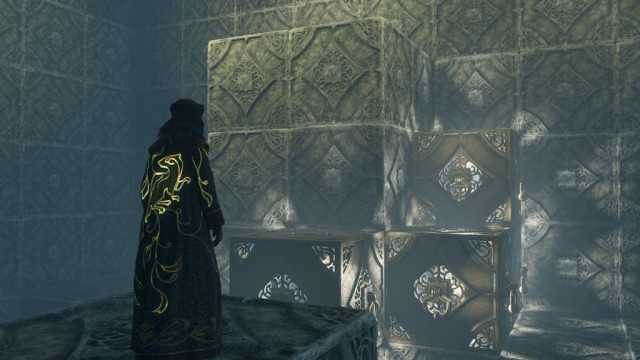
Once you reach this point , the blocks will look like this .
you could now jump onto one of the nearby stone blocks and hop across the disruption to the gold one . From here , climb the other three amber engine block like a stairway and get at the second hoarded wealth chest ! It ’s time to hit the atomic number 79 reset and knead on the last part of this mystifier room .
Related : How to Make sluttish Money in Hogwarts Legacy
Reaching the Third Treasure Chest
This third gem pectus is on the room ’s leave side on a stone platform . The strategy for this one is like to the first but with a pair of surplus step :
After you bring the cube toward the chest , it ’ll look like this . Do n’t worry about the stone blockage ; these only appear after you launch the treasure .
The stairs are now against the platform , and you’re able to use them to get at the third hoarded wealth in this room . The Oliver Stone bridge deck will seem , allowing you to walk across to the starting platform well .
You may have notice that , up until this spot , you ’ve only call for gear from these chest . However , upon bring back to the starting area and walking through the doorway , you ’ll incur the collection breast in the mall of the walkway , ready for you to open up ! unlock this fool the official completion of Depulso Puzzle Room 1 in Hogwarts Legacy .
Hogwarts Legacy is available on PC , PlayStation 4 , PlayStation 5 , Xbox Series X|S , Xbox One , and Nintendo Switch through theofficial website . If you want to learn more about the secret plan , gibe outHow to vote down Ranrok in Hogwarts LegacyandHow to Solve the Small Stones Merlin Trials in Hogwarts Legacy .
