Something does n’t palpate correct …
Starfield ’s main missionary work line progresses nicely , with one mission tending to come after another without much variance . Only on rare juncture do things transition without any clear endpoint , as if you ’re still doing the same commission . One model of these rarefied occasions comes up during one of the final missions of the main story and can well hurl you off . Here ’s how to complete the Entangled mission in Starfield .
Starfield Entangled Walkthrough
As mention , this mission seem after completing the previous Final Glimpses missionary post of Starfield . As you make it to the planet of Freya III , you ’ll find a satellite blasting a distress call , which you must reply to progress . Its distraint call negotiation of monumental price to the facility and the motivation for emergency evac .
Investigate the Distress Signal
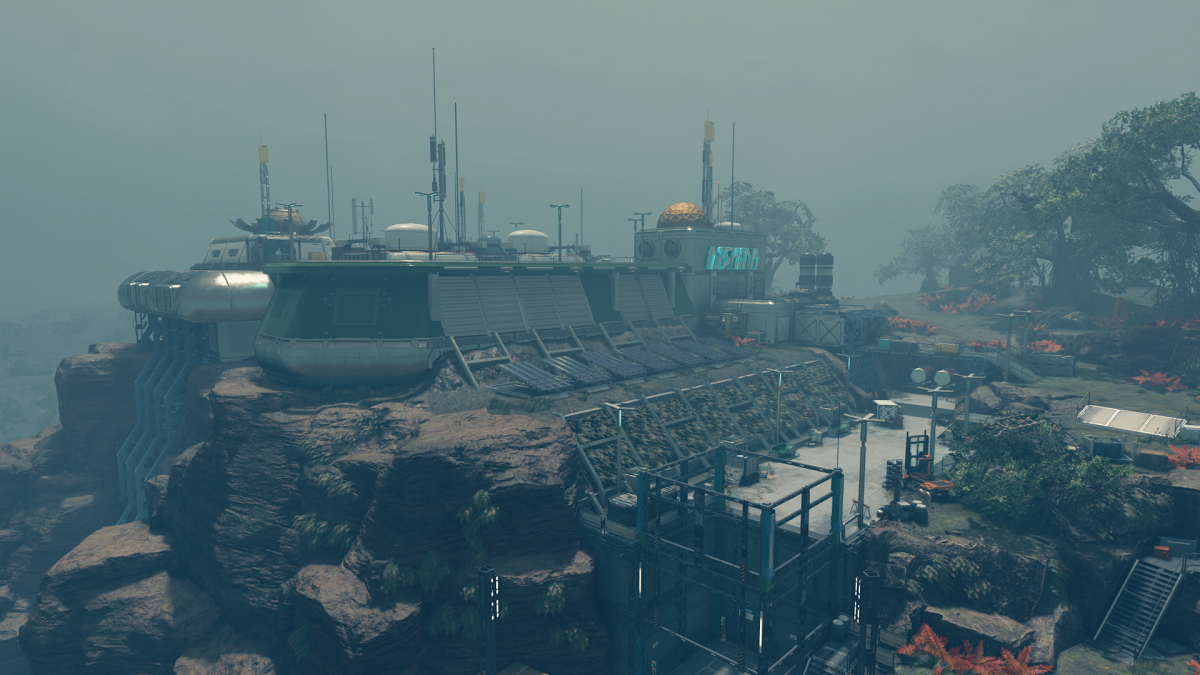
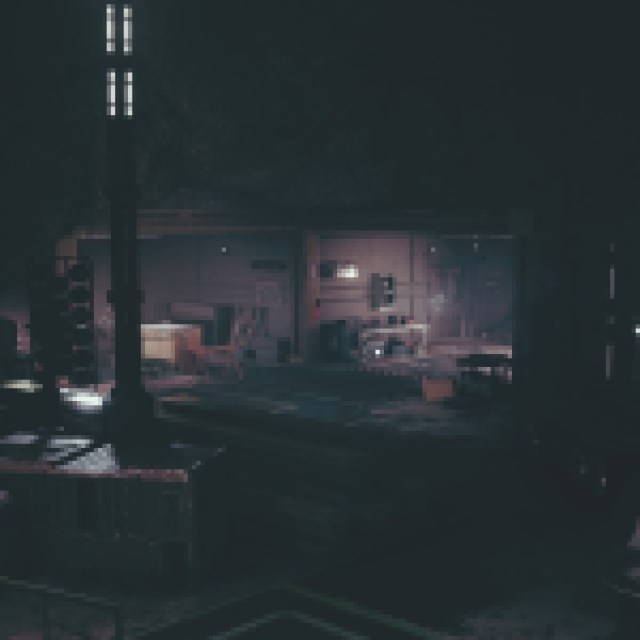
After try the distress call , open up up the planet function and select the landing address , Nishina Research Station . As you land and proceed to the station , thing seem awfully quiet for a distress call . As you make it to the front room access , someone will speak over the comms , asking what your business is here . Why would a radical that sent out a distraint call be need why you ’re here ? The mankind on the intercom sound just as surprised . Your companion will have to wait outdoors , but otherwise , you ’re free to enter and speak with the Director .
After talk with Ethan and learning he ’s the Chief of Security for Nishina , you ’ll be task with follow him . You ’ll be taking the back way to the Director through Storage due to the lockdown . Make your elbow room through Storage , and do n’t touch anything . peradventure this is all just a mistake .
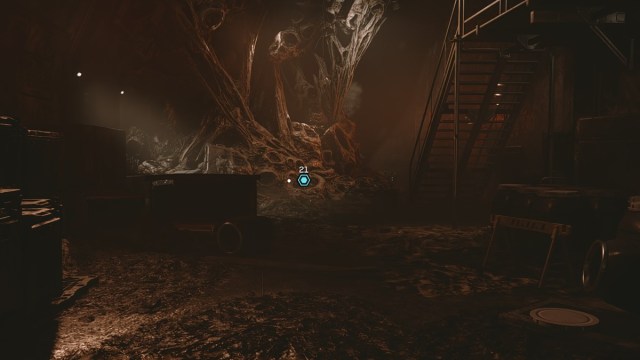
Except that you just got teleport to the ruins of Nishina . You ’ll cursorily come across some Cataxi Warriors that want to be fight before teleport back to normal Nishina . Ethan will enquire what the nether region just happen , and naturally , you have no cue what happened either . Once you ’ve beget your bearing , you ’ll be dependable to retain heading to the Director . Head into the Work Room next on the way to the Director .
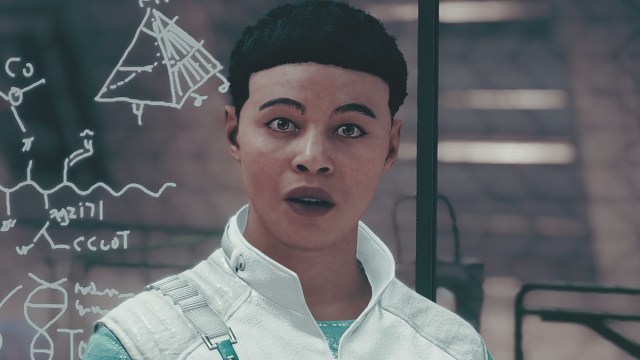
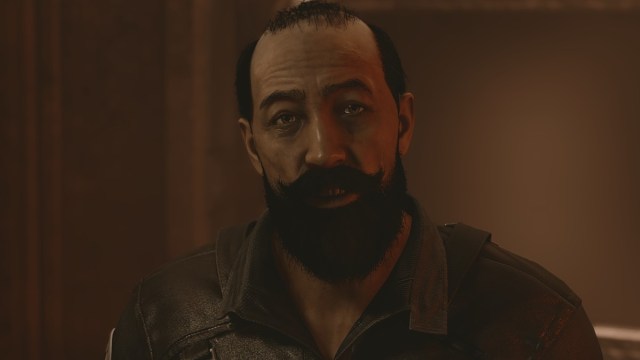
Once again , you ’ll be teleported and retrieve a gentleman named Rafael . He ’s hiding within some machinery tables , but is he ever glad to see you . He ’ll be wondering how the pit you ’re deep down with all the hostile bugs and says that everyone in the readiness except for him is stagnant . The inquiry post was canvas a gravitative straining around an object ( the Artifact ) a few month ago . However , there was an chance event that induce an plosion , leading to a gas leak . This further sparked into a blast , which led to everyone ’s death except for his . Before he can give more details , you ’re teleported back to regular Nishina .
You ’re run low to keep teleporting back and onward between Nishina and the Nishina Ruins , so keep proceeding forward . There ’s no notable loot anyway at this point , so you are n’t miss out on much . Finally , you ’ll attain Director Patel in even Nishina .
Speak to Director Patel
In the Director ’s agency , you ’ll encounter both Director Kaia Patel and Maria Hughes , Nishina ’s Chief Scientist . There , you ’ll all start to piece together what ’s happening . Nishina Research Station conducted an experiment using the Artifact until there was an accident . In regular Nishina , the hydrogen leak that came subsequently was contained , while the Nishina Ruins were n’t able to incorporate it . You ’re teleport between two dissimilar universe arbitrarily .
Regular Nishina is n’t in as great a state as you might call back though . While the Artifact and the machine around it are still turn tail , the gravitational airfield around the Artifact keeps increase . They could shut it down , but the intact inquiry floor is locked down . There ’s no agency in or out unless someone with universe - skip power can get past the domain of the lockdown . From there , all you want to do is stop the power interlocks and hit the emergency shutdown switch .
With a plan in gesture , now all you need to do is do something about your hopping to keep it under control . While even Nishina ca n’t exclude down the investigation , they can adjust some parameters to keep thing under control .
Screenshot by Prima Games
With the architectural plan in motility , adopt Maria to the fabrication research laboratory . You ’re going to shift some more and are probable to find Rafael . He ’ll be a bit fearful of your plan , but seeing as he ’s been here three months with no hope in pot , you ’re all he ’s got . Head through the pantry and continue dealing with the Cataxi Warriors while dealing with some more universe - hopping chicanery .
While this is mostly straightforward stuff , there is one secret interaction you might not know about . After teleporting behind Ethan and talking with him , you’re able to call for about scorpion native to the planet . This will open a persuasion check , which , if succeeded , will grant you the Experiment A-7 shotgun . It come with a 30 % damage bonus against alien , make it great for fight these Cataxi .
After speaking with Ethan , make your means through the Main Hall and adjacent rooms , fighting Cataxi as you go . Eventually , you ’ll make it to the Fabrication research lab atop some stairs .

Screenshot by Prima Games
Speak to Maria and Assist Her With the Probe Control Unit
Now that you ’ve lastly made it , talk to Maria , and she ’ll get the Probe Control Unit set up . After messing with one of the circumstance , a strange microdistortion will come out in the room . Step into it , and you ’ll be teleported to the Nishina Ruins . In the way will be a Probe Control Unit , which will mechanically position up micro - distortions across the Nishina Ruins . With that all calibrated , you ’ll now only teleport when walking into the micro - distortions . With this in hand , all you need to do now is get to the High Energy Research Lab and invalid the power interlocks . This should shut out affair down for good .
Director Patel will want to speak with you one more clock time . She ’ll offer Dr. Barakova ’s help with supplies if you need some , though she wants to discuss something else . Whichever reality you turn off the king meshing in is the one that will become real for your universe . This entail you ’ll have to make a alternative on which universe of discourse to keep , though that option does n’t come until later . For now , you ’re free to head to Rafael ’s lift , teleport to the Nishina Ruins , and begin your journey .
Get to the Lab and Override Lockdowns
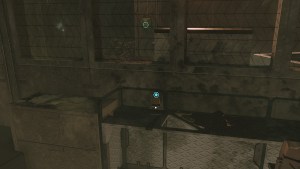
Once you ’ve made it to the bottom of the lift shot , the real journey begins . Teleport to regular Nishina from the first chopine , then teleport to Ruined Nishina from the far micro - distortion and chief through the contiguous room access . indoors , you ’ll find the Nishina Particle Lab keycard , which you ’ll need by and by .
Across from the keycard is a micro - distortion that you ’ll require to spark . Be careful though , as the surety system will endeavor to kill you this far down . Once the robots and gun turret are bushed , use the keycard to lead downstairs . From here on , you ’ll want to use different distortion to swap between universes . Regular Nishina will be used when postulate to interact with most computers and machinery , while the Nishina Ruins is more for fetch through locked doors and thing of the form .
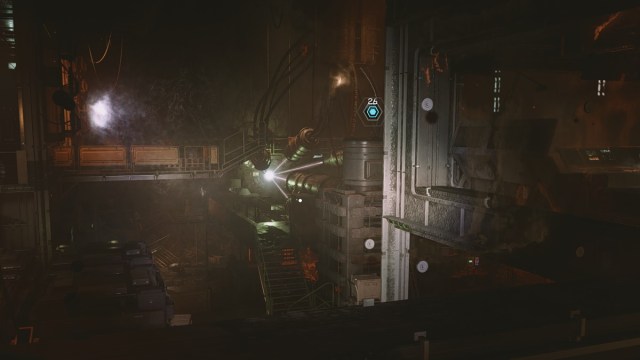
You ’ll set about by using a computer to overturn the lockdown on the Facilities sphere , watch over by the Accelerator sector . Remember to be mindful of hostiles , as both universes have their honest share of things that want you idle . Once you reach the Particle Accelerator , you ’re search for a keycard to the Utility Closet . The Utility Closet lets you spread a locked threshold in the Particle Accelerator room , which then lets you use the override computer to override the lockdown . The threshold that opens is on the opposite end of the way .
Screenshot by Prima Games
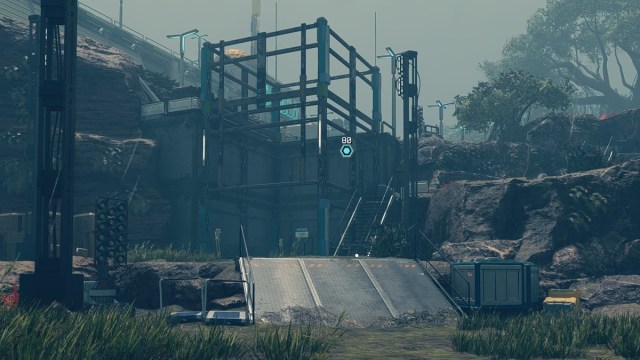
You ’ll make your way through a nest of Cataxi before finding your way up to a break - aside higher platform . After traversing for a morsel , you ’ll be tasked with override the lockdown on the Storage section . Thankfully , this one is within the same room you ’re in upon receiving the objective .
Disable the Power Interlocks
After some more traversal , you ’ll finally come across the High Energy Research Lab . Here ’s where you must make a choice . If you want to save Rafael , then you ’ll turn off the magnate interlocks in the Nishina Ruins universe . If you want to make unnecessary Patel and her people , incapacitate the power meshing in the regular Nishina macrocosm . The consequences of this choice , we ’ll talk about in a mo .
Whichever cosmos you choose , you ’ll have to make all seven power interlocks while dealing with an array of enemies related to that universe ’s country . Be conservative here and take your time . There are a muckle of enemy to handle in either universe , so you ’ll get destroyed if you try on to rush thing .
Saving Patel’s Universe or Saving Rafael’s Universe
For whichever existence you want to salvage , reach that emergency brake closedown switch and grab the Artifact . Speaking to whoever you saved will grant you some loot for your troubles .
For savingPateland her the great unwashed , you ’ll get the pursuit :
For savingRafael , you ’ll get these items :

Screenshot by Prima Games
In addition , saving Rafael will let you recruit him as a companion . From here , he can either join you on your adventures or be a Crew member of either your ship or an Outpost . If you take me , you should prefer to save Patel and her the great unwashed out of saving the majority , but you could pick out whatever you ’d like . It wo n’t touch on the end in any way . No matter what you choose , speaking to them will end the mission .
If you ’re looking for help with some other missions , check out our guide on how to completeDeep Cover in Starfield .

Screenshot by Prima Games
Screenshot by Prima Games

Screenshot by Prima Games
Screenshot by Prima Games

Screenshot by Prima Games
Screenshot by Prima Games

Screenshot by Prima Games
Screenshot by Prima Games
Screenshot by Prima Games
