A Launching machine
In this one , I will be assist all players locate and fill in the Oromuwak Shrine in The Legend of Zelda : Tears of the Kingdom with four simple steps . Whilst it is one of the more straightforward puzzles to solve , you could witness yourself reduplicate your same endeavor without applying simple science .
To get started , and before we get into the guide on how to dispatch the Oromuwak Shrine in Tears of the Kingdom , let ’s first see the easy way to get to it and where it ’s located on the map .
Where’s Oromuwak Shrine in TOTK Located? Coordinates: -3079, 1617, 0243
The Oromuwak Shrine is located just on the tip of the snowy highlands region of the Hebra Mountains , where the weather is below freeze and the gusts of farting make soaring problems . It ’s called Tabantha Frontier .
The shrine is confining to Rito Village and Lucky Clover Gazette and can be seen on the stack ’s sharpness from the latter . The straightaway style to reach Oromuwak Shrine is to fast travel to Rospo Pass Skyview Tower and pass Lake Totori , Rito Village , and Lucky Clover Gazette .
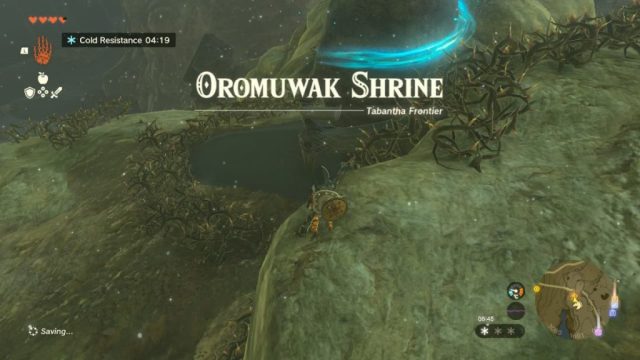
When traveling on animal foot or riding hogback , the Kolami Bridge path is the one that runs past it on the right , make it the easiest road to reach it . When you ’ve climbed up the mountain and located a subject area of prickle , you ’ve discover the shrine . To turn over the entranceway , sailplaning past the thorns by leap off the ledge and glide to the front of it .
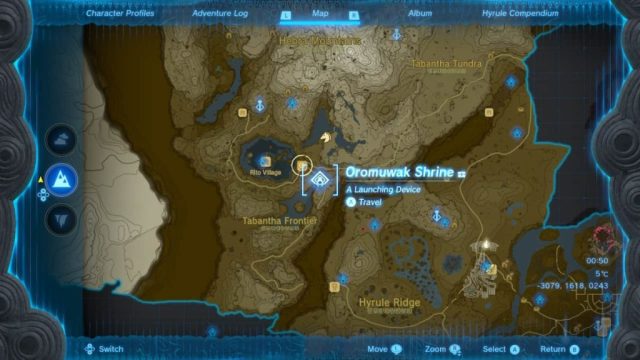
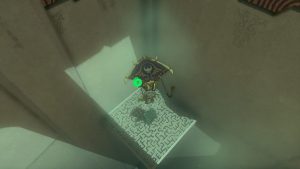
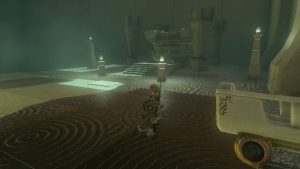
Oromuwak Shrine’s Precise Location on the Map (Screenshot: TOTK)
Now let ’s get into how to solve the puzzle inside Oromuwak Shrine .
Oromuwak Shrine Walkthrough
To get the job done effortlessly , you ’ll need the follow weapon and abilities : keep in mind that these methods make for best for me , but I can control you that in this game and with all shrines , one size does not fit all , and there are multiple way to complete a shrine puzzle .
You ’ll command the following to pass the mental testing :
Step 1: Fuse Weapon & Hit the Target
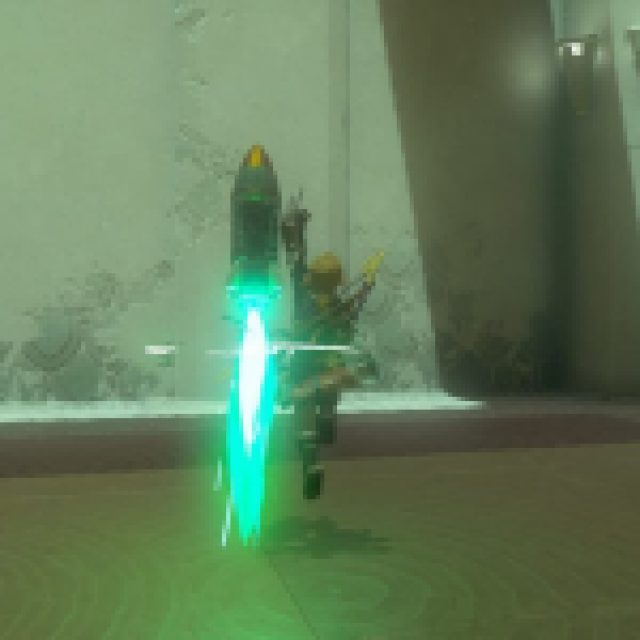
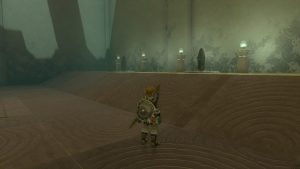
When you walk into the elbow room , you ’ll notice a large bullseye to the left and Zonai rockets to the right , as per the images below . Head to the correct side of the elbow room towards one of the rockets . Open Link ’s ability wheel by holding L and pressing down on the right analog stick to pick out the Fuse power .
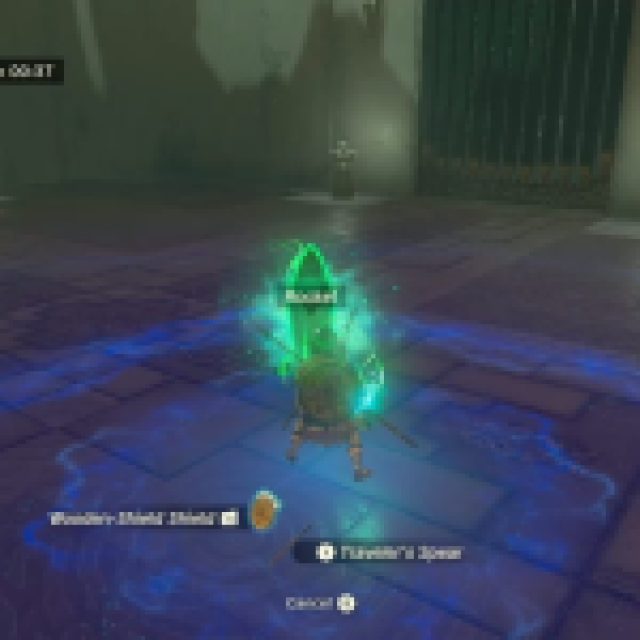
The prompt to fuse with your shell ( mechanical press ZL ) or weapon ( insistence Y ) will come along ( your arm and shield can be drawn or not ; it will still motivate you to meld ) . Press Y to conflate the rocket with your weapon .
Once over , take the air over to the flashing bullseye target and stand on the niggling Allium tricoccum . Once positioned perfectly , hold gas constant to shake off your weapon system . Your aimer reticule will appear once you start hold R. Aim for the target and then eject R. Your weapon will “ rockoff ” into the target , and the first gate will open . On to the next step .
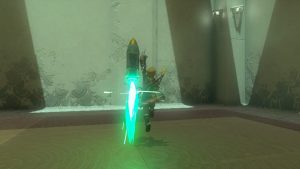
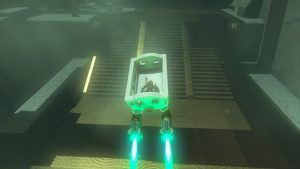
Glide To Oromuwak Shrine’s Entrance to Avoid Thorns (Screenshot: TOTK)
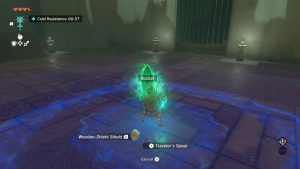
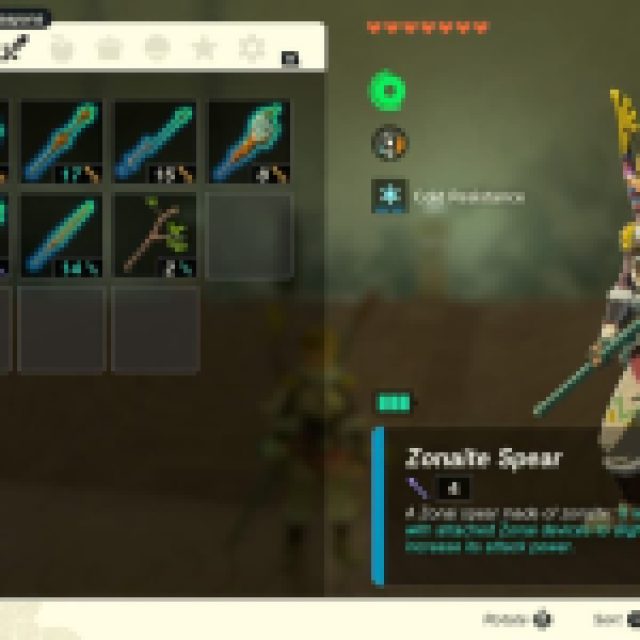
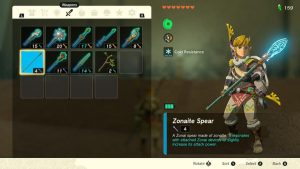
In my case , I used a spear , as it is one of the dear throwing weapons and looks moderately damn coolheaded when you throw one with a projectile attached to it . In the image below , you ’ll see the spear and the rocket I used to finish the first step .
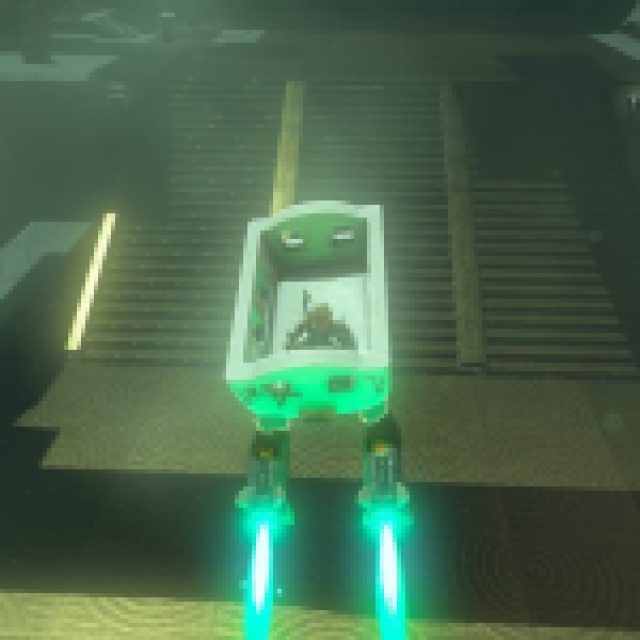
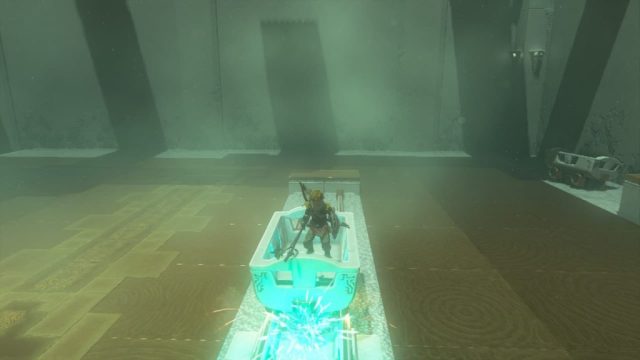
Step 2: A Short Oromuwak Shrine Rollercoaster Ride
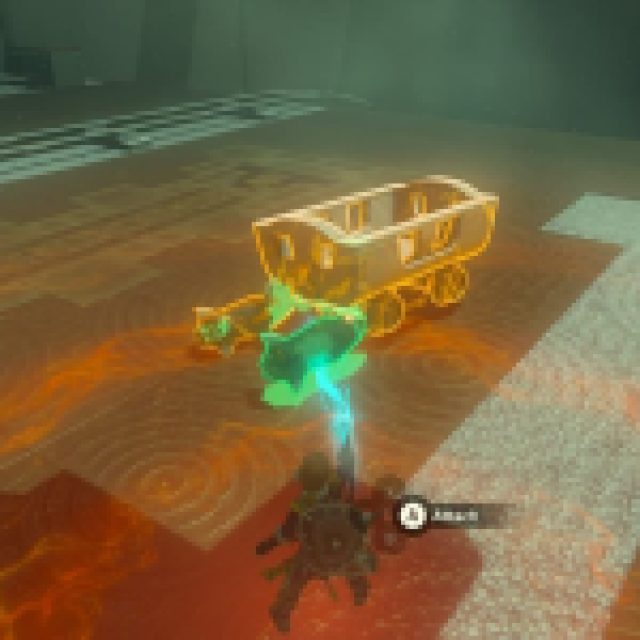
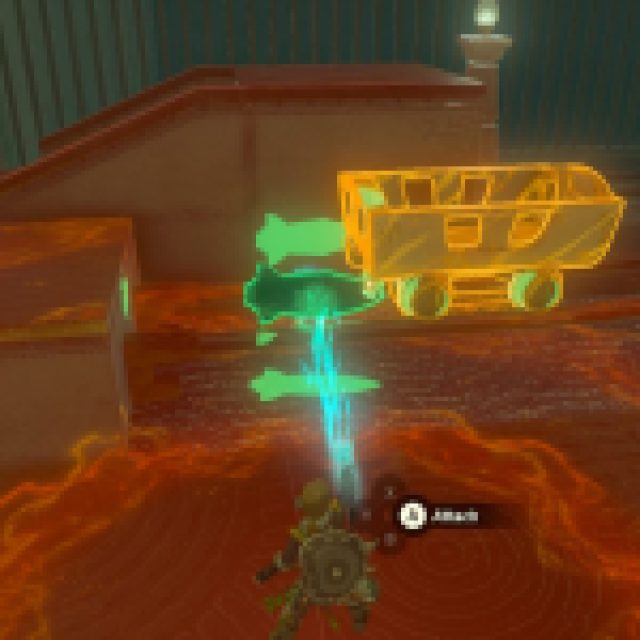
Before walking through the logic gate to enter the next way , go to the rocket salad again and loose Link ’s Ultrahand by opening the ability wheel and holding to the right on the analog joystick . seize the rocket salad and head over to the 2nd room , where you ’ll see a mining cart already on the tracks leading to the upper horizontal surface of the 2d room .
With the rocket salad still under the control of Ultrahand , confiscate it to the back of the fiddling go-cart on the track . Attach it to the front end , and you ’ll be nose - diving . It might take a few attempts until you attach it to the back . It call for a rear - oddment encouragement to purloin the nose so it can accelerate up the track easily .
Once your rocket engine is connected , get into the cart from the staircase provided . Now that you ’re in the cart and ready to take the poor ride , hit your Zonai gadget with a arm , and the cart will make the trip up the railroad tracks . The strain of great success will play in the setting , and you ’ll be ready for the next step : getting the treasure chest .
Step 3: Get the Treasure Chest
On the upper degree of the shrine room , the gem chest is locate just above you on a transparent platform . This little podium in the recess is too high to use the Ascend ability . To get the treasure chest of drawers , you ’ll need another Zonai rocket and one of your shield with no attachments .
Related : How to Complete the Ren - iz Shrine in Tears of the Kingdom
Using Link ’s Fuse power again , commingle one of the rockets consist on the floor to your shield ( ZL ) . Standing just in front of the platform and not direct underneath it , hold ZL again to spark off the rocket and launch the fencer into the air .
You ’ll attain the roof and pop glide automatically as soon as you do . Glide down to the platform , state on it , open up the gem chest , and receive the reward you so justifiedly merit . Make your agency back down to the ground and get ready for the quaternary and last stone’s throw : getting your Light of Blessing .
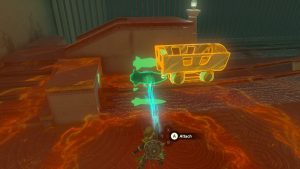
Step 4: Making a Launching Device
Using Ultrahand , impound not one but two rockets to the back of one of the mining carts lying around . Place the rockets at the bottom of the pushcart , close to the cycle . Take the cart using Ultrahand and post it in one of the three groves . It wo n’t jibe perfectly , but it will gibe .
Get into the cart , take out your weapon , do a countdown if you must , and hit the Zonai rocket engine ( Y ) . Your equipment will launch into the air and over to the other side . Mission complete ! Head over to Rauru and Sonai , roll up the Light of Blessing , and be on your journey again .
Top confidential information : If you do n’t have any moth-eaten - resistant armor or clothing , do n’t bury to have your frigid - resistant repast or meals ready for when you exit Oromuwak Shrine .
utter about cold - tolerant meals , if you are reckon for a more permanent solution , you may buy yourself some cold - resistant armour . Read the guide onWhere to Find Warm Clothes in Tears of The Kingdomto limit using all of your resources on meal . The location where the armor objet d’art are found is not far from Oromuwak Shrine .

Reach the Upper Level in Oromuwak Shrine (Screenshot: TOTK)
Oromuwak Shrine Treasure Chest on Platform (Screenshot: TOTK)