Take it step by footstep !
fate 2 ’s thirtieth Anniversary Pack go live on Tuesday , Dec. 7 , and Guardians from all across the community of interests are jumping into the new action look to collect newfangled power train , get the beloved Gjallarhorn rocket catapult , and of trend try on out the Modern activeness . One of these activities is the stain new dungeon know as theGrasp of Avarice .
donjon in Destiny 2 have always been a prissy mixing of combat , platforming , and gravel with new weapons and armour to boot . The Grasp of Avarice is no dissimilar . Here is a full templet on how to finish it .

Starting Area
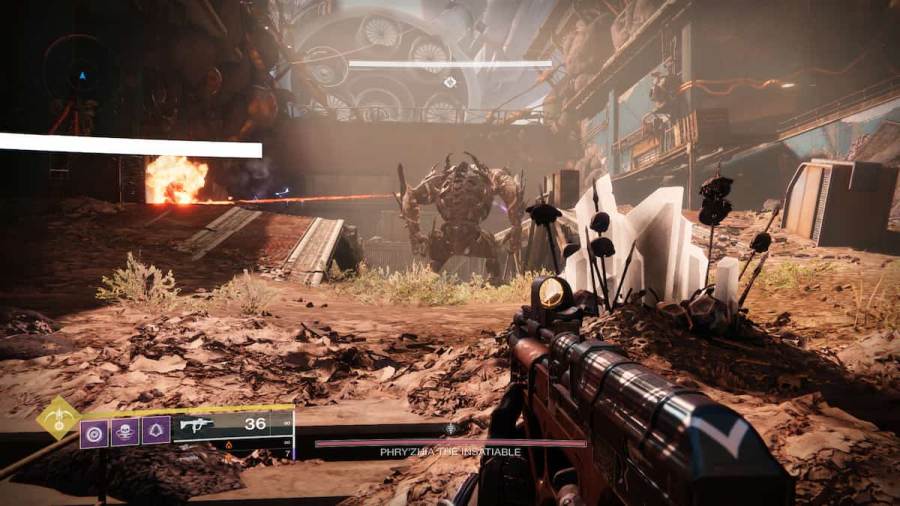
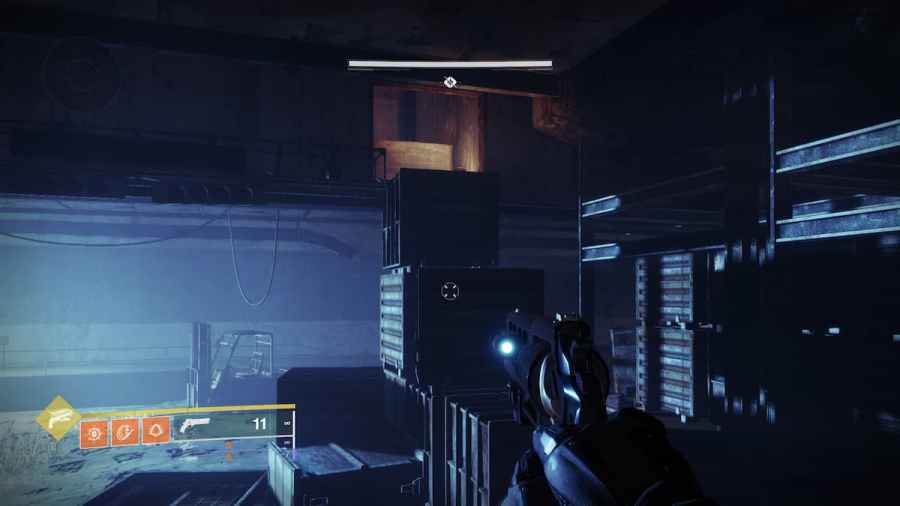
The dungeon starts you in the Skywatch area of the Cosmodrome . Here , you will make your way to the location of the Loot Cave of old . You will find enemy just outside the cave and the surrounding surface area . kill the enemies will cause some of them to throw away what looks like exotic engrams . But look a little closer and you will notice that these memory trace will apace change state red . These pickups are actually debuffs calledBurden of Richesthat you will need to advance the dungeon .
Once you have collected some of these , go inside the cave to find a small structure have it away as theIcon of Excess . remain firm next to the bodily structure , and you will notice the number of riches drop . You are basically offer up the riches to the icon . Rinse and repeat this by obliterate foe and turning in the riches . Once you have collected and turn in enough , the Icon will shine brightly and the storey beneath you will come down away , dropping you down into a larger cave system .
The use of the Burden of Riches and the Icon of Excess is a gameplay grease monkey you will see countless times in this keep , so keep that in psyche as you continue .
Important bank bill : There is a timekeeper next to the debuff . If this timekeeper bleed out you will die . hoard more riches will rest the time though .
Area Two
Once you have dropped down , make your way of life through the cave system . It ’s a passably analogue path so it ’s not too difficult to navigate . There will also be a few enemies but nothing too problematic .
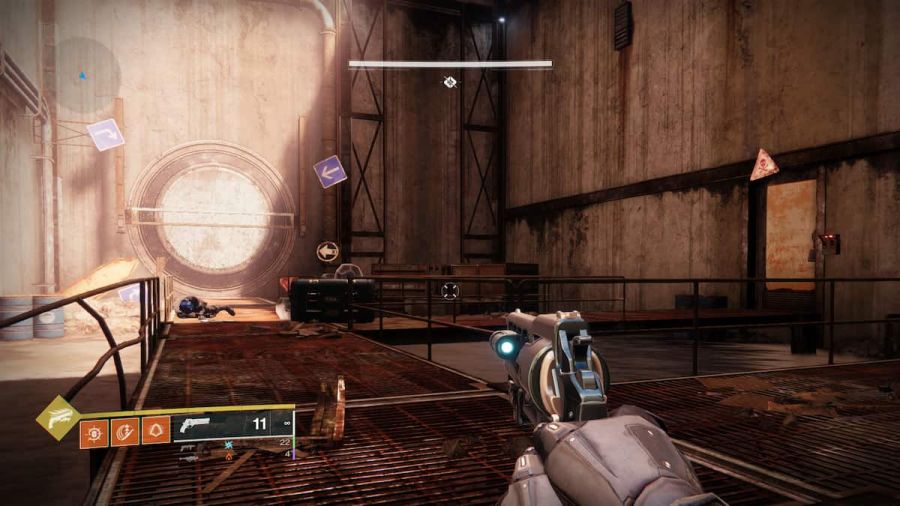
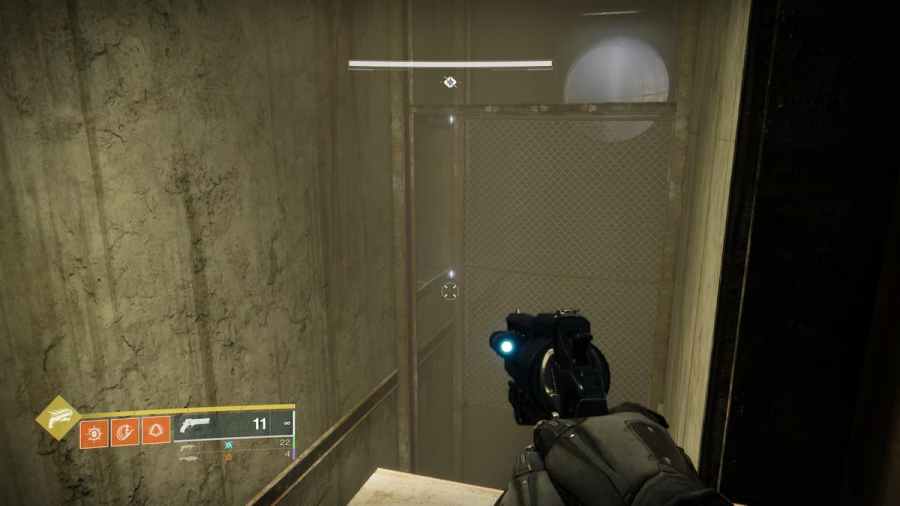
finally , you will attain an sphere of the donjon that take care like the image above . A large round doorway with a bunch of arrow star sign pointing to it will be at the far end as well as two doors to your right field . This is where the puzzles begin .
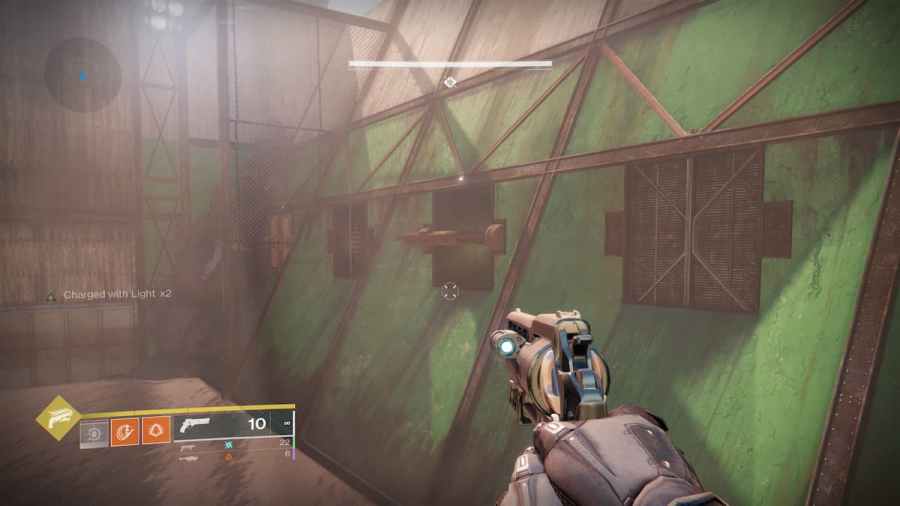
Head to the door picture in the image above . Open this door but do n’t pelt along in . There is a gob just within . On the floor will be a pressure plate that , if activated , will make spikes come out of the bulwark . Jump over the pressure plate and trip the console on the other side . Activating the cabinet will launch the big round door .
Next , travel inside the big round threshold and follow the way of life to a hallway with a big gap in the floor . On the other side of this hallway is another console and between the gap is a platform . But mind this area is all a trick . Standing on that chopine will cause it to dribble out from under you and activate the cabinet on the other side will vote out you .
Instead , make your agency across to the console , deform around and you will see a small side room on the left side just underneath the false platform . Once you make it to this room , touch off the console table in here . Once aerate , go all the way back to the starting elbow room with the big pear-shaped door .
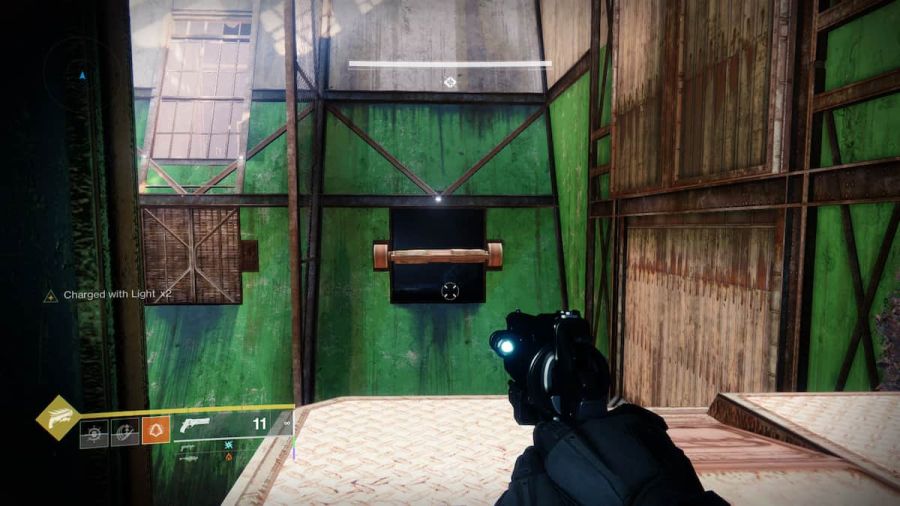
attend up and you will notice that all six of the doors above you have open . Go through the one indicated in the image above . It will be on the left-hand once you come out of the big round door . Inside you will find a insistence home base and a hachure on the cap . Activate the plate to launch the hatch .
Area Three
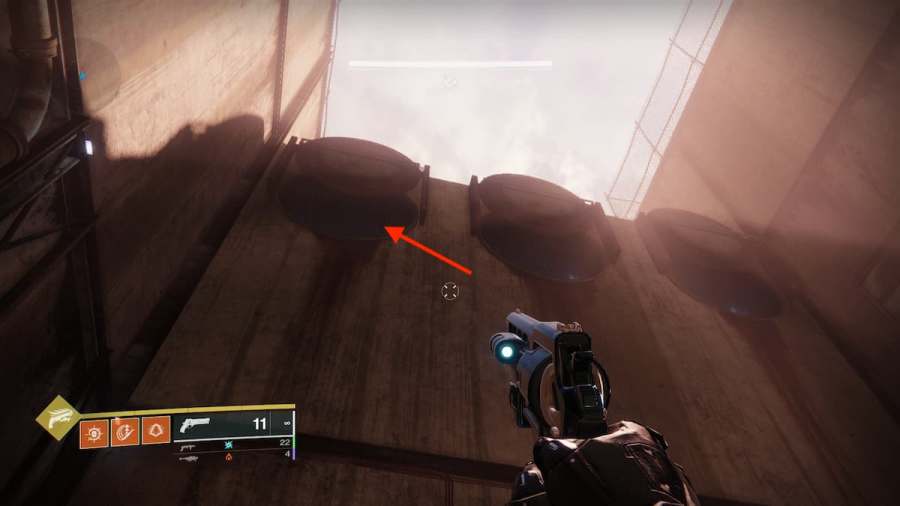
This next area is middling little and not that complicated . First , climb up to the platform draw in the image above . But when you get up to it , make certain you delay to the right , as another trap plate will be on the left . From here cautiously leap out to the next platform and move apace across the walk since the platforms are traps as well and will expend underneath you . Once you get across , aerate the console in the next way to reach the room access .
Area Four
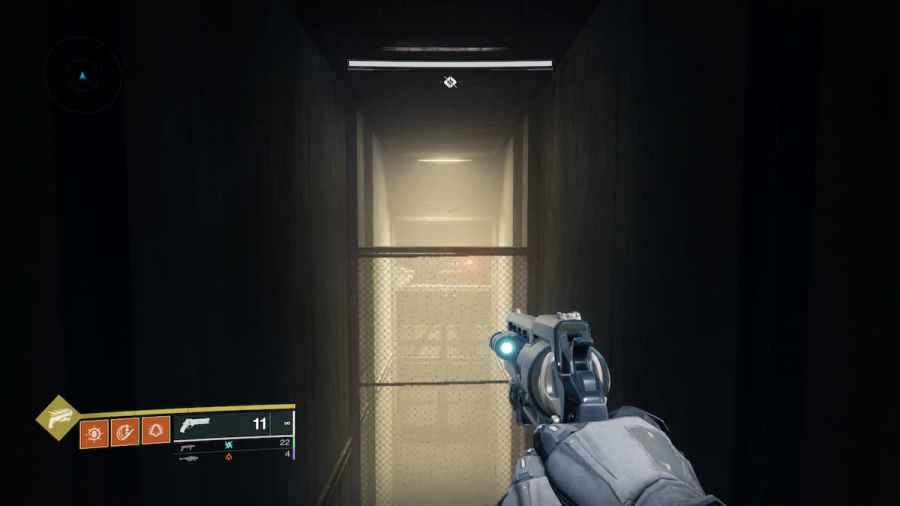
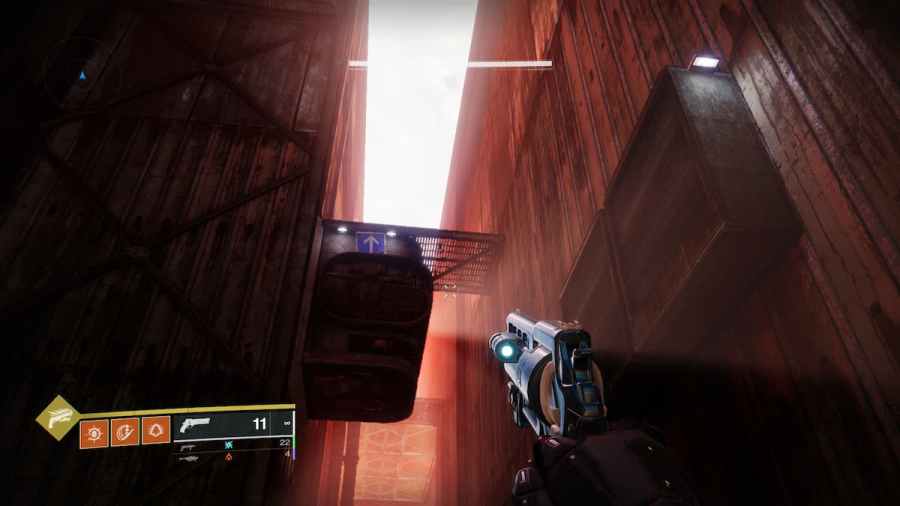
The next area is a bit of a procedure but not too intriguing . move around through the now open up door , and out onto the walkway . To the right , you will notice another candid threshold like the image above . skip over to it and make your way at bottom . This humble expanse has a few thralls and another trap . Take out the enemy , nullify the pressure plate , and hit the replacement located on the back wall of this way . It will be light up , so you ca n’t escape it . Only impinge on it once to end the door you came through and launch the other one .
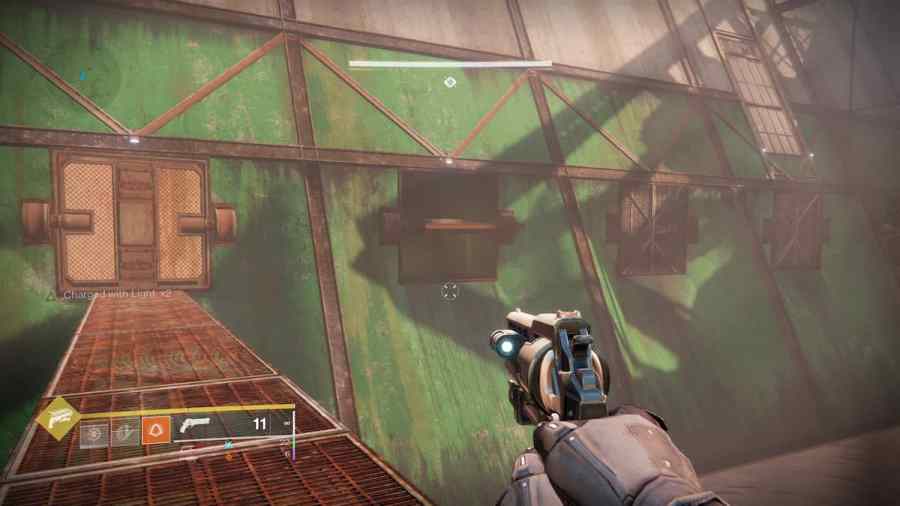
Now make your way out of the fresh opened door . Walk back out onto the walk and you will see another door candid on the other side of this whole area . spring to it and make your way inside . Just like the last way , pass over out the enemies , avoid the trap , and aerate the switch on the far wall . This will also shut the doorway you derive through and open a unlike one .
relate : How to get the foreign Key in Destiny 2
Go out the new open door and rise across the gap to another open door . In here , jump through the crack in the ceiling and touch off the switch . This will give one of the big doors in this area .
Now that you have opened one of the openhanded door , you now have to backtrack and duplicate what you did to get to the heavy assailable room access . maneuver back the way you get along , drink down enemies and hit switches until you make it . Once inside the declamatory way , another cabinet will be on the back wall . Activate it and the other large door in this domain will open on the opposite side of you .
Repeat what you did with the little rooms and the switches one more metre , to get to the other large door . Once inside go to the back of the way and open up the dooron the right , not the one on the left . The left threshold is a death lying in wait .
Area Five
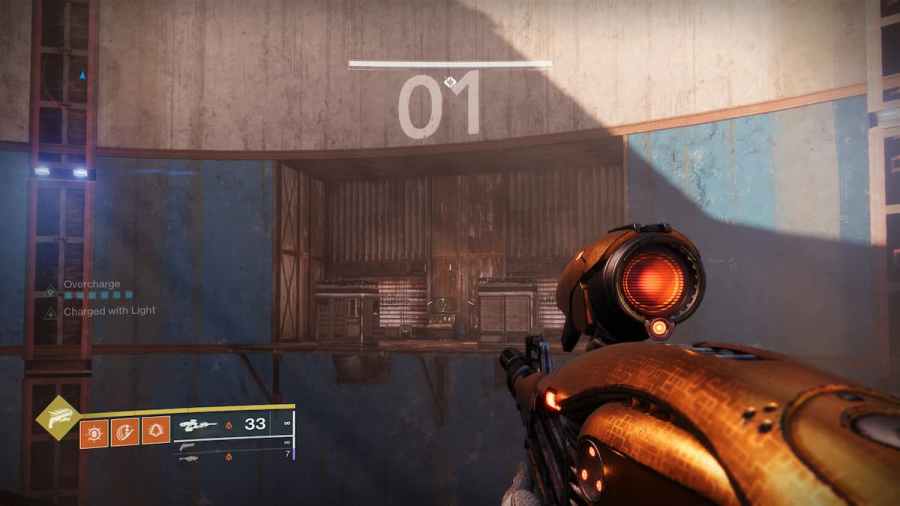
Once you travel through the low doorway , you will be in a large circular room . Drop down to the program on your left . In this room , you will notice four station along the outside of this room . Each station is labeled with the phone number one through four .
Start by become to station one and activate the console . This will open up the door at post three . Make your agency to station three , fight some enemies , and activate the cabinet here . This will now unfold the doors back at station one . Kill some more enemies there , activate the console table , and this will open up the threshold at place two .
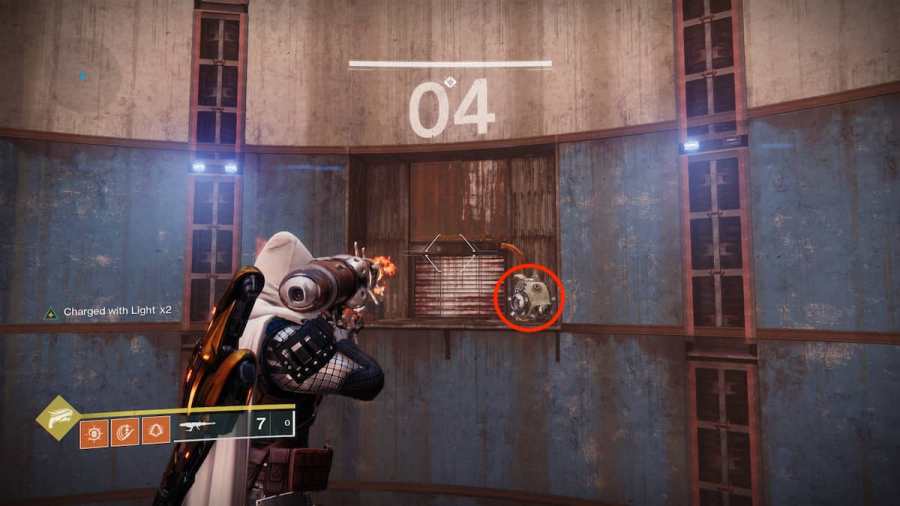
Make your style there and kill the vandal with the scorch carom . Take this weapon and institute it to station four . To start the place four door , shoot the activator next to it with the scorch carom . You will have to charge up a shot though in monastic order for the door to fully open . Once the door is unresolved , climb the step to get to the next domain . But mind , as you climb the stairs , a large trilled target will drop down suddenly and attempt to crush you . Either jump over it or apply the little spaces on the left wing or right of the stairway to stave off it .
Important Federal Reserve note : The use of the scorch cannon to charge an activator is another gameplay shop mechanic that you will see countless times in this dungeon , so keep that in mind .
Area Six
This area is pretty flying and there are no opposition . Make your way into a large room and go left over . You will see a stack of crates made to look like a stairway chair up to the exit . mount these and make your way through the passage . You will come out into an even larger elbow room take with water at the bottom . Look across the room and you will see your exit . startle across to reach it . Note : if you are playing as a Hunter , the Stomp - EE5 boots will help immensely with this large leap .
Ogre Boss
Make your way through the bunker room access on the other side of this leap and it will lead you to the first Boss Area . This area is fairly challenging so feature teammates is essential . The chief is completely immune to all harm and must have its buckler taken down before you may do hurt . Here is how to take them down .
When the encounter bulge your first priority should be to get the scorch cannon off the vandal that spawn at the back of this political boss elbow room . After getting the singe cannon , look to either the unexpended or rightfield of the room and you should see another activator . Just like in the previous area , pullulate it with the scorch cannon at once into the trap and hold down the fire button . Allow the attack to in full saddle up so that it will start the door underneath it all the way . Now go inside and vote down the foe within . These enemy will drop off more of theBurden of Riches that you will have to plough into the icon .
This process is repeated over and over again until enough riches are turned into the icon . Once enough riches are turned in , the bosses ' buckler will go down and you could damage it . Most likely , you wo n’t do enough damage to the hirer the first time , so when his shield go back up , you will have to do all of this again until the political boss dies .
This boss fight is gainsay , but there are n’t too many steps to it . It ’s just a rinse and repeat eccentric of fight until it ’s over . So , after enough attempt , you will cease it . ensure to open up the thorax that appears after you defeat the boss .
Related : How to get the Eyasluna in Destiny 2
Sparrow Area
Once you have defeated the knob , a door will open at the back of the elbow room . Go through the door and follow the only path that will lead you to the next area . Eventually , you will fall to a big door . This is the commencement of what can be name to as theSparrow orbit .
To reach the large door , activate the cabinet on the left . But be ready , because the 2nd the door opens , the clash will start . So it might be a good estimation to show the next few paragraphs to have it off what you will be doing the second the doorway opens .
Hop on your Sparrow , and race into the spacious area in front of you . There will be a draw of pathways and plenty of enemies . Once the encounter starts , you should seea symbolization with the letter A and a myopic timer next to it appear on your HUD.This is a mine and you will have to dismantle it by being in its neighbourhood .
luckily , for dismantle the mine , all you have to do is ride your Sparrow through it . The reason you use a Sparrow is that the timekeeper on the mine is very curt , roughly 10 to 15 indorsement if you ’re fast . The other reason is thatthere will be multiple mine to dismantle in this whole country .
Helpful Tip : if you happen to go too slow or require a few extra seconds contribute to a mine ’s timekeeper , you will have to drive across a timekeeper extension . These will be lilliputian orbitual devices with a crimson light illuminate on them . When you drive close to them they will illume a green light and a few second will be add to the next mine ’s timekeeper .
stay head directly and towards each mine as it appears on your HUD . Make certain to head off foe gunfire as much as possible so you do n’t fall off your Sparrow . The last mine will be across a huge gap . aviate your Sparrow through one of the launcher and you will pass on the last mine , therefore completing the brush .
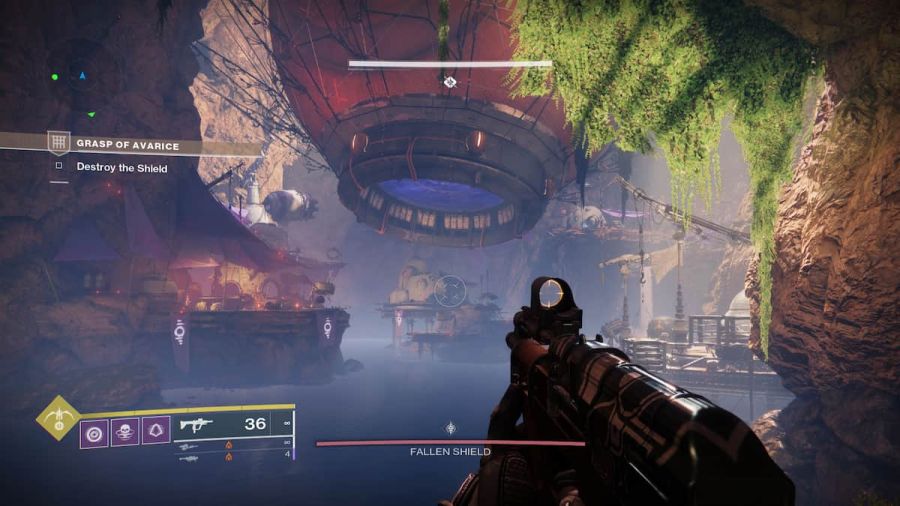
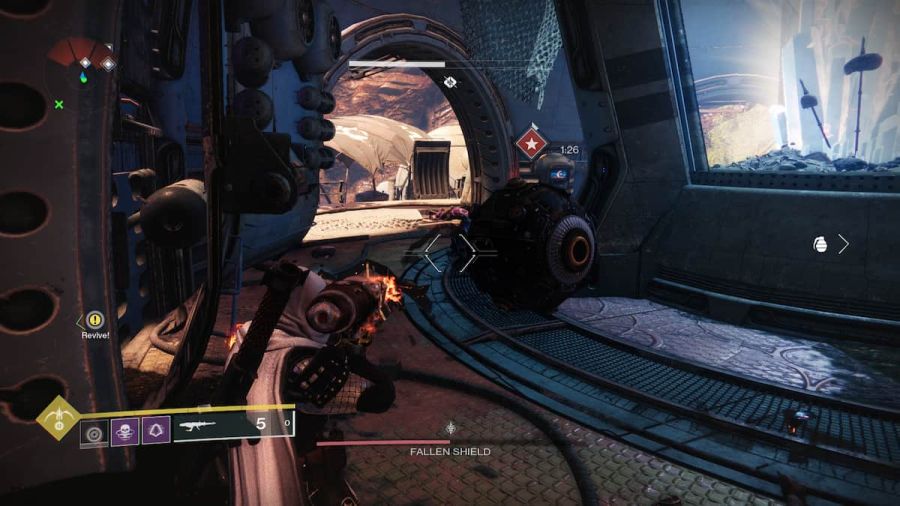
Fallen Shield Area
After terminate the previous encounter , go along the only route before , climb over large crystal . Eventually , you will reach a cliff edge that overlooks the next area . To your left will be a pocket-sized base and a launcher next to it . Here you will find another Vandal with a Scorch Cannon as well as a few other enemies . Kill them and take the singe shank .
Now for the fun part . Using the Scorch Cannon , charge up the activator near the launcher and stand under the launcher . When the Scorch Cannon shot is in full charged up , unloose it , and the launcher itself will activate , sending you flying to the next section of this area .
The singe shank and launcher system are essential to this domain of the dungeon and you will have to do it quite a few meter , so keep that in mind .

Once you have made it across , use this traversal system to discover the location of the first Servitor in one of the sections . When you find it , you may notice another Icon of Excess and a Servitor with an immunity shield . This will have to be taken down for kill it . Just like the Ogre Boss from before , you will have to shoot down other rank - and - single file enemies first to collect Burden of Riches . release enough of them into the Icon and the Servitor ’s shield will drop . The Servitor will only take a few secondment to down if you and your squad are together . That ’s the first part .
Now that the Servitor is utter , its broken remains will remain . Just above that corpse will be a red symbolization with a asterisk and a timer next to that . The corpse has now become a turkey so to speak . The goal now is to roll the stiff to the cheeseparing catapult , activate it with the Scorch Cannon , and send the Servitor corpse dud flying towards one of the locks in the middle of the expanse , destroying it in the operation .
Important annotation : check that you get the launcher at the whorl first before sending the Servitor corpse turkey . This is done by interacting with the catapult itself .
Once that ’s done , you will now have to do that whole outgrowth of Servitor launchingfive more timesin dissimilar sections of this area to destroy the five remain whorl on the entrance to the last foreman room . Once you have destroyed them all , the carapace blocking the party boss room will cut down and you will be able to launch yourselves into the room from underneath it .
Final Boss
In the boss room , there are four major area : the center stage ( this is where the hirer will breed ) , left of the level , right-hand of the stage , and front of the stage . When the meeting starts , take bill of thethree activatorsin the room . One is on the left attached to the center stage , another is on the right wing attach to the center stage , and the last one is above the front of the degree attached to an wicked ray of light .
When the Boss spawns , he will have an exemption screen up . Next to where he spawns , in the dead center of the way , is another Icon of Excess . Just like the Ogre and the Servitors , your goal is to collect loading of Riches , ferment them into the Icon , and overlook the boss ' shield so you’re able to do damage .
so as to get Burden of Riches , you must have a Scorch Cannon to charge one of the three activators in the room . Vandals with Scorch Cannons will breed if you do n’t have one already from the previous area . Once you have charged one of the activator , a crowd of Burden of Riches will flatten near you . Make trusted to turn them into the Icon so you do n’t die from the debuff timekeeper . Also , be deliberate turning them in as the party boss will be stand up right next to the Icon .
And that ’s all there really is to this scrap . rinsing and repeat this process until his shields miss and when his shield go back up , repeat all of it until the boss give way . The final kale chest will engender at the back of the way where the boss dies .
Important Note : sometimes during the whole fight , one of the activator will be closed , so just bump one that is n’t and turn on it up .
Congrats ! You have now fill out the Grasp of Avarice dungeon in its integrality . Enjoy the novel dirty money and be quick to impinge on it again !
For more awesome Destiny guides , check over outHow to get the Forerunner Exotic Sidearm in Destiny 2 ( Magnum Opus Quest)on Pro Game Guides !