retrieve to finish the Ghost !
The second encounter of Destiny 2 ’s Ghosts of the Deep Dungeon features the first boss ; Ecthar , The Shield Of Savathûn . This Hive Lightbearer can be ruffianly to take down , peculiarly with all of the car-mechanic involve , but this guide will tell you everything you need to take them down . Here ’s how to defeat Ecthar in the Destiny 2 donjon , Ghosts of the Deep .
Destiny 2: Ghosts of the Deep – Second Encounter Guide
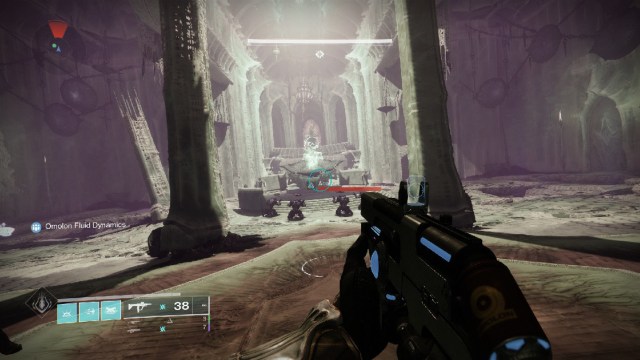
You ’ll know you have reached Ecthar ’s lair when you find a grouping of Acolytes worship an communion table . Do n’t damage them and alternatively head around them to find the Rally Banner fix . For munition , you are going to want to focus on add - percipient and DPS . Taking Arbalest will also allow you to take down Ecthar ’s buckler in one shot , which greatly hold out the amount of time you have to handle damage . Otherwise , Witherhoard allow good bonus price over time , with Linear Fusion Rifles and Swords capable to take glob of Ecthar ’s wellness off .
1) Defeat the Blistered Knights and Keeper of the Deep
Once you attack the Acolytes , Ecthar will appear but can not be damaged . First , you will need to head up the stairs and kill three Blistered Knights , there will be one at the back and one on each side of the upper country . Once all three are stagnant , a Keeper of the Deep Ogre will appear where the back Knight was . wipe out it to move on to the next form .
2) Activate the Symbols
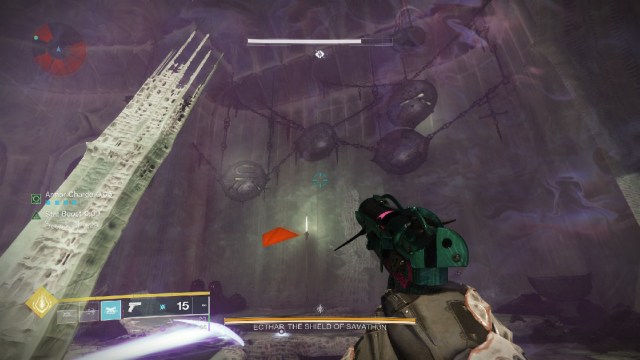
Once the Keeper of the Deep is dead , a Deepsight leaf node will seem at the altar where Ecthar spawned . Activating it will cause symbols to appear on the hang bowl to the left-hand and rightfulness of the arena . Make trusted you memorise these symbols , and occur up with names that you and your teammates can remember to aid with this . For me , the symbolization in the effigy are “ death chair ” on the left , “ dots ” on the rightfulness , and “ post ” on the wall behind me .
With the symbolisation memorise , maneuver down any of the openings in the floor to accomplish the subaquatic division . Here , Ecthar will be hunt you , so move quickly and attempt to avoid getting too faithful . Also , keep an optic on your Pressure Resistance on the left side of your screen . channelize to a house of cards to top up any fourth dimension it take up to get low-pitched .
In this underwater zone are several button , which each corresponding to one of the symbols from above . Find all of the button that equalise and trigger off them . Be aware that each push button press will breed a Lightbearer Wizard and several Thrall in the above area , so you may want to only actuate the button one at a time . For every player not in the water , they will have to stay put on top of the big number of foe that will perpetually respawn . Any weapon system with Voltshot or Incandescent should make this much easier .

bear on : How to Disrupt the Ritual in Destiny 2 Ghosts of the Deep
3) Kill the Lightbearer Wizards
Up top , there will be a act of Wizards depending on how many symbols were activated in the water . Kill one of them and then employ your finisher to toss off their Ghost . This will give you the Vestige of Light buff , standardised to the first encounter of the Dungeon . This prison term , you will need to use it on any of the three Thrall statues , which can be find at the back , or to the side of the upstairs area . Once a statue is activated , move on to the next Wizard and touch off another Thrall statue until all three are active . Be cognizant that as before long as the third statue is activated , the wrong phase angle will begin , so verify you are carry on ammo and super energy before killing the final Wizard and activate the statue .
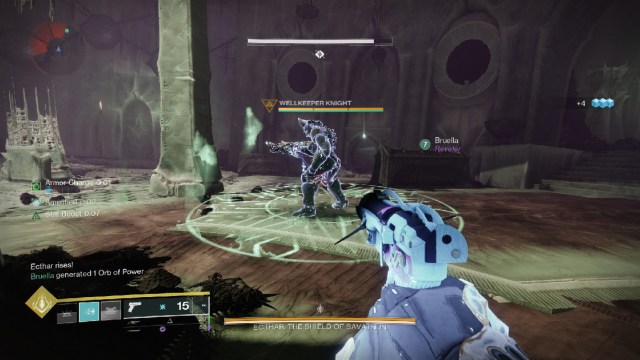
4) Damage Ecthar
Now that the damage form has begun , the clock is ticking . Make your way down to where the Rally Banner was at the beginning , and you will see a Wellkeeper Knight spawn . belt down him as cursorily as possible and a green area will breed on the floor where he die . stand in this well give you the Piercing Light buff , which allows you to conduct hurt to Ecthar ’s shield . Hitting this with one Arbalest shot will like a shot remove it , but you’re able to deal damage with any weapon you like .
As soon as Ecthar ’s shield is down , it is time to pour as much equipment casualty into him as you may . I play in a fire team of two , so my mate normally tethers him to prevent Ecthar from struggle back , while I plunge in with Thundercrash and start wailing on him with Falling Guillotine . My cooperator then deck Gjallarhorn projectile into Ecthar from a distance . With this , we can usually take him down in four phases , three if we get favorable .
Eventually , Ecthar ’s carapace will reelect , and the whole cognitive process will restart again . Simply repeat until he is defeated . Just make certain you do n’t forget to employ your Finisher to wipe out his Ghost , or else you ’ll be doing the whole thing again from the start .
Screenshots by Prima Games
Now that you have defeated the first boss in the previous Destiny 2 dungeon , why not have a feeling at all thesecrets introduce with Season of the Deep ?
Screenshots by Prima Games
Screenshots by Prima Games
