Flux Construct II and III in teardrop of the Kingdom have more going on than just high health and damage .
early on on inThe Legend of Zelda : Tears of the Kingdom , you’re able to square off against Flux Construct I , a clump of shapeshifting cubes serving as one of the game ’s many overworld minibosses . Judging by this enemy ’s name , you might adopt that you will find other , more powerful edition as you explore , and you ’d be 100 % correct . normally see to it in the sky and occasionally down in the Depths , Flux Construct II and Flux Construct III behave evenhandedly differently from their frail counterpart . If you need some help on how to deal with both of these Flux Construct variants inTears of the Kingdom , then feel free to record on .
Tips for fighting Flux Construct II
This guide will first go over how to deal with Flux Construct II , although note that all of the tips here can employ to Flux Construct III as well . The three forms that Flux Construct II can shapeshift into remain the same as Flux Construct I , but they boast key difference that you will want to keep in head when fighting them . you may take a look at ourFlux Construct I guideif you would wish general tips on look at with all Flux Construct variation in more point .
Humanoid Form
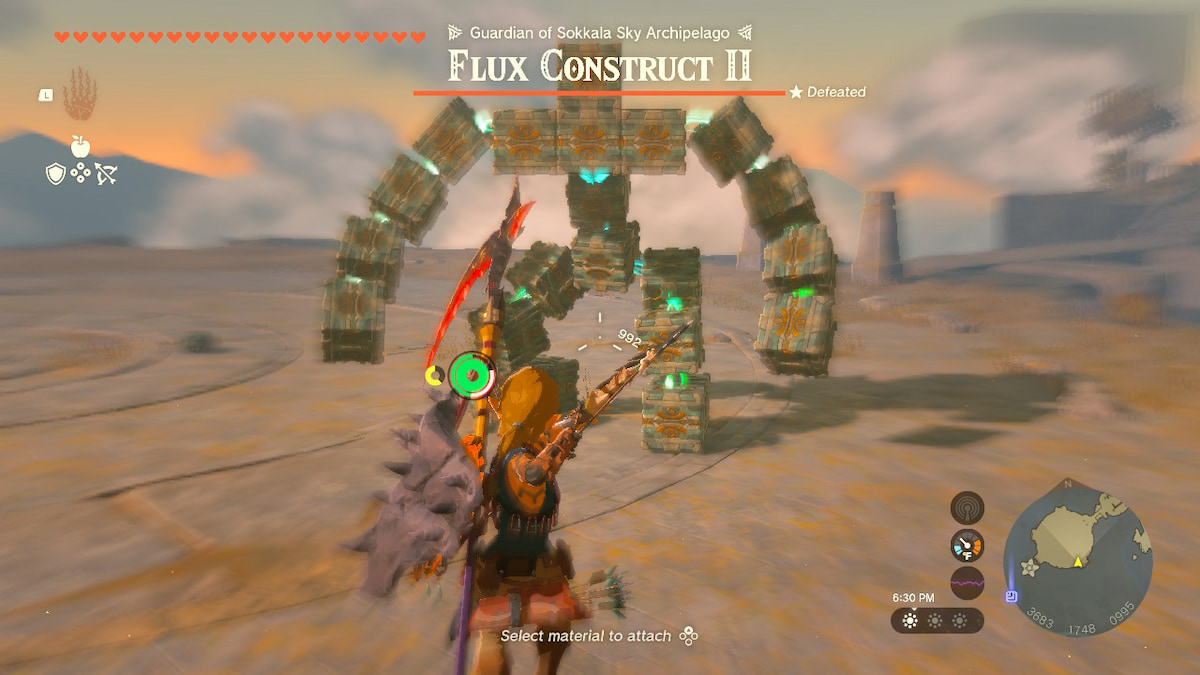
Much like with the groundwork variant , Flux Construct II always begins each face-off in its humanoid form . This time around , the humanoid form behaves much more erratically . Oftentimes , when it raises its arms up in the air in cooking for its clenched fist - slam dance blast , it will now garble closer to you before slay the ground with them . This attack looks shuddery , but running away from it will generally work just as well as it does in the meanspirited version of this fight .
In addition to this move , it will occasionally rush you down and seek to tramp down you , unremarkably when you get up close to it . As long as you keep your distance and sprint by once you see it turn on , this move should n’t put much of a job either .
Although using Ultrahand on the glowing green third power to shake it promiscuous and leave it vulnerable was a useful scheme before , it ’s practically essential here . Due to the boss ’s flying movement and swell tendency to hide the light-green cube behind its other indestructible pulley block , you will need Ultrahand more than ever to move the surround city block out of the way and target the weak point more easy without wasting your resource . Of course , when the foreman keeps its fists down after its slamming blast , that dish up as the sound chance to do so .
Arrows can still occur in handy here , though , as using them on the greenish cube will stun the genus Bos and give you a big opening to shake the dark-green block loose with Ultrahand . However , the usefulness of this strategy depends heavily on where the genus Bos resolve to place the green cube and whether or not you have gamy vantage points you’re able to jump off of to actuate smoke time .
Cube Form
This was the sluttish form to divvy up with during the Flux Construct I fights , but the same can not be said here . The cube shape tilts around much more quickly , work it tricky to get a good intent on the smaller green third power with Ultrahand . Additionally , the boss can now fly up toward you and attempt to bang down on you , creating a damaging shockwave in the summons . This means you ’re no longer completely safe at a length , so be fain to sprint away whenever it starts to fell up .
Theoretically , this slam plan of attack should provide the staring scuttle for you , but it usually put down with the green cube facing away from you . To make things more complicated , the boss recovers quickly enough that you may not be capable to take the surrounding closure with Ultrahand before it starts moving again , leave the green block out of view .
Removing those blocks still helps in making the green cube overall easier to aim , though , and stunning the genus Bos by shooting the green cube act upon even advantageously here than it does with the humanoid contour . observe that when you stun the boss , it tends to position itself so that the green block stay on up top , usually surrounded by other blocks . But from my experience , this still serves as the most effective strategy for leaving the boss firm for long enough that you’re able to move blocks out of the way and grab the green pulley-block with Ultrahand without the indigence for pinpoint timing .

Screenshot via PC Invasion
Flying Rectangular Form
The strategy for this last form differs substantially from the Flux Construct I interpretation . It still launches five or so city block at you , but this prison term , the boss abide high in the air in a manner similar to the Gleeoks . It also now places the light-green cube right at the top , so not even the farthest - traveling arrow can turn over it .
This is the fight ’s bighearted puzzle your first time through , but fortunately , it has an easy root . After it launches some of its blocks , stand on one of them and use Recall on it so that it escorts you right to the top of the boss . This will give you the consummate chance to unload on the green regular hexahedron with melee attacks , which will then scatter the cylinder block and give the frail percentage point clear for even longer .
Tips for fighting Flux Construct III
In footing of behavior , Flux Construct III behaves almost identically to Flux Construct II . Aside from higher wellness and harm , the fight has one major young addition . During the mechanical man and cube phases , the green pulley block will intermittently swop place with one of the other block , drive you to act quickly to leave the weak point vulnerable to Ultrahand before it teleports out of ambit . It also seems to recover any blockage you may have removed more quickly than before .
The overall strategy remain mostly the same as with Flux Construct II ; you just have to do them with greater efficiency . Fortunately , as soon as you grab the green cube with Ultrahand , you ’ve pretty much succeeded . Even when the green cube teleports , Ultrahand will still keep its adhesive friction on it , allowing you to stimulate it liberal without any bothersome interruptions .
Rewards for beating the Flux Constructs
After defeating either Flux Construct II or Flux Construct III , they will put down their own , more powerful variations of the Flux Construct Core that you’re able to merge to augment your weapons . Alongside the usual Zonai charges , you could on occasion receive some Zonai capsule you could use to make your shifty appliance . chance either Flux Construct is also often required for certain shrine quests or to obtain Sage ’s Wills for upgrading your salvia ’s attack power , so hunting them down will greatly help in making yourTears of the Kingdomplaythrough more accomplishable .
![]()
Screenshot via PC Invasion
