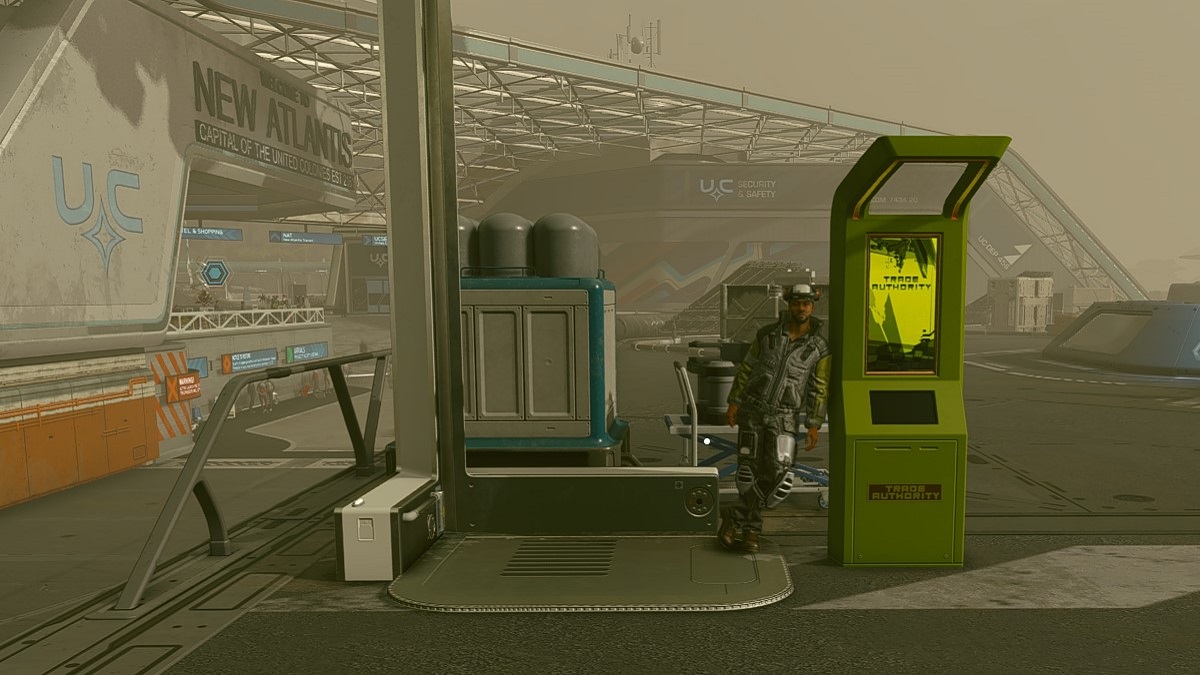
The Ship Services Technician sure is rich . Shame if something were to happen to that cash .
While Starfield yield you quite a little of chance to snag some nimble Credits , that process take time and feat that some hoi polloi just do n’t have . As such , you might need to cut corner as often as possible to make a fast buck and get before . That ’s what money glitch are used for , and Starfield is no stranger to those . Here ’s how to do the Starfield money glitch on PC and Xbox .
How to Get Infinite Money in Starfield on PC and Xbox
This guide will be using the method found ab initio by Youtuber vNivara , with their video recording method acting above . You ’ll be working from the Commercial District back to the Ship Services Technician , only all under the map . Be ready , as you ’re lead to have a recollective journeying ahead . With that out of the way , the first item you ’ll require for this glitch is aPower Boostpack . If you do n’t already have one , head over to the Commercial District fast - travel point and head to the Outland store straight in the lead . Speak with Cornelius inwardly and see if he ’s selling a Power Boostpack . If he ’s not , posture down somewhere and await 24 hours in - game , then check again . Once he ’s selling one , buy it . You might also want to get a handful ofMed Packswhich you ’ll demand later . These can be most easily snagged from the Reliant Medical store contiguous to The Lodge loyal - travel tip .
Besides a Boostpack and Med Packs , you ’ll also want at least one point in theBoost Pack Trainingskill . This unlocks the ability to apply the Boostpack , with additional levels making things easier .
Getting Started
Now that you have that , you ’re ready to commence . Teleport to theCommercial Districtonce again , then walk backwards and to your right until you spot a ledge like the one prove above . From there , spend down to the orange chopine and function along it until you reach the boundary , and there ’s a aslope cap followed by a drop - down .
Once you ’ve attain the boundary of the orange platform , drop down and land on the concrete part of the dam below . Be mindful of yourBoostpackfuel , as you ’ll postulate to use it near the bottom to break your fall and forbid downslope damage . Once you ’ve landed on it , stand out across the various bits of concrete on the dam and use your Boostpack to go beyond various gaps . verify you’resaving frequentlyboth here and later on , as it ’ll carry through you a short ton of fourth dimension getting back to where you last were .
Once you ’re on the other side , run toward the right and past the caboodle of random trees and leafage until you bump a unearthly white structure with a disruption in between . Then , cross that crack and drop behind the 2nd arm of the white construction . You ’re look to terminate up on a small shelf down below , known for the scuttle in between both the structure and the mountain . It should be the second shelf you may drop down to , though we recommend using the video if this part is a snatch hard to blob .
You should see thatsmall openingonce you make it to the shelf . You ’ll require to jump through it and be mindful of the long drop cloth below , using your Boostpack to break the declivity . At the bottom , there will be an invisible wall on one side . You require to pass under the large rectangle pictured below to get through it .
The Great Waterless Swim
Once you ’ve gone under the rectangle , head veracious and ascent thedisfigured hillnearby . Once you get far enough , you ’ll start float up , and that ’s where things will get foxy . As you ’re float up , you ’ll notice a hill next to you that you need to get around . From there , start be adrift to the pillar off in the distance . Go around the right side and bosom the wall when you ’re at the pillar . Your goal is to get under the large overhang in the space , and it ’s going to be a long swimming ..
You ’ll begin taking a lot of harm as you reach the halfway point . Down a few Med mob , then take them as you progress . Ideally , you should have it done before you habituate five Med Packs , though take a few more just in subject .
Once you reach the other side , you may of a sudden dribble down , and that ’s okay . You ’re face for a political program in between some of the strange rock music , come after by a large paries in front of it . Be quick to take fall damage here , depending on how well you expend your Boostpack . That ’s also why I cite save since it ’ll make failure here less prejudicious . Now that you ’ve made it , you ’ll want to begin climb that wall using the Power Boostpack , using a ledge on it as a halfway point .

Image via Prima Games.
The Final Stretch
Once you ’re over the wall , cut down down until you ’re below some of thestrange turn of geometry . You ’ll see a gargantuan rock bulwark here , though gratefully , you do n’t have to climb the whole affair . rather , you want to squeeze the quoin of the nearby invisible wall and rock and roll bulwark , then wobble your way up until you’re able to mount over that invisible bulwark . This will bring you behind the storage at the spaceport . The difficult part is at long last done .
How Do You Reset The Chest’s Inventory?
If you ’re looking to repeat this and get hundreds of thousands of reference , sit down somewhere andwait 48 in - game hours . Once you ’ve done that , you should be barren to repeat all the above step and find oneself the chest living accommodations another 72,000 credit . As mentioned above , running some ship upgrades you would ’ve done anyway will up his total recognition reckoning , and could have you get some ship climb for free in perfume .
If you ’re looking for more legitimate ways to become rich , chequer out our guide onthe good ways to make Credits fast in Starfield .
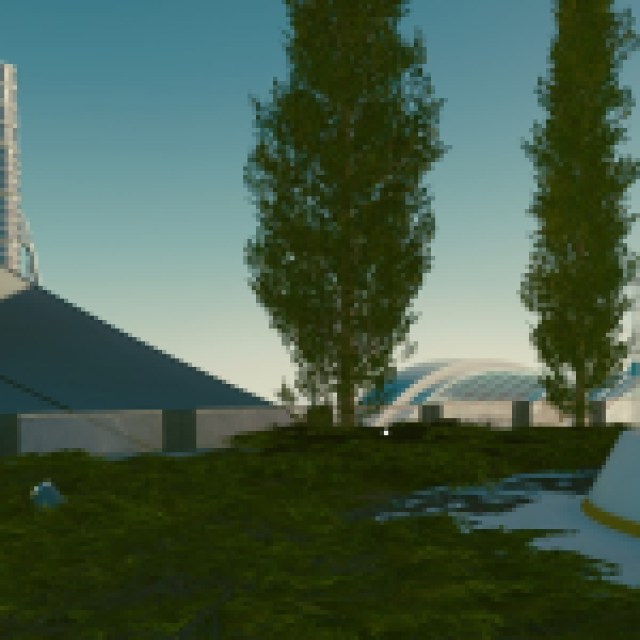
Image via Prima Games
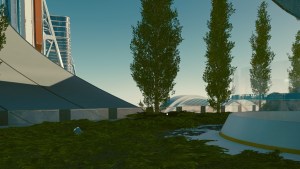
Image via Prima Games
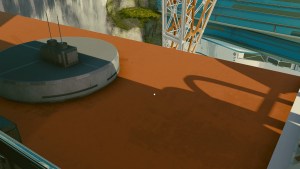
Image via Prima Games.
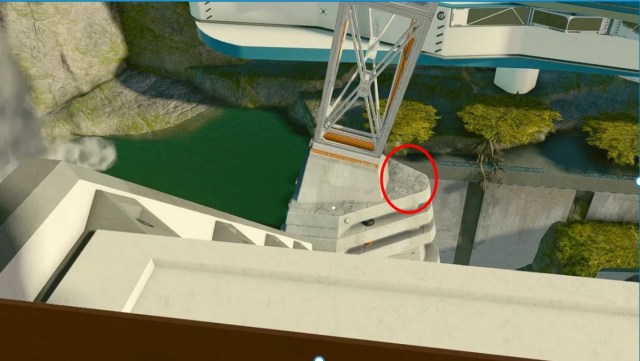
Image via Prima Games
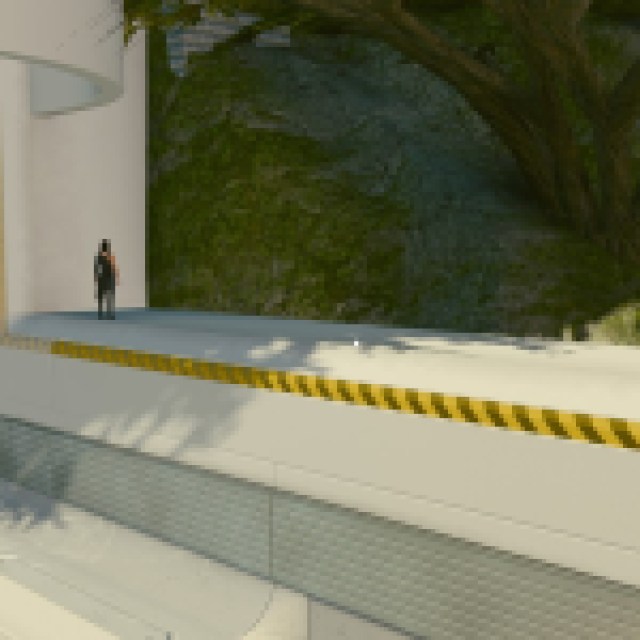
Image via Prima Games.
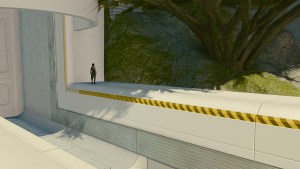
Image via Prima Games.
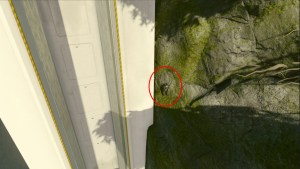
Image via Prima Games
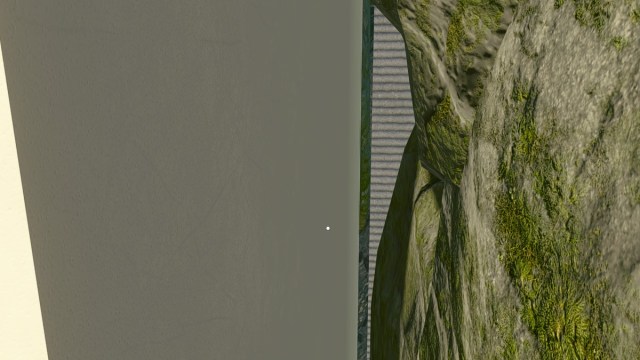
Image via Prima Games.
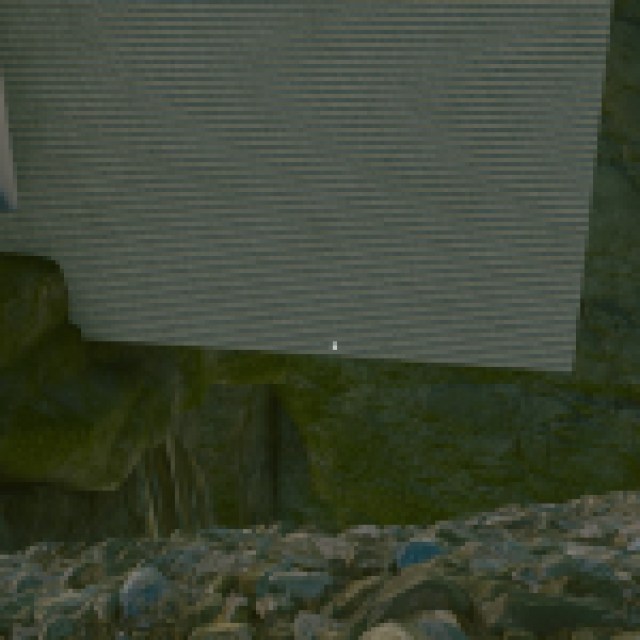
Image via Prima Games.
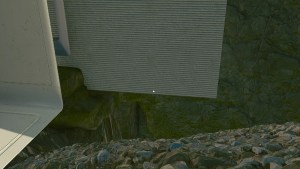
Image via Prima Games.
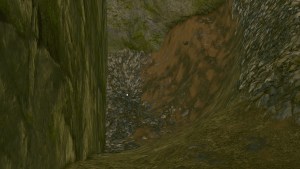
Image via Prima Games.
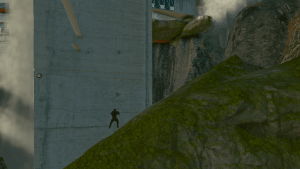
Image via Prima Games.
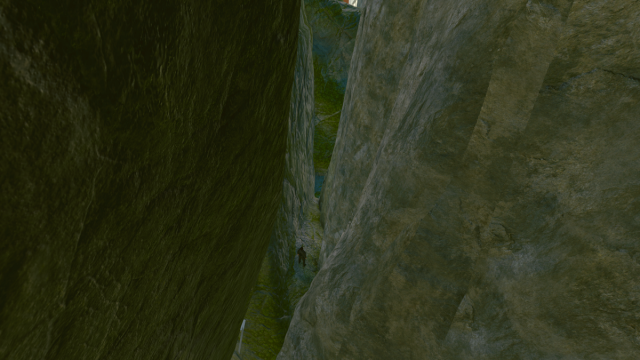
Image via Prima Games.
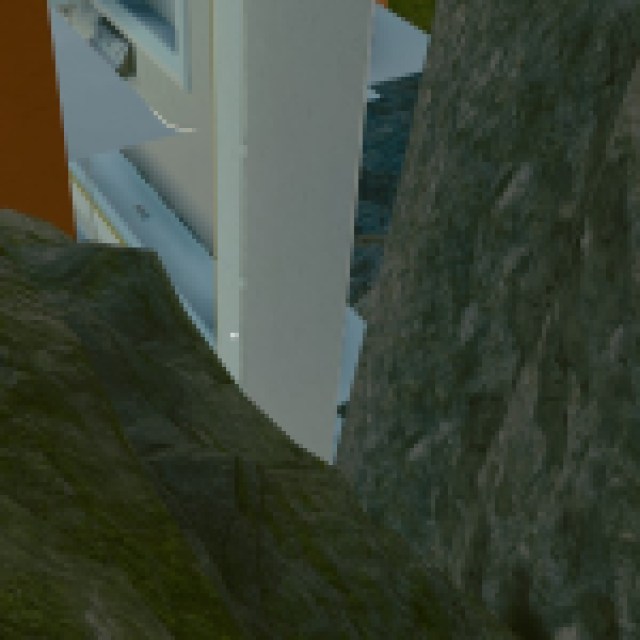
Image via Prima Games.
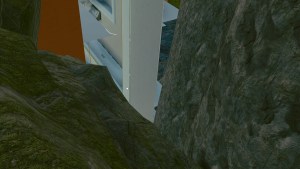
Image via Prima Games.
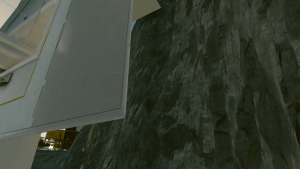
Image via Prima Games.

Image via Prima Games.
