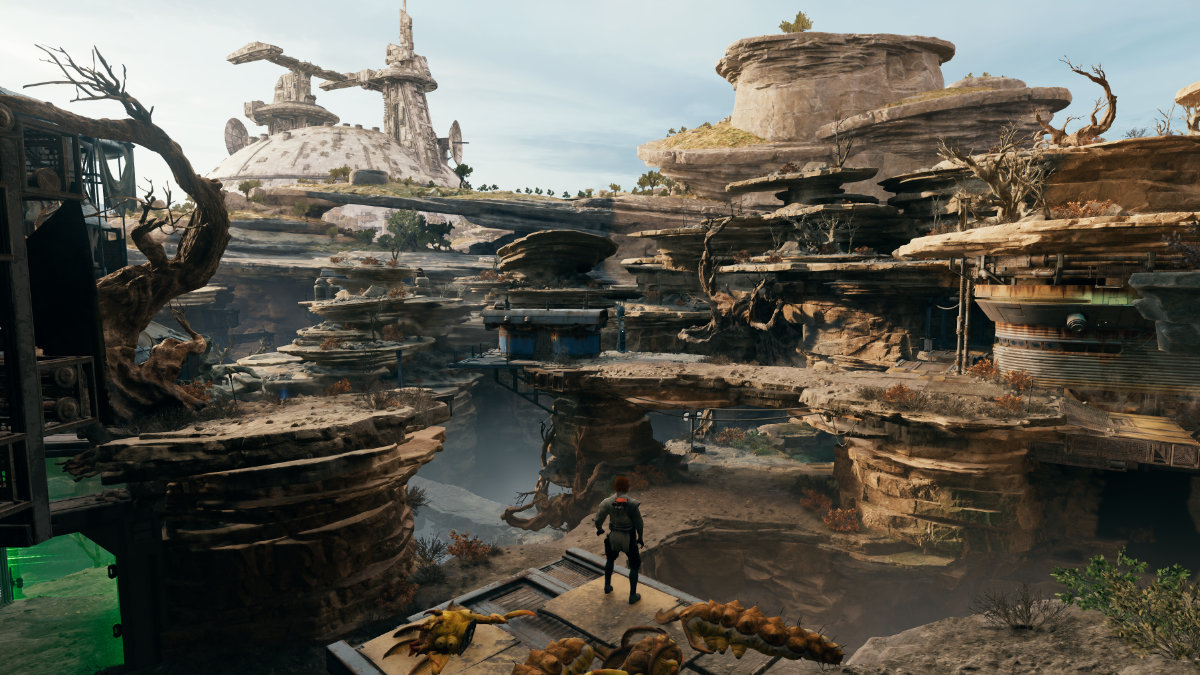
Make this task comfortable with this walkthrough and highlighted maps .
Figuring out how to find all of the payable position at the Mountain Ascent on Koboh does n’t have to be a mountain of a taskwhile playingJedi : Survivor . The size of the surface area is comparatively small compared to other locations , and it takes a fraction of the effort call for to find all the collectable at the Arid Flats on Jedha . Nevertheless , some quick tips along with a handy map certainly deform the chore of getting everything at the Mountain Ascent into an easier affair .
How to find all Mountain Ascent collectibles inJedi: Survivor
We ’ve included a map to aid you find out all of the Mountain Ascent collectable inJedi : Survivoralong with individual walkthroughs for each token . This guide handles all of the collectable by family , so you should take through the intact scout before starting to spare time as you move around each part of the Mountain Ascent . mark that you ’ll also need Merrin ’s Charm which allows you dash through ray shields in lodge to access most of the Mountain Ascent .
There ’s also a Meditation Chamber with separate collectable away from the Databank Entries , chests , Priorite Shards , Security Droid Slicing upgrade , and the Seed Pod hidden within the Mountain Ascent . access code the Meditation Chamber below the falls .
All Databank Entries
The first Databank Entry is near the Meditation Point at the start of the sphere . Run down the way and take the left fork to the lower landing place . The Databank Entry lies next to the skeleton of a prospector .
The next Databank Entry is past the electron beam shields , down the main path and up across the consortium of water to the rightfulness . Once you Grapple and bulwark tend over the pool of body of water there ’s a cave off to the left . You ’ll require the Force Lift power to open up a door inside the cave . The Databank is at the end of the tunnel behind the threshold .
Leave the cave back to the main path and drop down into the pit in the next region to run down the Tie Fighter wreckage .
From there , proceed across the Hell and keep up the course on towards the center of the Mountain Ascent zone . There ’s an odd shack social system with blue paint that you need to scan for the next Databank Entry .
All chests
The first chest is past the green beam shields on a lower level . Immediately take a right wing after passing through the shield and jump out across the chasm . The chest is in the back to the left hand . This chest is where to notice the Bomber Outfit Pants .
The next dresser is nearby in a consortium of water . Return back to the main way of life and proceed forward until it ends with the pool of water at the right . plunk down and you ’ll find the breast . This chest is where to detect the Light Mustache and Patch Hairstyle for Cal .
You ’ll need the Force Lift ability to strive the next chest of drawers and BD ’s chest slicing power to open up it . Cross the kitty of water using the Grapple and then rampart run and jump up to the next path . depend to the left and you ’ll see a cave with a closed threshold . Lift that threshold and then jump through it to happen the bureau within . This is where to get the Mustache and Patch Beard choice .
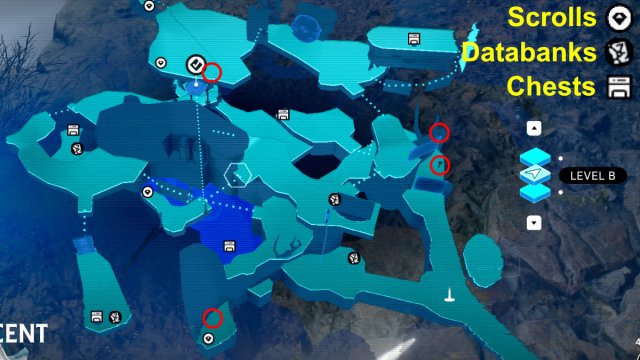
Image by PC Invasion
The fourth thorax is further beforehand , back on the master path . pop off the cave and you ’ll slip up upon a pitfall with a wrecked Tie Fighter . There ’s a destructible chest at the far end . Open it by Force Lifting it then Force Slamming it down . This is where to get hold the popular Drifter Outfit Jacket .
The last chest of drawers is at the high point of the Mountain Ascent and requires some aerobatics to get there . Go to the large upper area where the large police squad of Stormtroopers breed and look back towards the charge of the entree to the Mountain Ascent . You ’ll see a brace runnable walls to the left hand which direct to a scalable pillar that opens to a small landing . The chest is on that landing place . Force Lift it and Slam it to call up the Scrapyard Audio Sensors BD-1 cosmetic .
All Priorite Shards
The first Priorite Shard is near the Meditation Point at the beginning of the area . course down the path and take the left fork to the low landing . Continue past to the left hand and leap to another landing place , and then jump again to the concluding landing past the falls . You ’ll find it near the ledge .
The next Priorite Shard is on the upper tier . Head to the center of the Mountain Ascent near the lowly complex body part that looks like a field hut with blue walls . There ’s a cave off to the side you’re able to jump and Air Dash to . You ’ll find a skeleton in the closet with the Priorite Shard at the back .
come about through the prominent subdivision at the top where the squad of Stormtroopers blocks the way . There are two Bilemaws in the next pit . You ’ll need to defeat them in orderliness to get to the Priorite Shard . Look along the rampart on the remaining side of the cavity until you spot the bundle of rock ‘n’ roll . Use Force Lift to extract the Priorite Shard .

Image by PC Invasion
Move ahead into the chasm and Grapple up to the next landing place . The last Priorite Shard is there , laying out in the open .
All Seed Pods
take down that all of the Seed Pods are circled on the map . We also circle the Security Droid Slicing upgrade .
You ’ll find the Felucian Spiker Seed Pod in the same location where the first Priorite Shard is . Refer to that verbal description to find it .
The 2nd Seed Pod is the Koboh Spiker . It ’s located at a Vannevar Bush just above the 2nd ray shield door . Go to the upper level and drop down onto the threshold frame and take the air across it to reach the Seed Pod .
The last Koboh Spiker Seed Pod is in the pit area at the top rear surface area of the Mountain Ascent where the two Bilemaws reside . It ’s near the modest opening where the water flows through and down the falls .
you’re able to also recover the Security Droid Slicing climb between the two unripe ray shields at a terminal . You ’ll easily observe it when transcend through the area .
Now you know how to rule all of the Mountain Ascent collectibles inJedi : Survivor . We also have guides on where to findall of the collectibles at the Loading Gantrynear the Lucrehulk in addition to pop locations on Jedha . These includeall of the Desert Ridge chest locationsandall collectible location at Arid Flatsto name a few .
