King of the rooftop !
The Reconnaissance quest from Prapor is one of the most grave Lighthouse quest inEscape from Tarkov . The undertaking pushes you to go to the hot position in Lighthouse and be exposed to enemy on all angles on every roof . You also need to recognize where these roof locations are before going into a maraud to finish Reconnaissance safely . Here are all the roof localisation of the office staff buildings and how to finish up the Reconnaissance chore in Escape from Tarkov .
How to Complete the Reconnaissance Quest in Escape from Tarkov
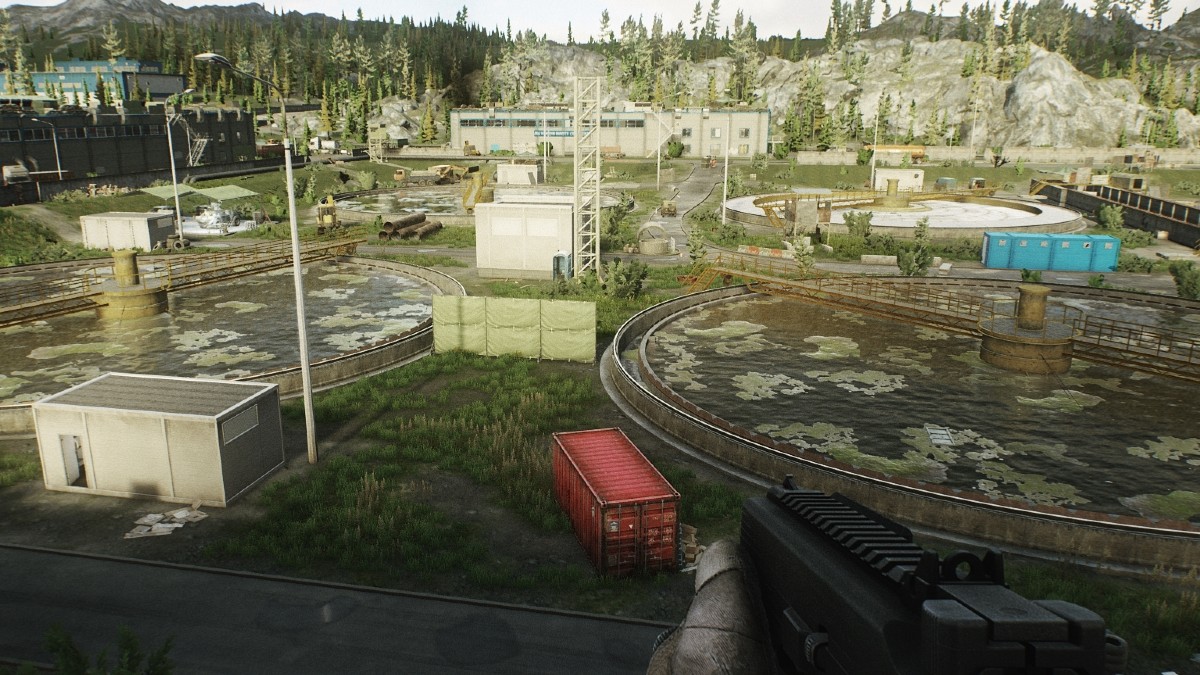
The Reconnaissance task requires the be objective to be terminate in one raid :
To wind up the recon objective lens , you must step on the ceiling of each water treatment plant life adeptness ( the numbered 1 , 2 , and 3 building or warehouses ) . Some of the roof may “ bug ” out because you might need to step in a more specific region on the cap , like in building 3 , where if you step on the ceiling and you do n’t hear a gong of an aim being complete , you must go to the center near the sandbag to get the quest done .
To get to the urine treatment plant , you may either go to the abandoned villages and employ the bridgework by the river or use the independent route leading up to the master entrance , where youfinish the Energy Crisis task . There is also an alternate path to the shoreline beside the principal bridge , but it is roughly the same itinerary .
Office Building Roof Locations on Lighthouse
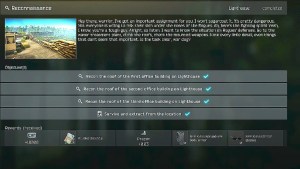
First Office Building Roof
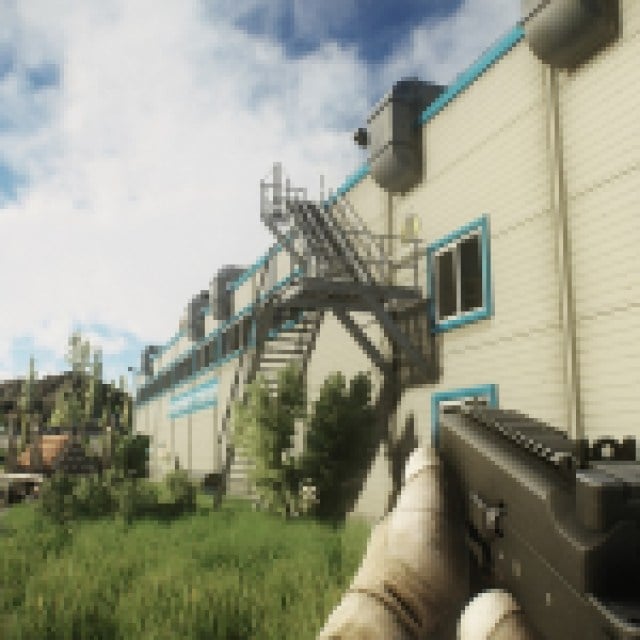
Each facility has stairs top up to the cap . You ’ll notice that these buildings are close to one another , and they all overlook the inwardness of the water discourse plant . Each of the stairway on each building is on the side closer to the centre of the plant . This means you are wide loose to all players looking into these area , including player Scavs and Rogues .
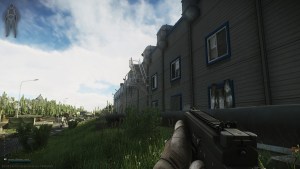
The first office building has stairs near the fundamental piping system . Jump over the organ pipe and go to the step . At the second flight of stairs , there are annoyingly place barbed wires . chute over them to get up the steps quicker , or you ’ll get slowed down while being wide overt from the wad .
Once you have step on the roof , steer back down using the same steps . It is the only way unless you want to parkour and break your legs .
Screenshot by Prima Games
Second Office Building Roof
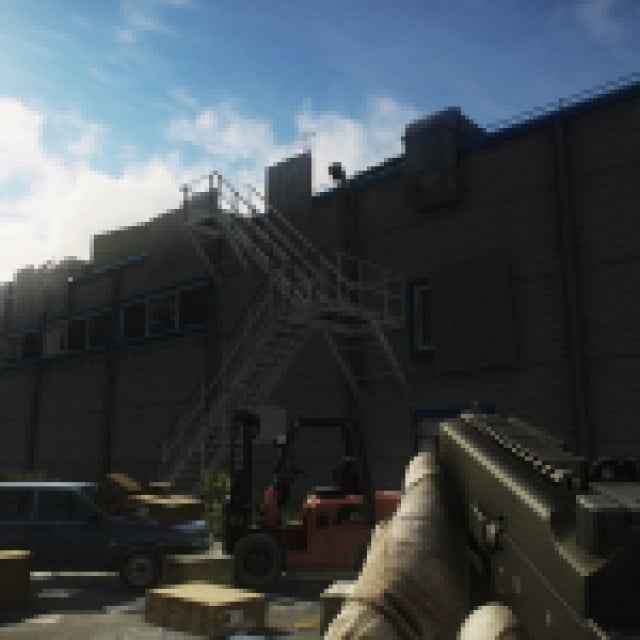
The second authority edifice is probably the most dangerous if you play as a BEAR . Rogues breed frequently inside this building , and it can be annoying to cope with them if you call for to finish the quest quickly . campaign them longer will entice more players to intervene . prove to manage with them as fast as potential and ill-use on the roof . On the bright side , there are n’t barbed wires on the stair here .
Third Office Building Roof
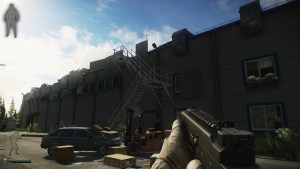
The third billet building should be the safest since you could hug the wall on the east of the water discourse plant to get to it . You have enough cover and can snipe all the Rogues on the rooftops before going . I highly advocate run to this building first to finish the seeking . If you haveEasy Job Part 1 , the eggbeater you have to denounce with an MS2000 marking is close to this third billet building .
If your last objective is the first office edifice roof , you’re able to easily get to the extraction by taking the main route . If you end the seeking on the third office building , you have to swear on the fomite extraction to be open , or you may justtravel to another mapand take thetransit locationnear the vehicle extraction .
Screenshot by Prima Games
Screenshot by Prima Games
Screenshot by Prima Games
Screenshot by Prima Games
Screenshot by Prima Games
Screenshot by Prima Games

Screenshot by Prima Games
