Leave ragged the flesh of your failure or get a cool internal-combustion engine gun
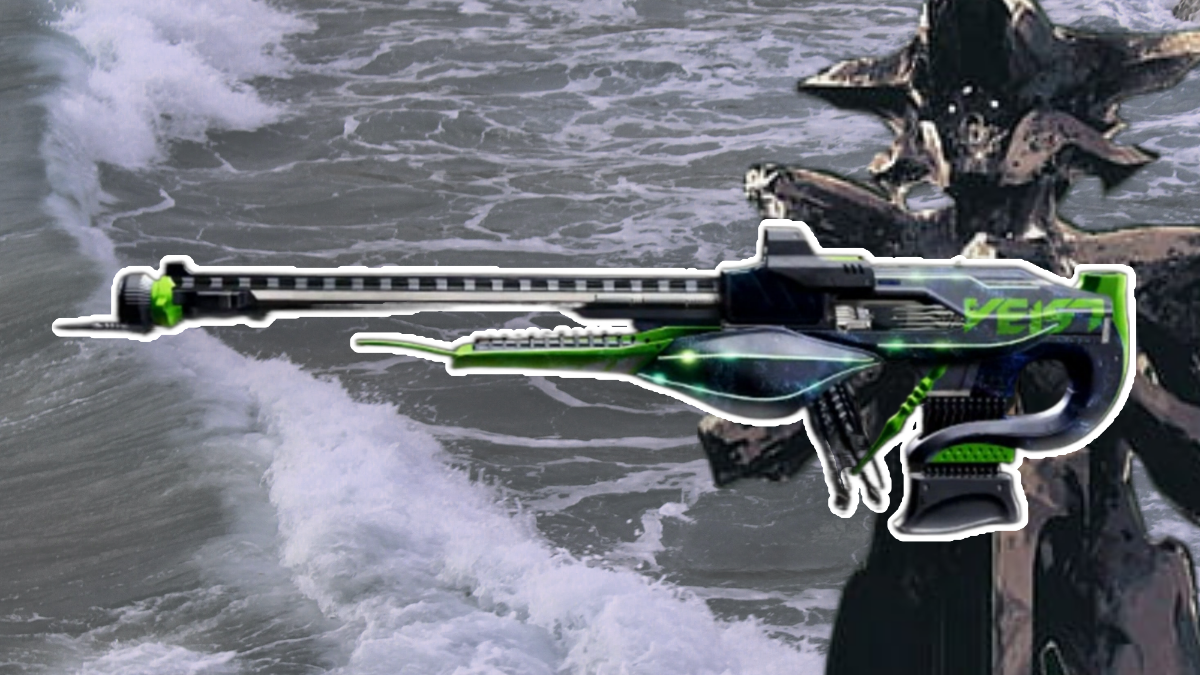
After fish for three straight week , guardians will finally have a fortune to get their hands on Wicked Implement , the Exotic Scout Rifle . But acquire it will require jumping through some hearty hoops . Here ’s how to get the Secret Deep Dive Exotic : Wicked Implement .
How to Get Secret Deep Dive Exotic Wicked Implement in Destiny 2
Wicked Implement is the Stasis scout rifle which can only be obtained by catching three alien fish , fix three Broken Blades , and completing two time DPS encounter . Here ’s how it break down .
Table of Contents
All Exotic Fish Locations Needed For
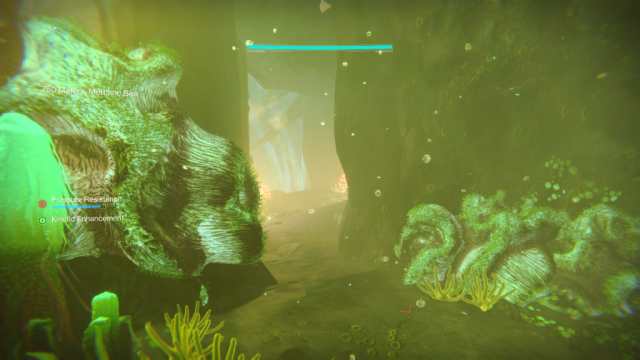
First , to access this underground confrontation in Deep Dive you ’ll need the follow Exotic Pisces :
By bend each of these Pisces into the aquarium in the H.E.L.M. , you ’ll get a Broken Blade . The Mothercarp will give you the Broken Blade of Strife , Vexing Placoderm will give you the Broken Blade of Ambition , and Aeonic Alpha - Betta will give you the Broken Blade of Cunning .
All Broken Blade Hive Thrall Statue Locations
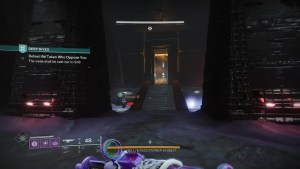
Once you have these Broken Blades , you ’ll need to bid them on the altar of Hive Thrall statues which are enshroud in the underwater section of Deep Dives . You ’ll have found each of the three Hive Thrall statues before you start the 2nd encounter .
You will need to provide all three of these Broken Blades to open up the threshold to the Wicked Implement showdown .
Hive Thrall Statue 1 ( Blade of Strife ):
Once you start the mission and swallow Ahsa ’s blessing , drop into the ocean . start the locked door . Go through the previously locked doorway , turn right , and drop . The route will look forked . Take the veracious path .
Look for a side path that looks like this .
Hive Thrall Statue 2 ( Blade of Ambition ):
Screenshots by Prima Games |Turn right here
The 2d Hive Statue is only accessible after completing the first drilling section . Shortly after encountering the first Hive statue , you ’ll enter a tumid elbow room . You ’ll then begin exercise for coral . wave of enemies will fall onto your position , include two waves of Servitors . Defeat each wave of Servitors in social club to refuel the drill .
Once the oil production is 100 % complete , go out into the big , open area just past the drilling room . On the left side , there will be a program that has a door . This threshold will remain unsympathetic until the meeting / oil production is complete .
When the confrontation is over , go through the door to find the 2nd Thrall Statue . This is where you offer the Broken Blade of Ambition .

This door will open at the end of the first encounter
Hive Thrall Statue 3(Blade of Cunning ):
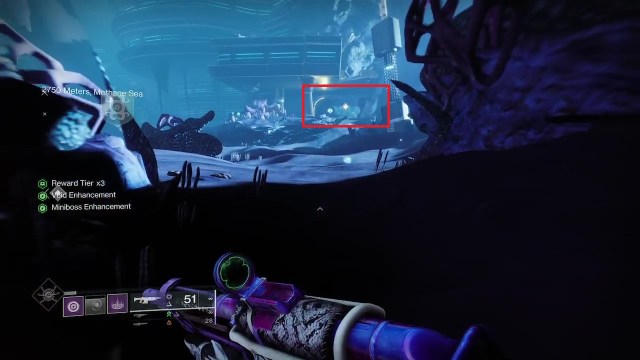
When you ’ve complete the second confrontation , you ’ll be able to return to the sea . You ’ll know you ’re getting close to the third Thrall Hive statue when you must drop into a with child circular jam that has a fan at the bottom of it .
Flip the substitution to turn off the fan , then retain sinking . pluck the leftmost path , then keep close to the cliff wall . Do not jump down . Eventually , you ’ll reach an alcove that has the last Thrall statue .
This door will open at the end of the second encounter
After you ’ve offered all three Broken Blades of Strife , continue as normal . Finish the 2d encounter .
relate : What to Do with the Broken Blade of Cunning in Destiny 2 – reply
Wicked Implements Encounter: Location and How to Complete
dispatch the second combat skirmish . This showdown takes place in a large , overt expanse where you ’ll face multiple waves of enemies . You might have to refuel ; you might have to hack . Do whatever you need to do to discharge it as normal . No need to get Toland / the Darkness Lure require , either . There ’s no Tier rewards waiting for us at the remainder of this sunken rainbow .
The third set of Ahsa Blessings will be useable once you ’ve completed the second skirmish . Grab itbut do n’t derive . Instead , change state back to the main expanse and take the doorway to the right field , which will now be undecided .
A raw way and area will be uncommitted . In this new room will be one to three Hive statues . Each somebody in the activity will need to interact with one of the Hive Thrall statue , ‘ carve a path of fierceness ’ . When all the hoi polloi in your company have done so , the barrier on the other side of the water will drop .
Rock is hidden beneath stairs, where Aido is shooting. Click to expand.
Continue forward and you ’ll enter a elbow room full of Taken Hive . Kill them , then move forrard into the next water section . This H2O department is a square line , so head straight then jump down .
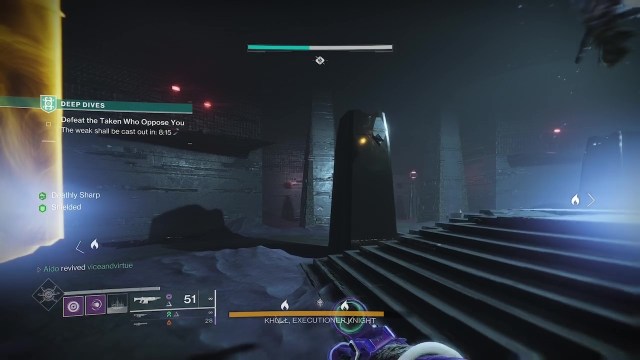
First Encounter with Khull , Executioner Knight
The Wicked Implement meeting has two bosses . The first is Kull , Executioner Knight , which you ’ll see in this cave , along with a host of other Hive enemies . But carry through your Super , as your base damage to this boss will fundamentally be zero .
Rock is hidden beneath stairs, where Aido is shooting. Click to expand.
To do effective harm to Khull , you ’ll take to kill each of the Servile Minotaur that spawn in . Each time you , or one of your fireteam , kills a Servile Minotaur , you ’ll get a fan called ‘ Deathly Sharp ’ . This will increase the amount of damage you ’ll do to the hirer .
There are three Servile Minotaur and three potential stacks of Deathly Sharp . You ’ll need all three buffs to do any efficacious damage to Khull . And this is the mechanic of the Exotic Mission . Each of the honcho you ’ll encounter will require you to kill three specific yellow-bellied - bar enemy , who will give you buff , which are necessary to do damage to the boss .
Once you do enough damage to Khull ( about one - twenty percent of his health bar ) , he ’ll vanish .
Rock hanging out on altar. Click to expand.
Through the Pyramid
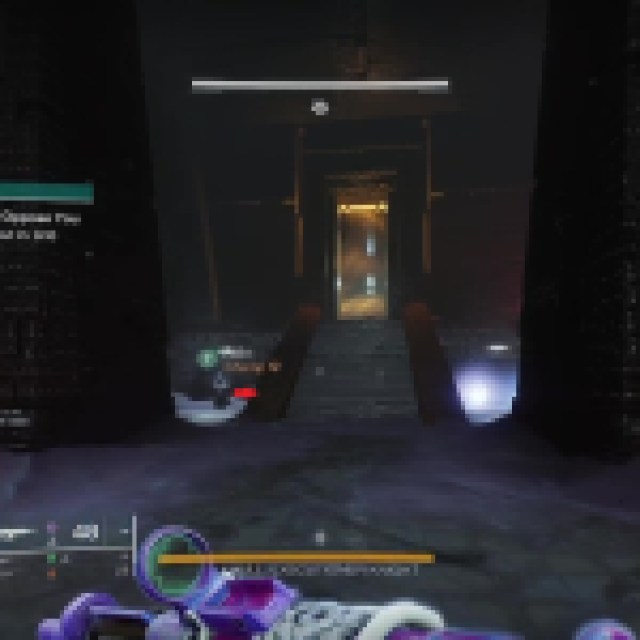
When Khull disappears , a new door will open in the cave wall with an eerie ( if intimate ) gray-haired mist . Go through it to enter the Pyramid .
This section is aboveboard . Kill the Taken until they stop over spawn . Then shoot the floating stone beneath the step and on the altar in the middle of the elbow room .
Hard to see, but another rock is floating beside this pillar.
This will cause the sensationalistic roadblock to drop , give you access to the next boss room .
Second Encounter with Khull , Executioner Knight
Now , here ’s where we get to the timed part . You have ten minutes to defeat Khull .
When you enter the next genus Bos elbow room , you ’ll find that Khull no longer take much impairment . You ’ll need to find the buffs you had in your last skirmish with him .
Kill the Servile Minotaur that will spawn into the elbow room . When that Minotaur is numb , you ’ll find another black stone float near one of the pillars in the inwardness of the room . inject this stone and the yellow barrier separating you from the other Minotaur will fell .
put down these two Minotaur to get the last two buffs of Deathly Sharp , then get the better of Khull .
net Encounter : Omen , Blade of the Black Terrace
The last encounter is one of the most brutal . You ’ll have ten minutes to make out it .
The final boss is Omen , Blade of the Black Terrace , a massive tormenter . Like Khull , you ’ll efficaciously do no damage to him . And to do damage , you ’ll need to find three Honed Minotaur , kill them to get their buff , and then do damage to the honcho .
Unfortunately , the mo you have the third buff , a timer on them start . You ’ll have 1:15 sec to do damage to the boss before the buff ends . Once the buff finish , you ’ll take to see and drink down the three Honed Minotaur again .
Because of that , this is a immense DP and coordination check . It ’s a good idea to have two people already at the Tormentor ’s position before you kill the third Honed Minotaur to optimise how much damage you do .
Once you get Omen to half wellness ( or possibly when you begin to run out of meter but you ’re still alive ) , Taken Centurion will get going spawning in the room with you , as well as the Honed Minotaur . you could kill these Minotaurs to refresh your buffs without prevail the gauntlet again .
Fail to kill Omen within the time limitation , and you ’ll be transport back to Orbit . This means you ’ll need to do the first two parts of Deep Dive and all the antedate parts of the Wicked Implements quest all over again .
But it ’s worth it because if you beat Omen , you ’ll get Wicked Implements , the Exotic Stasis scout rifle .
If you ’re somehow not sick of Deep Dives after that adrenaline rush , there are enough more closed book in the deep . check into them all out here : All Deep Dive Secrets in Destiny 2 .
