Here is s scout on how to unlock the Glyph doors in Destiny 2 .
fate 2 likes to recall of itself as a little more than just an FPS , so it confuse in a few puzzler here and there . In Destiny 2 : The Final Shape , you will find that you need to void Glyphs during the Requiem missions . Here ’s how you do it .
How to nullify Glyphs
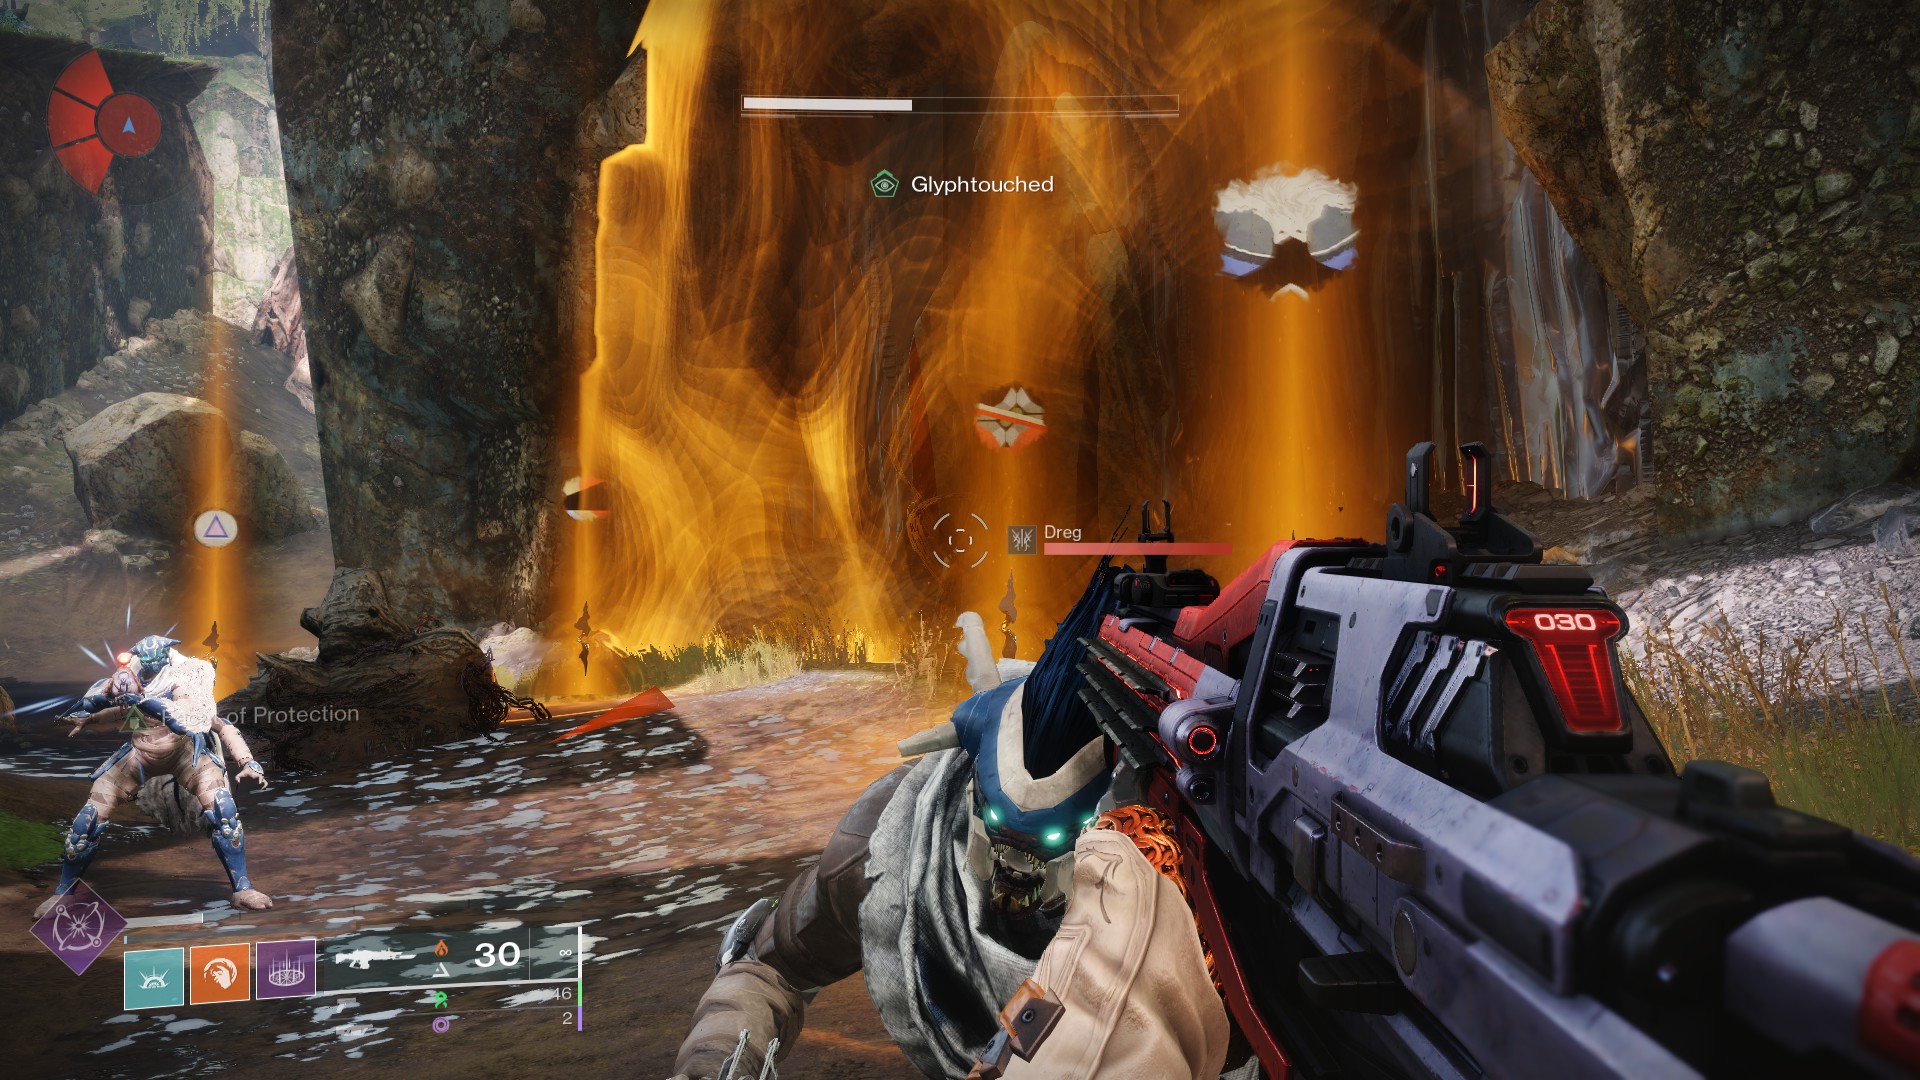
To nullify Glyphys inDestiny 2 : The Final Shape , you will first need to essay out a Warder who will be close to the Glyphs . Once you have determine one of these , kill it , and it will dropone of five different Glyphs . Remember this , and then , if there is a second one , hunt and kill this too .
Once all the Warders have been killed , you will postulate tohead back to the Glyph doorand activate the Shards that agree to the Glyphs that were dangle . You will find there are check Glyphs on the itinerary you need to take .
Each time you retry a door , the Glyphs can change . They are randomize each prison term , as I found out at one particularly challenging door . It is n’t possible to hop-skip the Warder killing point and just repeat the dropped Glyphs from the last run - through of Destiny 2 : The Final Shape .
Where to find Glyphs
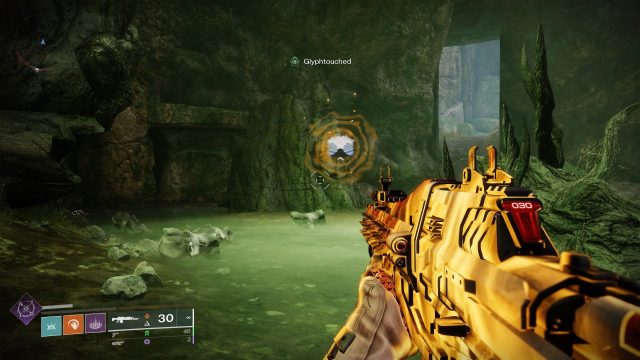
The Glyphs will be marked on the function in Destiny 2 : The Final Shape whenever you need to go out and witness them . The Glyphs are dropped by Warders on the mapping , which must be overcome . Once they are killed , they will neglect the small picture that must be memorize . This will twin with one of the Glyphs on the doorway .
Sometimes , there is more than one that must be collected , so assure your map for more marker . You wo n’t be able to set off the shards at the doorway until all the necessary Warders have been killed . You will have to get through a quite a little of Glyph door throughout thecampaign of Destiny 2 : The Final Shape . With this guide , you will have the basics , but by the end , you ’ll be a pro .
Screenshot: PC Invasion
