Bring all the part to the Prototype Robot and lay claim mystical advantage .
The Dark Horizon DLC inRemnant 2offers optional quests that reward you with some of the best mutators and weapon mods — in spades deserving your clip . One of these quest involves locating the Repair Lab and fixing the Prototype Robot by collecting its missing section . In this template , we ’ll walk you through on the dot how to find all the necessary parts to complete the quest .
All Prototype Robot Parts Location in Remnant 2
There are four Prototype percentage in total , and you ’ll come across some of them course as you search dungeon and other areas in The Dark Horizon DLC . However , you ’ll postulate to gather all four part to fully repair the Prototype Robot and claim the rewards .
Prototype Head
The first part is the easy to obtain — you’ll get it good at the start of the DLC . We commend starting the DLC by selecting Adventure Mode from the World Stone and create a new Adventure .
If you ’re playing the DLC for the first time , you ’ll notice it provide a One - snap mode , which ensures that the world you explore will include most , if not all , of the DLC message .
After a abbreviated cutscene at the beginning — where your character falls to the ground — the lift they arrive in crashes into a robot , revealing its head . At this item , you ’ll find the Quiescent Overlook World Stone checkpoint located in the Agronomy Sector . Be sure to collect the robot head , as this will probably be the first part you give to the Prototype Robot .
Related : Remnant 2 : The Dark Horizon – How To Beat Amalgam Kel’Roth And Amalgam Relis Boss
Prototype Arm
The next part you ’ll encounter is the Prototype Arm , also located in the Agronomy Sector . After picking up the Prototype Head , keep following the way of life and take the gliding drone to progress .
To cover the poisonous purple liquid on the ground , you ’ll require to catch two updraft of atmosphere to safely set down on the other side .
Next , take a left hand to see a crop field of honor with a sailplane drone at the far end . You ’ll comment a red light fall from a hole in the distance . To progress to it , you ’ll demand to intersect a spread with royal liquid below . Hop on the glider drone and go down . Be prepared to face a few enemies beyond the electrical webs , include a specter .

Screenshot by Prima Games
After defeating them , you ’ll find the Prototype Arm lie on the ground over a destroyed robot .
Prototype Claws
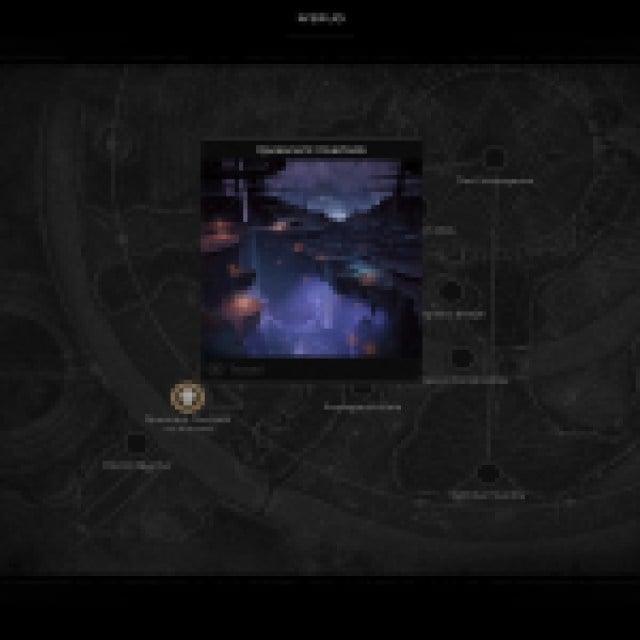
The next part , the Prototype Claw , is located at the far remnant of a break bridge circuit in the Withering Necropolis section . you may either explore the area to give it or utilize a nearby World Stone to confirm whether the ‘ Waylaid Conservatory ’ segment appear on the N’Erud world mathematical function .
If it shows up on the map , degenerate - traveling there and head direct , then take a left . Stick to the leftover side of the tumid surface area , and the path will lead you uphill . At the top , you ’ll find another sailplane drone . practice it , and you ’ll spot the broken bridge circuit below .
come to the right oddment of the bridge deck , overcome a few enemies , and make your way to the end . You ’ll find the Prototype Arm on the dry land to the left over side , near the wall .
Screenshot by Prima Games
Prototype Memory Core
To place the last part , the Memory Core , return to where you find the Claw part . Turn around and point to the opposite end of the broken bridge . There , you ’ll spot a staircase leading down to a path with a glowing Orange River sword - comparable object near the crops .
Next , take the glider drone to the rightfield . Descend and legislate through the opening on your rightfulness . After land on the weapons platform , fall out the track until you reach the end , where you ’ll notice the Prototype Memory Core .
Related : Remnant 2 : The Dark Horizon – Phetyr Armor Set Location Guide

Screenshot by Prima Games
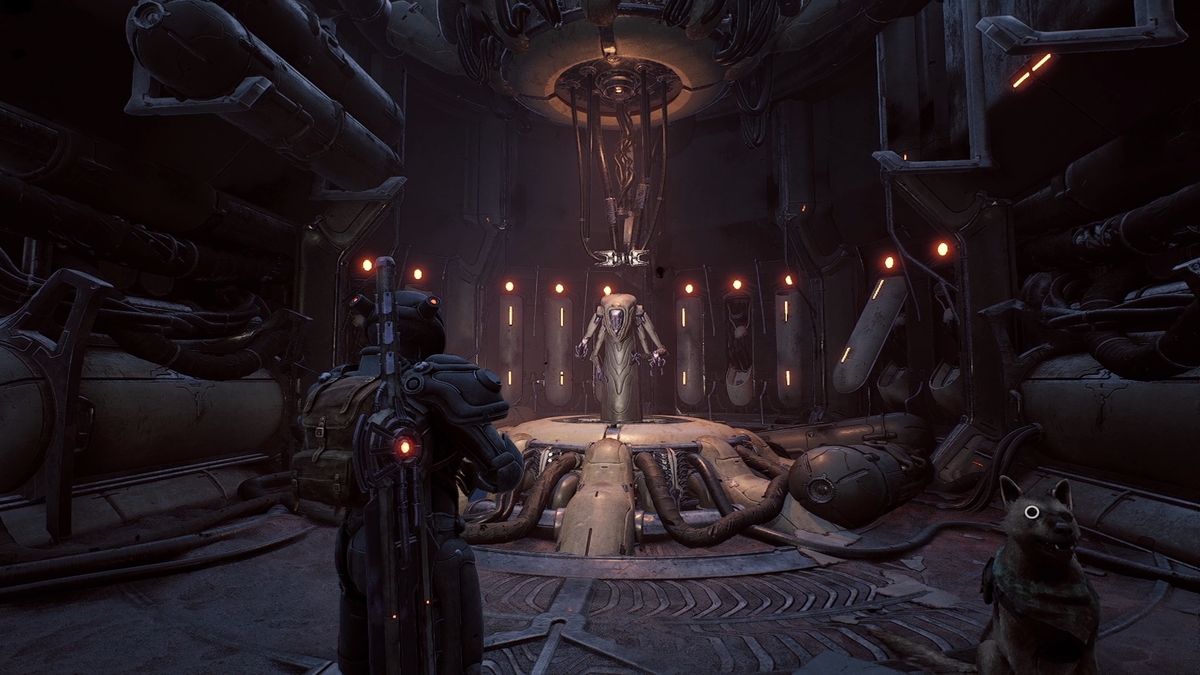
Repair Lab Location and Giving All Parts to Robot in Remnant 2
Now that you ’ve amass all four parts , the next stair is to locate the Repair Lab , where you ’ll repair the Prototype Robot .
If you have n’t found the Repair Lab yet , start from the advantage compass point , where you may see the entire area around the broken bridge . Look toward the farthest end of the span , and below , you ’ll discern a chicken room access — this tick off the entering to the next area for exploration .
Head there to find the Repair Lab .

Screenshot by Prima Games
Choice 1
The first option involves giving all the parts to the Prototype Robot , avoid the boss conflict , and have theSpirit Alternator Ringalong with the B.O.T. achievement .
To pick out this course , just hand over all four part to the Prototype Robot include pressing the push button on the Prototype Memory Core . To do this , audit the token the Memory Core in your stock and press a button on its top . Then give this part to the Prototype Robot to keep off touch off the foreman face-off .
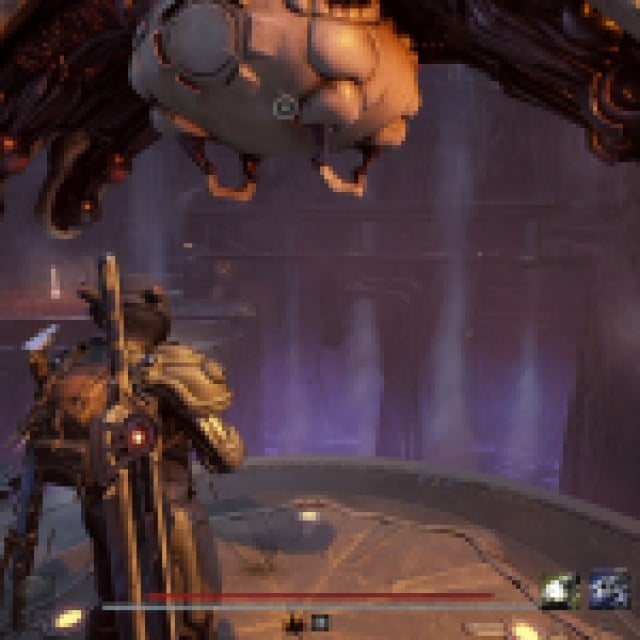
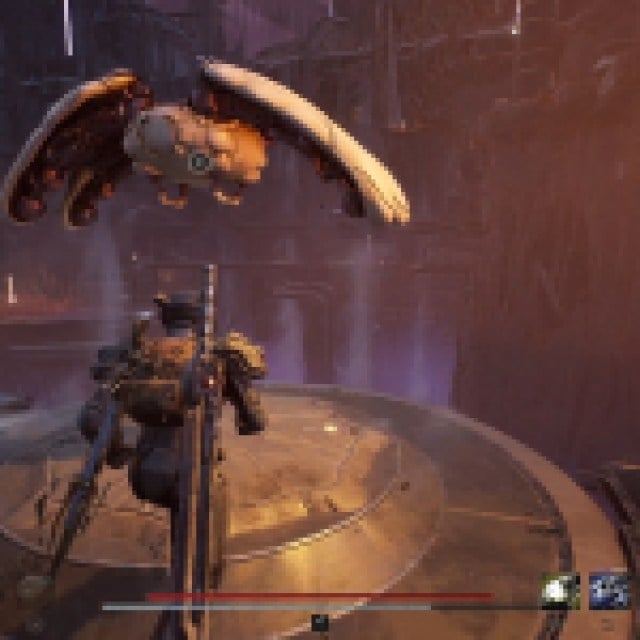
Choice 2
If you do not press the release on the Memory Core before giving it to the golem , you ’ll convert this NPC into a unavowed boss . Defeating this genus Bos will reinforce you with theShield Alternator Ring and the Charged Wounds Mutator .
That ’s everything you need to know about finding all four Prototype Robot parts and nail the quest for rewards . For more tips , be sure to break out ourHow to Get Nanoplated Armor Set , andHow to Unlock Warden Archetype in Remnant 2guides .

Screenshot by Prima Games

Screenshot by Prima Games

Screenshot by Prima Games

Screenshot by Prima Games
Screenshot by Prima Games

Screenshot by Prima Games

Screenshot by Prima Games

Screenshot by Prima Games

Screenshot by Prima Games

Screenshot by Prima Games

Screenshot by Prima Games

Screenshot by Prima Games

Screenshot by Prima Games

Screenshot by Prima Games

Screenshot by Prima Games

Screenshot by Prima Games
Screenshot by Prima Games

Screenshot by Prima Games

Screenshot by Prima Games

Screenshot by Prima Games

Screenshot by Prima Games

Screenshot by Prima Games

Screenshot by Prima Games

Screenshot by Prima Games

Screenshot by Prima Games

Screenshot by Prima Games

Screenshot by Prima Games
