A complete walkthrough of the second level of Sker Ritual
Ritual Ashes of the Sker Hotel is a tricky map full of convolute passages and cryptic puzzles . If you ’re struggling , let me help you with our Sker Ritual Ashes of Sker Hotel guide : Full walkthrough and all object glass .
How to complete every objective in Sker Ritual: Ashes of Sker Hotel
Sker Hotel is brutal to navigate , so expect the story to take a few goes until you ’ve familiarize yourself with the function layout . I found the lighting in this stage particularly obnoxious , to the point where I change my graphics preferences . I turn my Gamma up and also turnedVolumetric Fog off . you could happen this right at the bottom of the computer graphic carte .
There are multiple objective to complete in the Sker Hotel , so lease me explain each one step by step .
Refuel the Teleportation Platform
Your first missionary work is to restore power to the Teleporter in the middle of the Grand Hall . You ’ll be coming back here often , as it ’s like a primal hub for the mathematical function . Grab the Canister by the Teleporter and launch the door to your left .
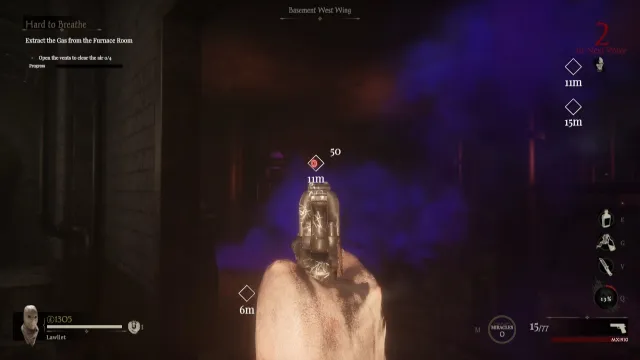
point down the stairs , and you ’ll see a elbow room full of purple fume . There arefour object on the walls to germinate in here , but the fume will kill you if you stay too long . as luck would have it , you may tally three of them from the room access . There ’s a fair game tucked in the correct recess of the elbow room , and you’re able to concisely get in and dash it before train disastrous equipment casualty .
The fumes will fool away when you hit every fair game , allowing you to get inside . Interact with the receptacle to the left to place the cannister . This room is theBasement Furnace , and I recommend memorizing the location , asthe Super Charger machine is here . Once you ’ve placed the canister , stand in a circle near the receptacle while the progress legal community on the left make full up . Finally , grab the canister , interact with the pronounced receptacle in the Grand Hall , and then interact with the Teleporter .
Failure to Launch
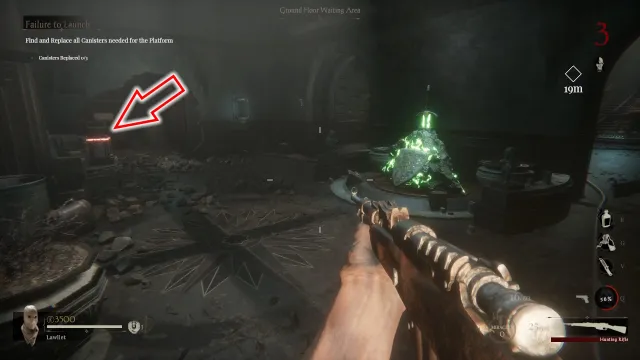
Your next military mission is to do the same thing again for three other receptacles near the Grand Hall . The issue is finding the canisters in the first place , as they have random spawns . I find one in thecorridor behind the staircasein the Grand Hall .
I found another in the way just behind the Grand Hall near the green blade ( pictured above ) .
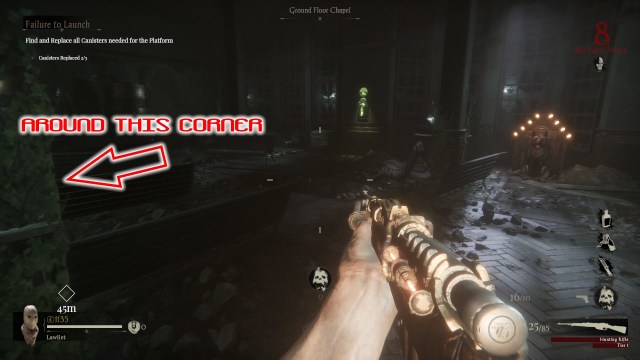
The last canister take me a while to receive , as I had to open two more door on the ground level to strain it . It was in theGround - Floor Chapel , which is through the doorway abruptly opposite the first one you opened to reach the Basement Furnace .
Screenshot: PC Invasion
Strange Places
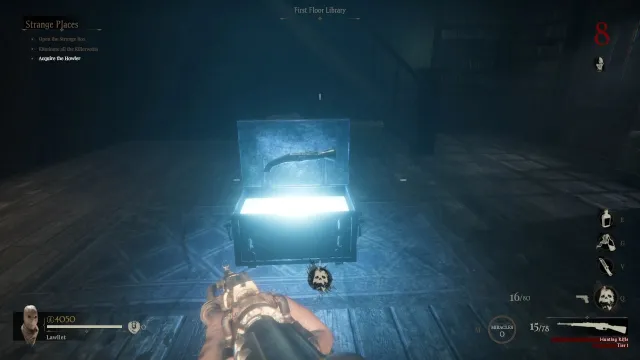
With every canister in place , you ’re finally ready to utilize the Teleporter for the first fourth dimension . You ’ll arrive in a elbow room with a chest instantly in front of you when you teleport . launch the chest , and five Killerwatts ( electric snake god ) will spawn . Defeat them and the Howler will appear in the chest you opened . Oddly enough , theHowler be £ 2000 , but it ’s an all important purchaseand is required for the quest .
The Howler is a fantastic artillery and deals a ton of damage . It ’s so just thatI put it through the Super Charger twiceduring my running and used it as my elemental weapon . It hits hard and is fairly ammo - effective as well .
How to use the Howler in the Dark to Enter the Cryptic Code
This is one of the most puzzling steps in the tale for this level . You ’ll need to head downstairs for this one , so go down the staircase toward the Basement Furnace and turn justly rather of left to enter the rest of the hole-and-corner rooms .
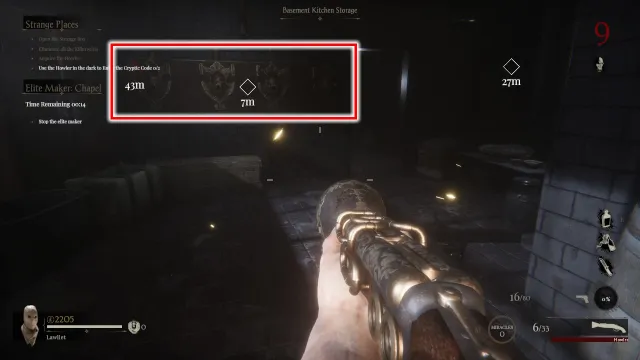
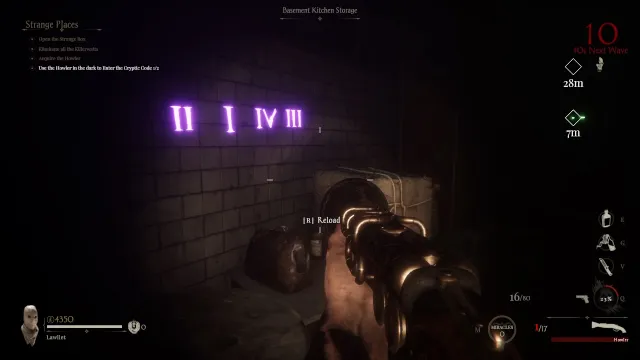
When you make the navigation mark , you ’ll seefour chief on the wall(pictured above ) , each with a number underneath . You have to shoot the headspring with the Howler in a specific order , but you ca n’t see that rescript until there ’s a ‘ colored round . ’
These rounds are bestial as a short ton of Killerwatts spawn , buta codification appears on the wall , showing the order . Once you ’ve fool the head in the correct order , you ’ll demand to do so again in another fix . maneuver back to the Grand Hall and toward the Ground Floor Chapel to find theGround Floor Manager ’s Office . I advocate memorizing where this room is , as there ’s an approachable ammo machine .
Screenshot: PC Invasion
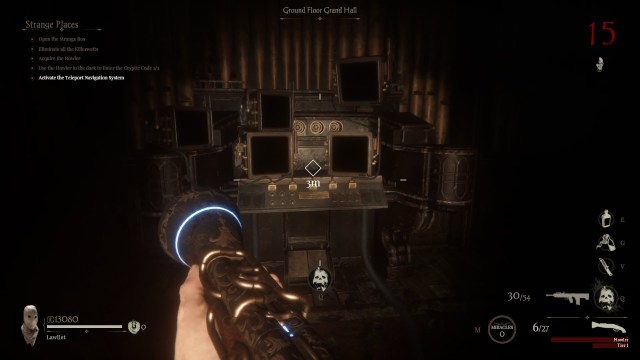
Once you ’ve entered the code , head up the stairs in the Grand Hall and interact with the Navigation Machine at the top .
Retrieve the Punch Cards
you may employ the Navigation Machine to pick the teleporter goal . It look complicated , but it ’s simpler than you think .
I ’ve labeled where each blind will institutionalize you in the video above . you may tackle these object in any club you wish , but here ’s the road I used . After each task , repay to the machine to pick a new terminus .
Theater
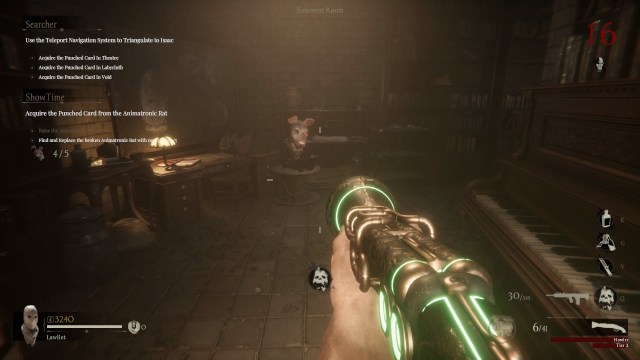
Teleport to the dramatic art and interact with the green button . After a few seconds , a creepy animatronic rat will come out on the stage . Your objective is to find five parts to finish build it .
Fortunately , these parts always spawn in the same positioning .
Thefirst one is on a seat in the dramatics room itself . Once you have it , teleport back to the Grand Hall , and you ’ll find anothernext to one of the canister receptacle .
Screenshot: PC Invasion
you’re able to switch the teleporter finish toThe Libraryfor easy access to the next part . Enter the teleporter , and it ’s right in front of you .
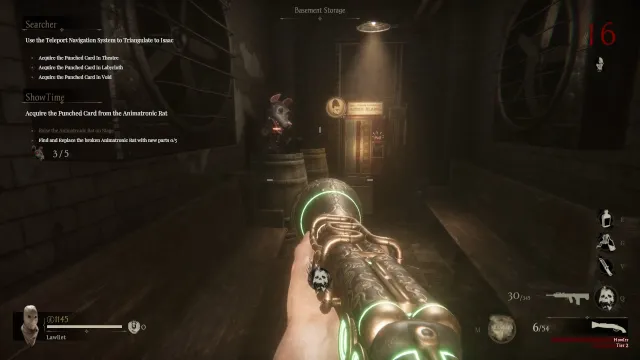
For the penultimate part , return to the independent elbow room anddownstairs to the Basement Furnace . Walk past the Super Charger and around the corner , and you ’ll see the item near another ammo auto .
The final composition is by the first Cryptic Codeyou solved in the basement ( pictured above ) .
Screenshot: PC Invasion
Once you have all five animatronic parts , return to the theater and finish building the rat . Now , all you require to do is power up your furred protagonist .
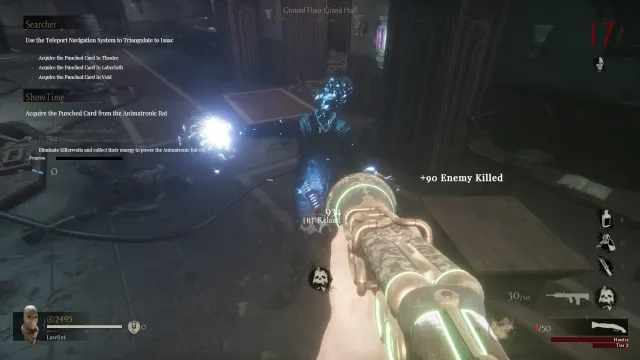
While you ’re on this whole step of the mission , Killerwatts will drop batteries when killed(pictured above ) . You need 10 to power the rat .
The way out is that this can take multiple rhythm . I take three rounds to do this part and stay in the main elbow room to do so . The main way is great , as you’re able to hide behind the stair and use the ammo machine in the Manager ’s Office .
Screenshot: PC Invasion
When you have 10 batteries , render to the rat and hand them over . Frustratingly , you must bear the batteries one at a time , so you may want to do it between round .
you could collect your first punch calling card once you ’ve power up the scab .
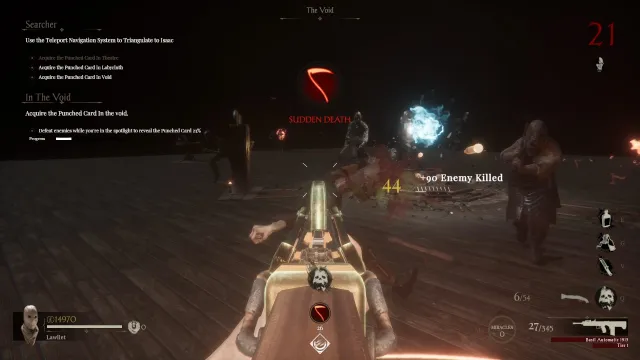
The Void
This place is horrifically dark unless you turn your luminosity up . fortuitously , the object lens is dim-witted . toss off opposition while you ’re stand inside the circle .
The set lento moves around the room , and there ’s an ammo machine in the midsection if you need it . To fill the bar , you need at least 100 kills , which may take multiple rounds . Once you ’ve hit the quota , grab the punched identity card from the table and go back through the teleporter .
The Labyrinth
I wo n’t candy it . The Labyrinth sucks ! This area is a maze , and while it ’s not particularly grownup , it ’s almost unacceptable to navigate as all the corridor look the same .
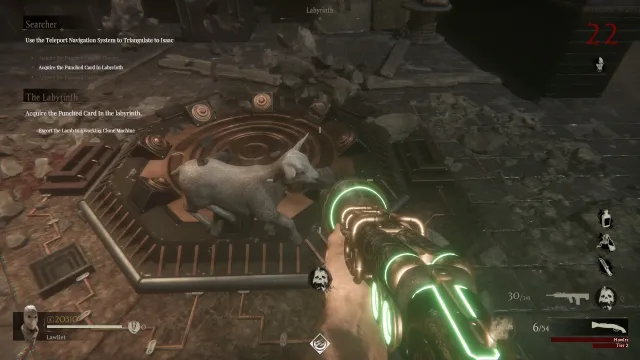
First , interact with the machine by the teleporter with the green illumination on the controls . This is a cloning machine , and it spawns a precious footling lamb . The dear will slowly follow you but can get lost if you run away around .
Your goal is toguide the dear to another superposable cloning machine . There ’s one in the snarl in a like room with a immature light . Once you obtain it , let the lamb entirely lay off before press the clit .
Screenshot: PC Invasion
Your lamb now becomes a twain of lambs , and you must find another cloning machine with a green visible light . double the operation , and your two lambs will become four .
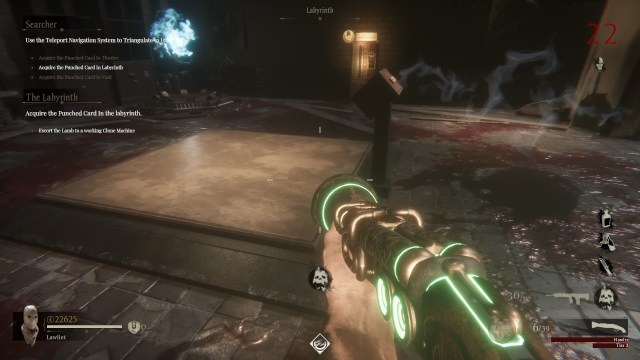
Now you ’re a master of this shepherding business ; you ’re await for the room pictured above . I lost three of my lambs on the direction here , and it took ages to recover them again , so take this step as lento as you’re able to . Enemies ca n’t anguish the Lamb , but the situation can fall apart if you get overwhelmed .
Once all four lamb have stopped on the square platform , interact with the restraint dialog box and snaffle the punched bill of fare .
Screenshot: PC Invasion
Once the bar is gross , you canuse the screenland to the top - right field to challenge the boss .
Defeat Isaac
Isaac is a formidable opponent , but you should be fine if you ’ve been upgrade your Howler . The gravid result is how overpowering the arena can become , as there are tons of enemies and environmental hazard . This boss is a slouch on downhearted difficulties where you’re able to promptly cauterise him down .
Keep your distance and avoid demand regardless damage , and you ’ll emerge victorious . Once Isaac is defeated , you may terminate the mission or keep going and see how long you may hold up .
The layout of this level ismore intricate than the first , but it is much more manageable when you have a go at it the layout .

Screenshot: PC Invasion
Screenshot: PC Invasion
Screenshot: PC Invasion
Screenshot: PC Invasion
Screenshot: PC Invasion
Screenshot: PC Invasion
Screenshot: PC Invasion

Screenshot: PC Invasion
