Easy as pie .
The first mission of the GDF military campaign in Tempest Rising serves as a expert introduction to the mechanics , starting unit , and tactics of the Global Defense Forces . Even though it ’s essentially a tutorial , there are several subaltern missions that honor you with precious Requisition Points .
Here is a complete walkthrough of the opening mission of the GDF junto in Tempest Rising , including strategy to complete the secondary objectives as well .
GDF Campaign Mission 1 Complete Main and Secondary Objectives
Main Objective –Reach the GDF MCV
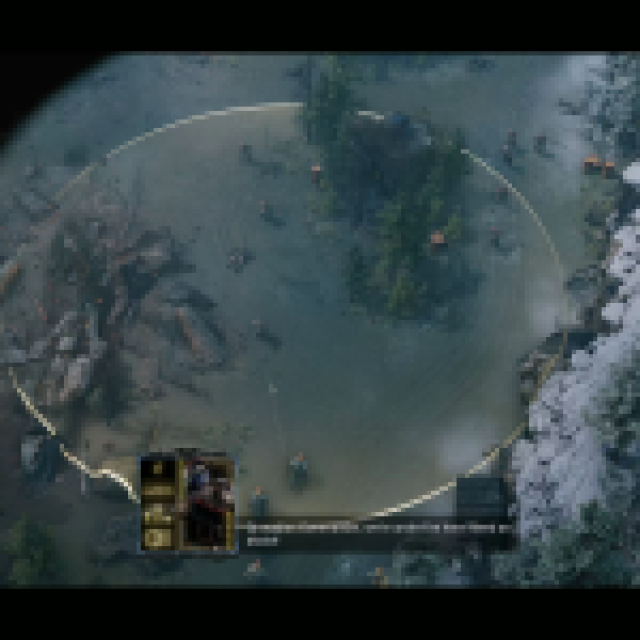
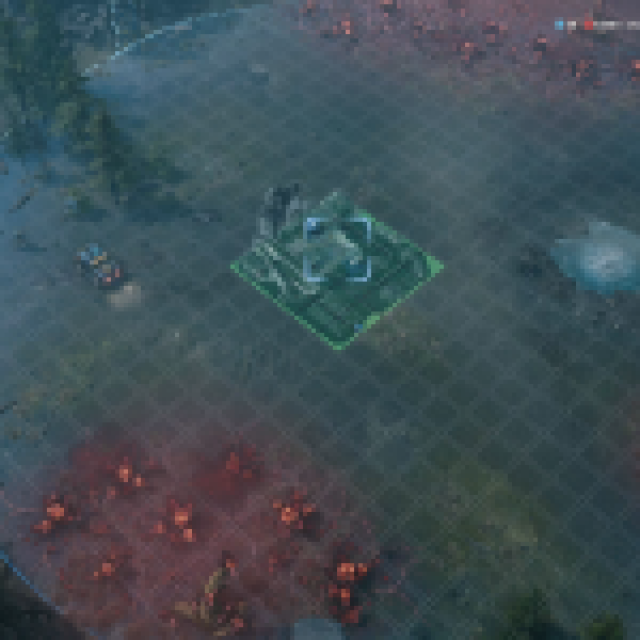
The mission set about by giving you control of a fewField Scoutsthat serve as your default infantry whole . They ’re cheap to recruit and do decent hurt . You ’ll soon also have access toDrone Operators , who are very useful as they allow for reconnaissance mission when you switch to the Drone , and also take tremendous equipment casualty .
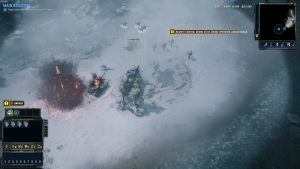
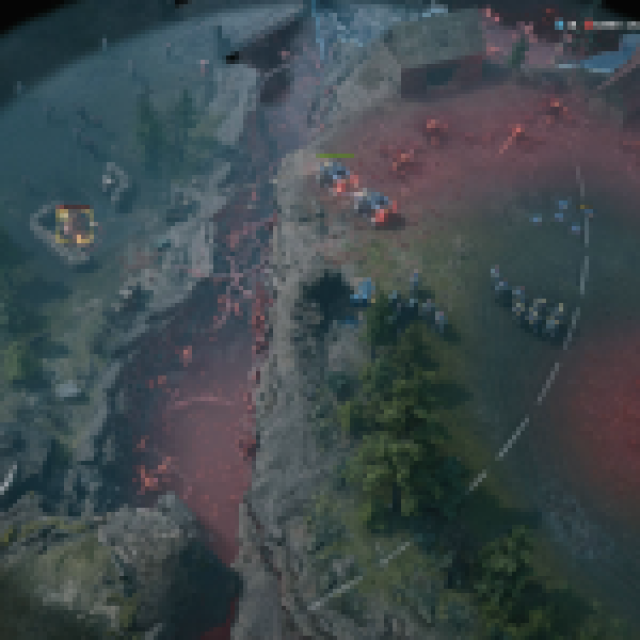
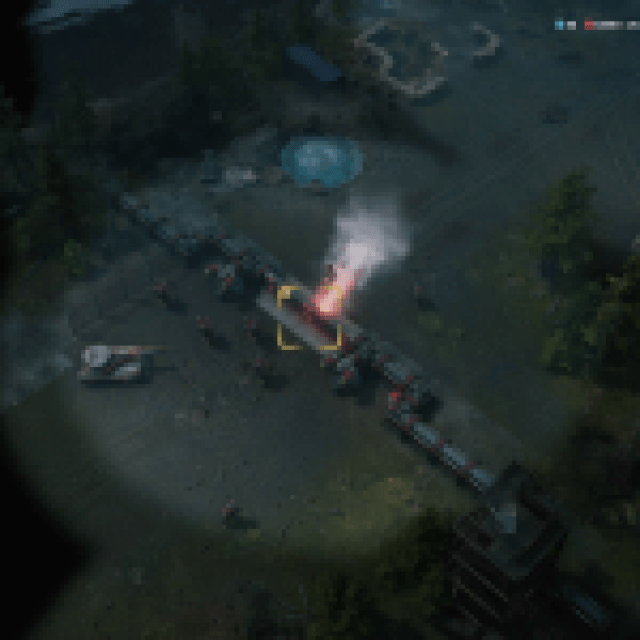
Use Drones or Field Scouts to bourgeon at explosive barrels . You need to see this right now , as you ’ll be doing this a lot . It ’s an well-situated way to deal damage and blow up opposition anatomical structure .
However , this is where your first secondary object get along into play .

Screenshot by Prima Games
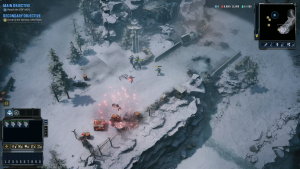
There are four SAM sites in commission one , each capable of conduct out your drones like flies . The first one will appear a few minutes after you ’ve acquired the Drone Operators and belt down a few Dynasty units .
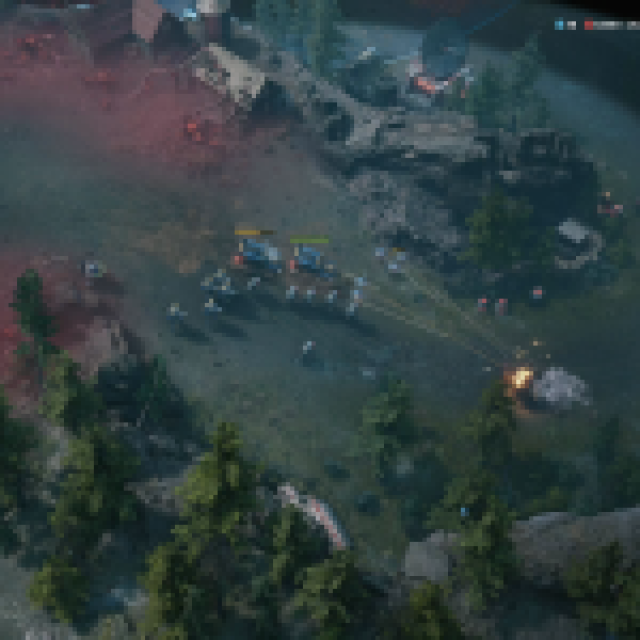
After this , you will be join by one of the good GDF units , theRiot Medic . This unit can bring around other building block directly and also deploy a turret that heal everyone in its proximity , but disappears after a poor time .
to boot , two Sentinel vehicle will link up your squad . habituate these to scout in the lead , and switch to their marking utility to score some intel .
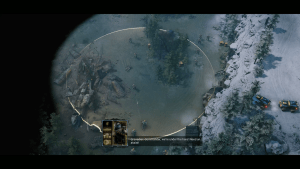
Screenshot by Prima Games
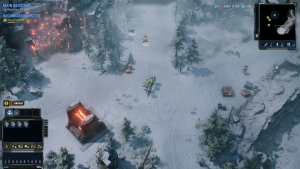
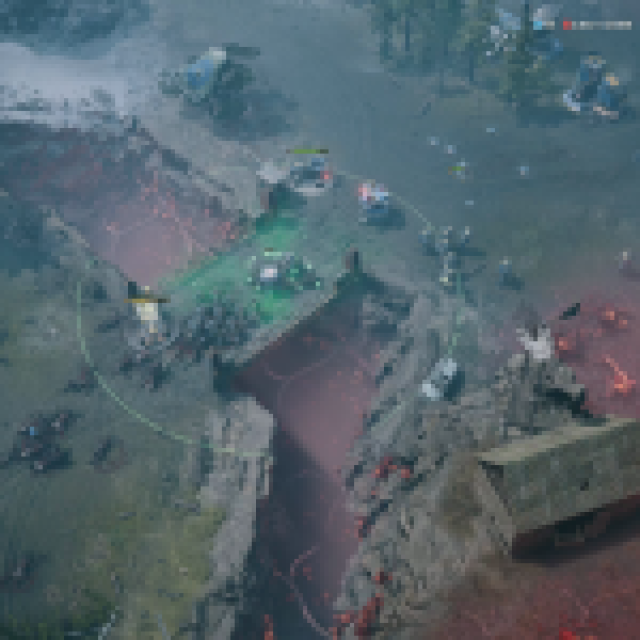
Now that you have a few subject field scouts , laggard operator , lookout man , and a Riot Medic on your police squad , it ’s metre to demonstrate frontward and rescue theGrenadiers . While they can easily endure their land , you need to send the Riot Medic to bring around them up . As soon as the Riot Medic enters their stove , the objective will be completed .
Continue your path toward theGDF MCVsite , but make note of the second SAM land site northwest of your path . mail yourGrenadiersto pass over it out . verify your Drone Operators do n’t become suicidal and throw themselves at the SAM site .
Before taking the itinerary to the northeastern United States , you may spot the third SAM site from the elevated point . Trying to attack it from this chain with theGrenadierswill draw them to manually espouse the descending path , but you’re able to expend the Sentinels to take out the SAM land site from this rarified compass point . It will take a bit longer , but it ’s easier , especially if you target the barrels next to it .
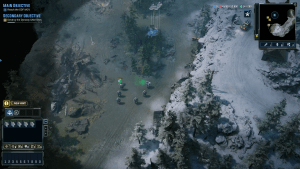
Screenshot by Prima Games
Continue your path down and take out the few Dynasty foe — and ruin everything in your route , just for fun .
finally , you will touch theGDF MCVpoint , which complete the first chief objective .
Main Objective –Deploy MCV
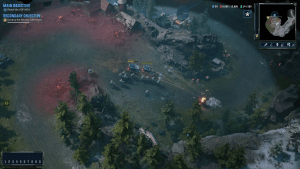
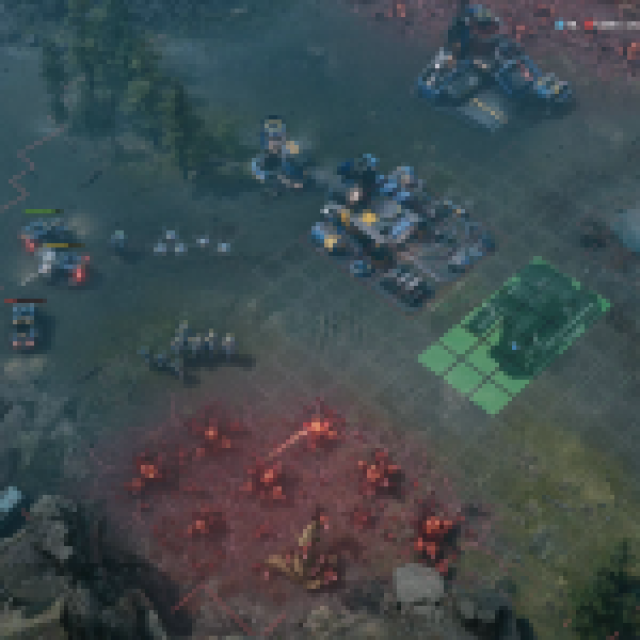
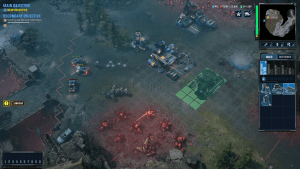
Once you get to the MCV item , deploy it and ramp up a Refinery from the “ building ” pill to complete the 2d master objective .
Now , deploy your current forces at the bridge and use the “ G ” command to push them to hold their primer coat . If you simply move them there , they ’ll comply foeman targets and terminate up dying from something they are n’t meant to deal with . This is another of import command to learn early on if you do n’t want to lose your unit unnecessarily .
I also recommend placing the Riot Medic a bit behind the nosepiece and using him to keep deploying the healing turret .

Screenshot by Prima Games
barrack are the tenderness of your base and will breed your independent foot units . After it ’s built , take the Barracks , and then pick out a spot on the map to send spawned units there with flop - click , just like how you would round something .
I recommend selecting a item close to the bridge .
After the Barracks , you need to build a Satellite Uplink to unlock more advanced units .
Screenshot by Prima Games
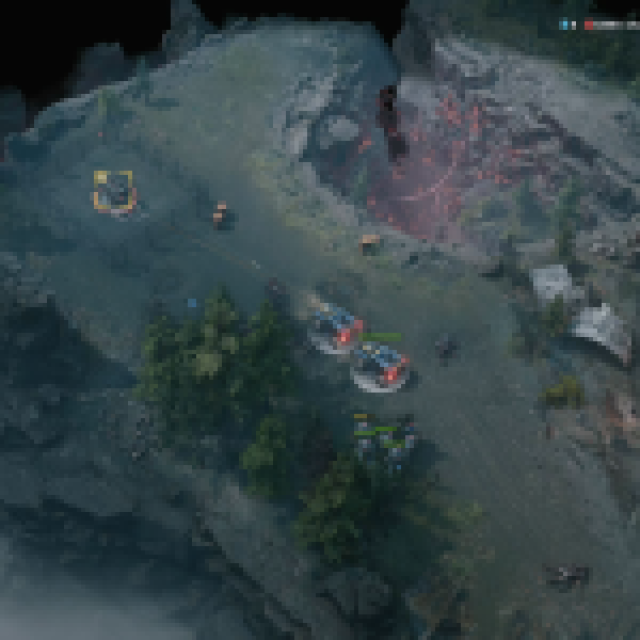
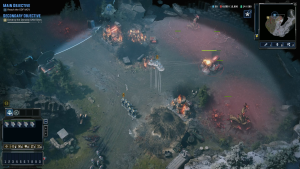
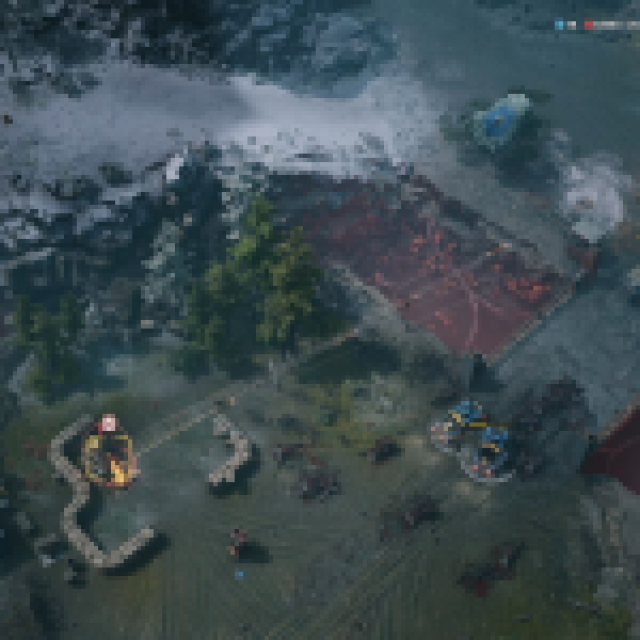
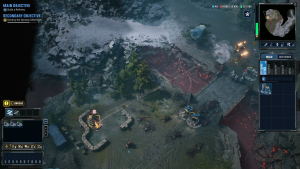
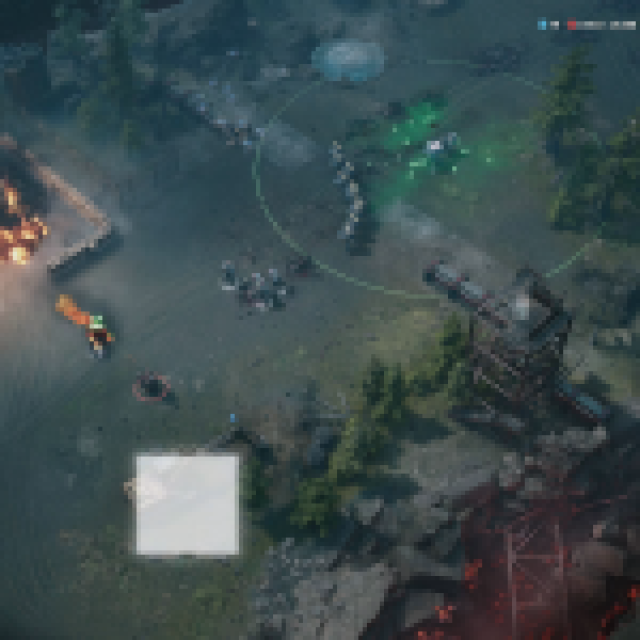
Just across the bridge deck , you see the last SAM site that nonplus a constant threat to your monotone . I recommend using the Sentinels to take it out when you have some breathing room . These are fast , so they can get aside from peril without completely turning to dust .
Naturally , you will be rewarded with aTempest Airstrike , which you’re able to employ to target the gate . Do n’t worry , the game will mechanically head you to this part of the map .
Main Objective –Destroy the Dynasty’s Construction Yard
After all the previous main and junior-grade object lens are done , it ’s sentence to land up off the Dynasty ’s Construction Yard . I urge recruiting 10 grenade thrower , 10 drone operators , and 5 field scouts . Move them all together to the Construction Yard by baffle the bridge , and you ’re done with the mission .
That ’s all there is to it ! If you finish all the secondary objectives as well , you will receive a sum of 1600 requisition form point .
Screenshot by Prima Games
Screenshot by Prima Games
Screenshot by Prima Games
Screenshot by Prima Games

Screenshot by Prima Games
Screenshot by Prima Games

Screenshot by Prima Games
Screenshot by Prima Games
Screenshot by Prima Games
Screenshot by Prima Games
Screenshot by Prima Games
Screenshot by Prima Games
Screenshot by Prima Games
Screenshot by Prima Games
Screenshot by Prima Games
Screenshot by Prima Games
Screenshot by Prima Games
Screenshot by Prima Games
Screenshot by Prima Games
Screenshot by Prima Games
Screenshot by Prima Games
Screenshot by Prima Games
